How to Beat Stage 7 in the Nest of Yskalhaig Dungeon
The Nest of Yskalhaig dungeon in King Arthur: Legends Rise is an important step forward for players. This is where you can start farming five-star gear, a big milestone for building stronger teams. If you’ve been struggling with Stage 7, this guide will help you break it down, step by step.
Why Stage 7 Is Worth It
Stage 7 is the first level where you can consistently get five-star gear. Earlier stages only offer up to four-star items, so this is where real progress begins. With the recent update making these levels slightly easier, it’s now more accessible than ever.
It’s not a walk in the park, though. You’ll need a solid strategy and a reliable team to make it through.
Meet the Boss: Yskalhaig
The boss in Stage 7 has a tricky kit. The game suggests using marks to suppress its buffs, but this strategy isn’t as effective as it sounds unless you have the hero Sigrun. Without her, trying to keep marks active can feel like a losing battle.
Instead of focusing on marks, shift your attention to buff disruption—a much simpler and more effective way to deal with the boss. This stops the boss from stacking powerful buffs and makes the fight more manageable.
The Team we Used
Here’s the team I relied on to clear Stage 7:
- Bedivere: Main damage dealer.
- Anguish: Backup damage dealer.
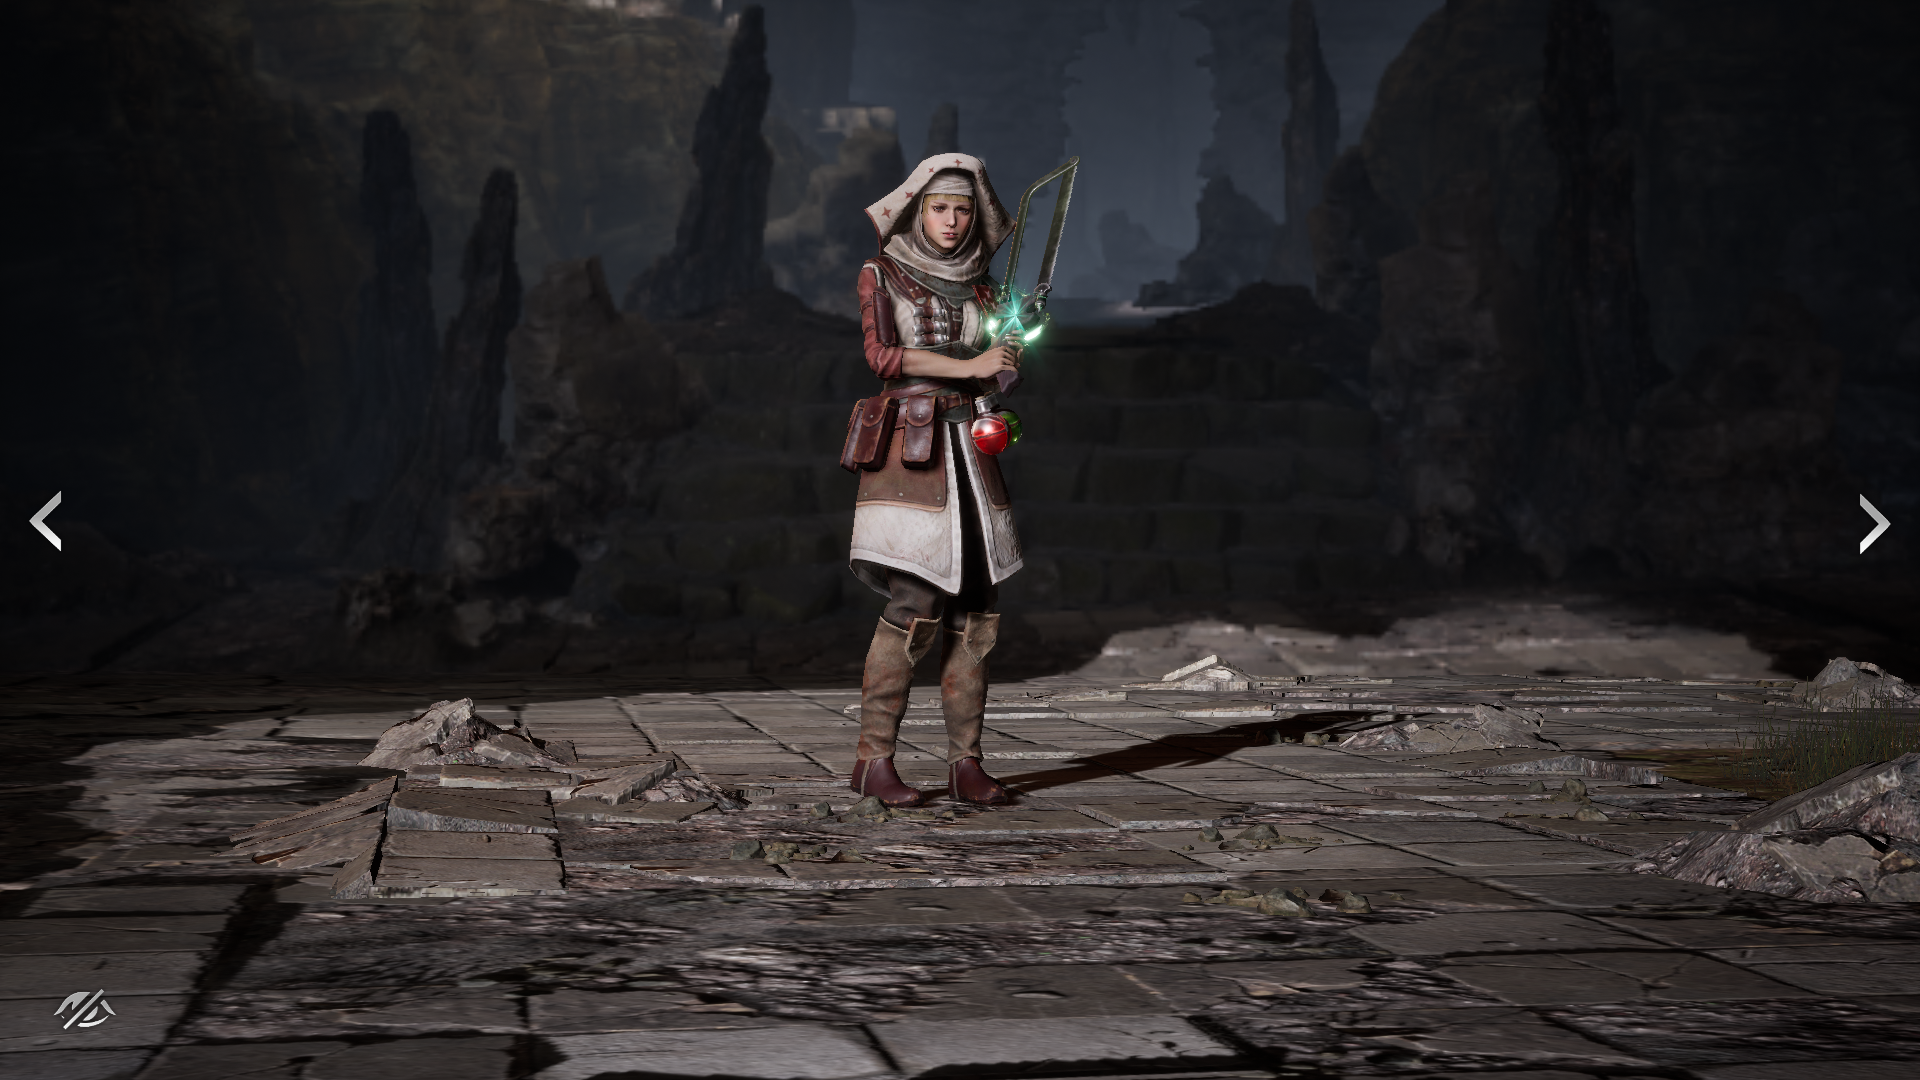
- Sarah: Buff disruption and healing.
- Isolde: Secondary healer.
This isn’t a perfect team, but it worked. The core of the strategy is Sarah’s ability to block the boss’s buffs while keeping everyone healed. Isolde can easily be swapped for another healer if needed.
Key Tips for Stage 7
- Stop the Boss’s Buffs
Sarah is the star here. Her basic attack can block the boss from gaining buffs, which is essential for controlling the fight. If you have a better hero with buff disruption, you can use them instead, but Sarah gets the job done.
- Keep Everyone Alive
Focus on making your team durable. Equip them with gear that boosts health and defence. Avoid heroes with a Storm element, as they’ll take extra damage from this boss. - Manual Play May Be Necessary
Auto-battle doesn’t always make the best decisions. When you get to the boss, you might need to take control to ensure key abilities are used at the right time.

How My Team Was Set Up
- Here’s a quick rundown of how I built each character for this fight:
Sarah (Buff Disruption and Healing)
- Gear: Vigor and Life sets for survivability. Counter sets can work well too, as they let her heal and disrupt more often.
- Stats: High HP, some speed, and enough accuracy to land her buff disruption consistently.
- Relic: Frost Relic (five-star, level 40).
- Role: Sarah’s basic attack is her most important skill. It blocks the boss’s buffs and heals the team at the same time.
Bedivere (Main Damage Dealer)
- Gear: Counter and Attack sets for raw damage.
- Stats: High attack, moderate crit rate (around 30–50%), and some speed.
- Relic: Bav’s unique Relic (six-star, level 50).
- Role: Bedivere’s second ability hits like a truck. Build him for damage, and he’ll carry most of the fight.
Anguish (Backup Damage Dealer)
- Gear: Vigor set for survivability with some attack stats.
- Stats: Decent attack and enough accuracy to land his damage-over-time effects.
- Relic: Frost Relic (six-star, level 60).
- Role: Anguish focuses on applying steady damage. He’s not flashy but very reliable.
Isolde (Secondary Healer)
- Gear: Vigor set to boost her healing ability.
- Stats: High HP and moderate effect accuracy.
- Relic: Frost Relic (five-star, level 40).
- Role: Assolt’s main job is to keep the team alive. She can easily be replaced by another healer, like Fredric.

