Eternal Evolution Boss Guide
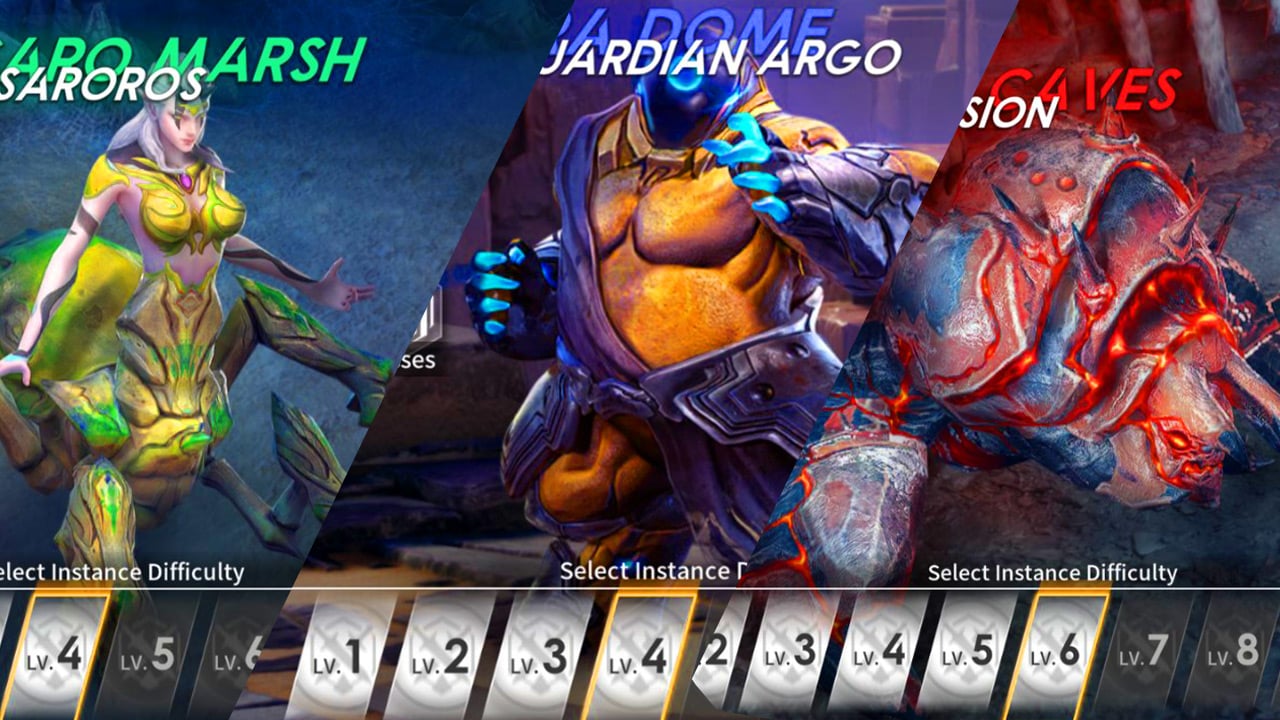
This guide will be focussing on the three bosses in Eternal Evolution.
The boss levels go by the following names
- Deesa Caves.
- Tara Dome.
- Cinsaro Marsh.
Of course, you always want to prioritize the boss that gives YOU the loot that you need the most, as an example, Cinsaro if you do not have a fitting commander.
For each of the three levels, you have a total of 3 stamina each day (this does not get consumed on defeat), however, you may also buy energy for Diamonds to do these bosses more frequently.
Each run of the bosses will consume a maximum of 10 stamina but depending on the number of diamonds you are willing to spend, you may do this as many times as you like.
You can view other players’ teams by simply viewing the information tab on the boss, allowing you to see in-depth information about their teams.
This guide is aimed at newer players, to help them gain an understanding of the game modes, and complete them successfully.
Deesa Caves:

General Overview:
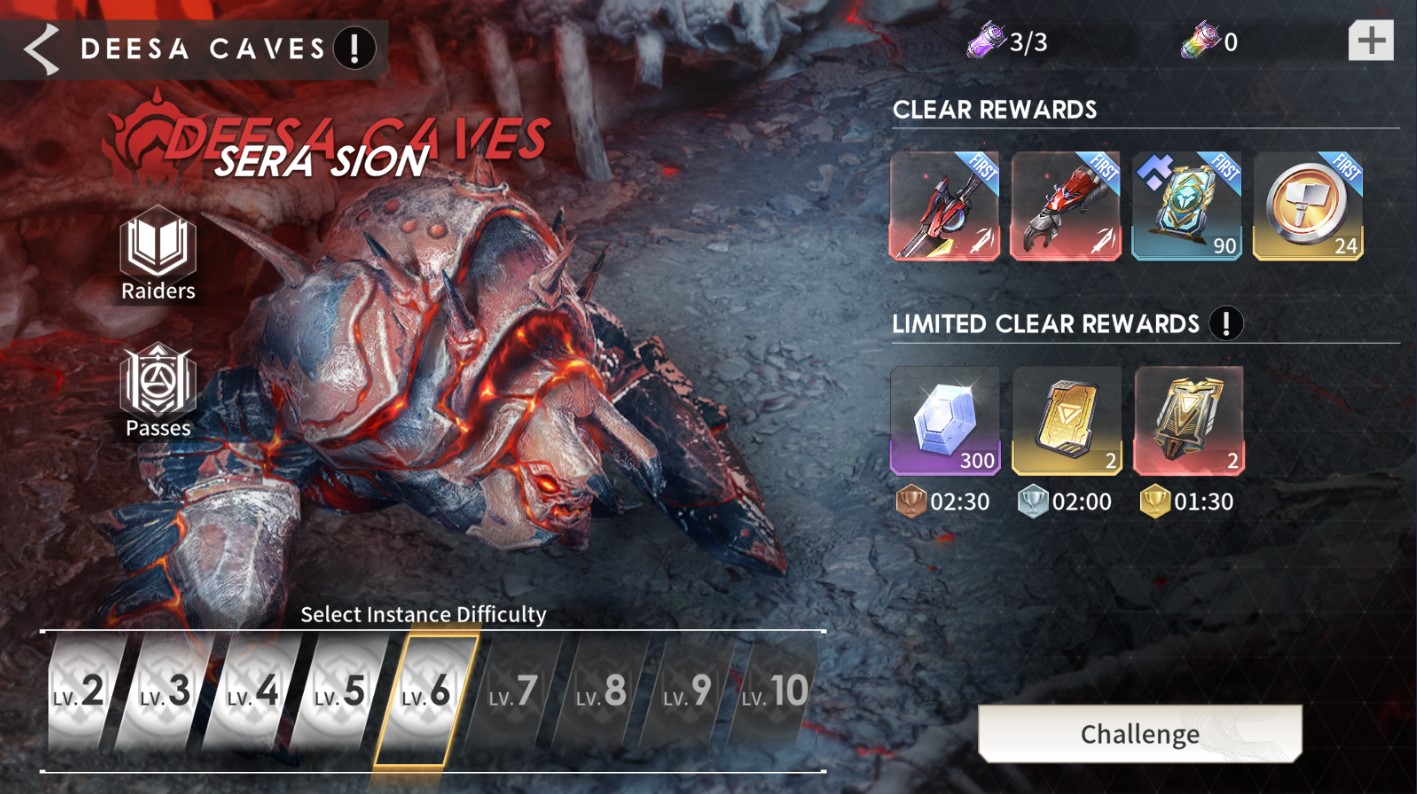
In the Deesa Caves, you mainly get equipment for heroes, which as in most games of this style are a very important element of the game.
This boss is considered to be the most important of the three available bosses, and as such becomes our highest priority!
You can also get rare shards from this boss.
At 90%, 50%, and 10%, The boss gains a shield that must be destroyed by multiple hits, if you are not successful in breaking this shield in a short period of time, simply put – you die.
From level 6 onwards, it is possible to get red (mythical) and from level 12 white (legendary) equipment.
Reaching these stages is a massive bar that you want to reach ASAP.
Recommended Champions:
It is absolutely vital when fighting Deesa Caves that you bring Champions who are able to destroy the shield with multiple hits, we recommend using at least two of the following Champions:
- Nadilus (S+)
- Taylor (S+)
- Sorietta
- Bot Mark II
It is also essential that you bring a tank to this fight, of which the recommended Champions are:
- Zaida
- Hercules
- Oak
- Bohr
- Oisa
You can opt to use two melee fighting Champions rather than one tank, for example, Crete & Bailey Hudson, or Oisa & Artas.
The final spot of your team should be filled with a healer, Serena is significantly better than Liran for this fight, alternatively, you can use Rez as support to charge your energy faster – but if available, the best option is Serena.
Prototypes and Commander:
When it comes to picking a commander, Brynhild is by far the best here, making multi-attacks deal more damage and enabling you to break the shield easier.
It is recommended to use prototypes that increase the damage and healing output.
The following are recommended:
Dominator: Redthorn Rune, Preying Eyes, Soaring Medallion
Tenacity: Company of Heroes, Ancestral Will, Ultima Ring
Enlightenment: Flash Point, Coronate (Without healers – Brilliance, Zoisite Shard)
Strategy:
As long as the bosses shield is not activated, you will have no problem playing on auto, however, we recommend coming off of auto as soon as the shield is active.
After level 12, the boss will gain a healer when the shield is broken, which you will need to manually focus and kill – If you are using Taylor on your team, it is a great idea to use his ultimate to teleport directly underneath the healer, so he can focus kill them as soon as possible.

Tara Dome:
General Overview:
The rewards from Tara Dome are mostly Prototypes, to max out your prototypes takes quite a long time, so this should be your second priority, you can also acquire Advanced Recruitment Cards from Tara Dome.
Whilst fighting the boss, he can only be attacked from within the blue zone.
At 30% Health, the boss will temporarily disappear and spawn bombs that you must destroy, for each one you fail to destroy, a Champion will take damage.
It is important to reach level 6 of Tara Dome as soon as you can so you can begin to farm Yellow (Epic) Prototypes.
Recommended Champions:
Since you can only hit the boss at close range, you should focus on using only melee damage dealers, however, Taylor is an exception.
- Taylor (S++)
- Bailey Hudson (S+)
- Crete
- Artas
- Randall
- Muka
- Rakkana
This is another dungeon where you will benefit from having at least one to two tanks in your team.
- Zaida
- Hercules
- Oak
- Bohr
- Oisa
Just like Deesa Caves, your final spot should be occupied by a Healer, and once again Serena is by far the best choice, followed by Liran, or alternatively Rez as support to fill your energy faster.
Prototypes and Commander:
The outright best Commander here is Gautier, ensuring Assassin and Vanguard Champions can survive longer and deal more damage.
It is recommended to use prototypes that increase the damage and healing output.
The following are recommended:
Dominator: Redthorn Rune, Preying Eyes, Soaring Medallion
Tenacity: Company of Heroes, Ancestral Will, Ultima Ring
Enlightenment: Flash Point, Coronate (Without healers – Brilliance, Zoisite Shard)
Strategy:
If you are not using Taylor, this boss can easily be done on auto, however, if you are using Taylor – You should teleport him to the edge of the Blue Zone and make sure he doesn’t take damage.
It’s important to note that if Taylor is too close to the edge of the Blue Zone he may not deal any damage – so attention is needed.
Cinsaro Marsh:

General Overview:
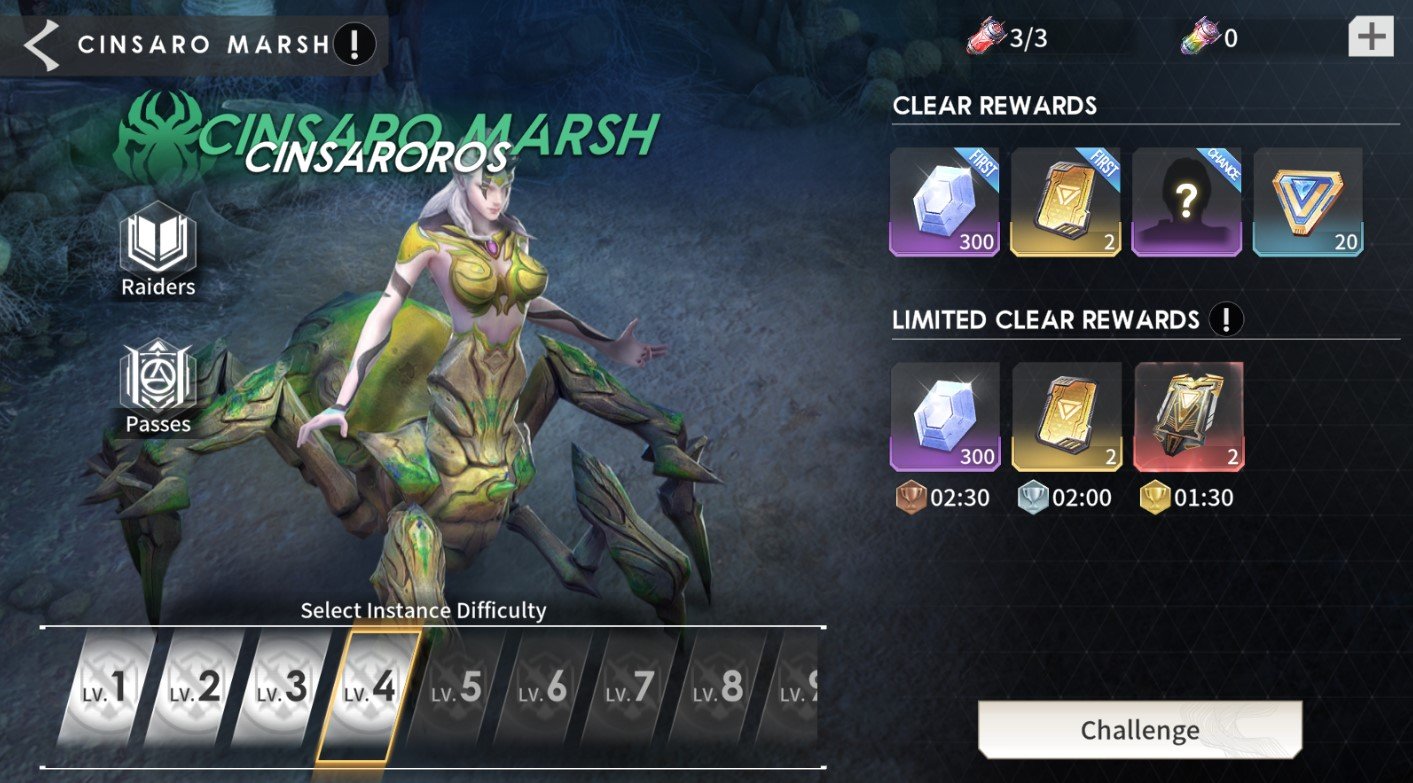
From Cinsaro Marsh you can acquire Commanders, and of course, these are very important as you may have noticed from the above two bosses, but they aren’t incredibly difficult to farm which makes this boss less relevant than the other two.
This boss may become a higher priority for you if you do not have a good commander – As soon as you do, change your focus to the other two bosses.
This boss can also drop Advanced Recruitment Cards.
At the beginning of the fight, you will need to deal enough damage to the big eggs that spawn within a time limit, if you fail to do so, the eggs will burst to cause damage to all of your Champions – This phase will repeat itself during the encounter.
From the eggs, Spiders will spawn, which can attack your Champions and deal significant damage.
Periodically, Green Glowing Spiders will spawn and attempt to run toward the Green Circle in front of the boss, which if they successfully reach will deal devastating damage to your whole team.
We strongly advise always playing this boss on manual to ensure you are able to handle the Spider spawns.
The priority stage to reach in this boss is Stage 9, granting you access to Red (Mythic) Commanders.
Recommended Champions:
In order to be able to handle the Spider spawns, you will need to bring AOE-based Champions, ideally two or three.
- Luke (S+)
- Omar
- Poluno
- Murphyro
In addition to these AOE Champions, you will want a Champion with high damage, such as Nadilus and Taylor.
Another very helpful addition to your team for this encounter will be a tank or a strong melee fighter, Krete can be very helpful at killing the Green Spiders.
- Krete
- Hercules
- Oak
- Bohr
- Artas
- Oisa
Just like the previous bosses, your final spot should be occupied by a Healer, and once again Serena is by far the best choice, followed by Liran. You can actually use Serena here instead of a tank, freeing up space for an additional damage dealer.
Another option in this fight is Aniruddha to give your team shields and bind enemies.
Prototypes and Commander:
The best Commander for this encounter will be Rota, to help you in killing the Spiderlings with the AOE ability.
Prototypes that increase your damage and healing should be picked, alternatively, you can use Support AOE Champions:
The following options are recommended:
Dominator: Flowing Rune, Preying Eyes, Power Word: Pain
Tenacity: Company of Heroes, Ancestral Will, Ultima Ring
Enlightenment: Flashpoint, Coronate, (Without healers: Brilliance, Zoisite Shard)
Strategy:
While your single target damage dealer focuses on the boss, the AOE Champions should be played manually to allow you to focus on the Spiders.
Ultimate Skills should be saved for the Spiders only.
In general, it is important that the spiders can be quickly dealt with, if you are unable to and get overrun, having a healer won’t even save you!

