

RAID: Shadow Legends Proving Grounds Guide – How the New Dungeon Works
RAID: Shadow Legends is getting a major new PvE challenge with the Champion Proving Grounds, a dungeon built around rotating champion pools, challenging boss combinations, and a scoring system that rewards players for building and using specific champions.
Unlike a normal dungeon, simply beating each stage isn’t the main objective. Your real goal is to earn as many stars as possible, and your champion selection can have an enormous impact on your score.
There are 27 stages, rotating champion pools, nine repeating boss combinations, and some potentially powerful new rewards to chase. Here’s what you need to know before jumping in.
How Champion Proving Grounds Works
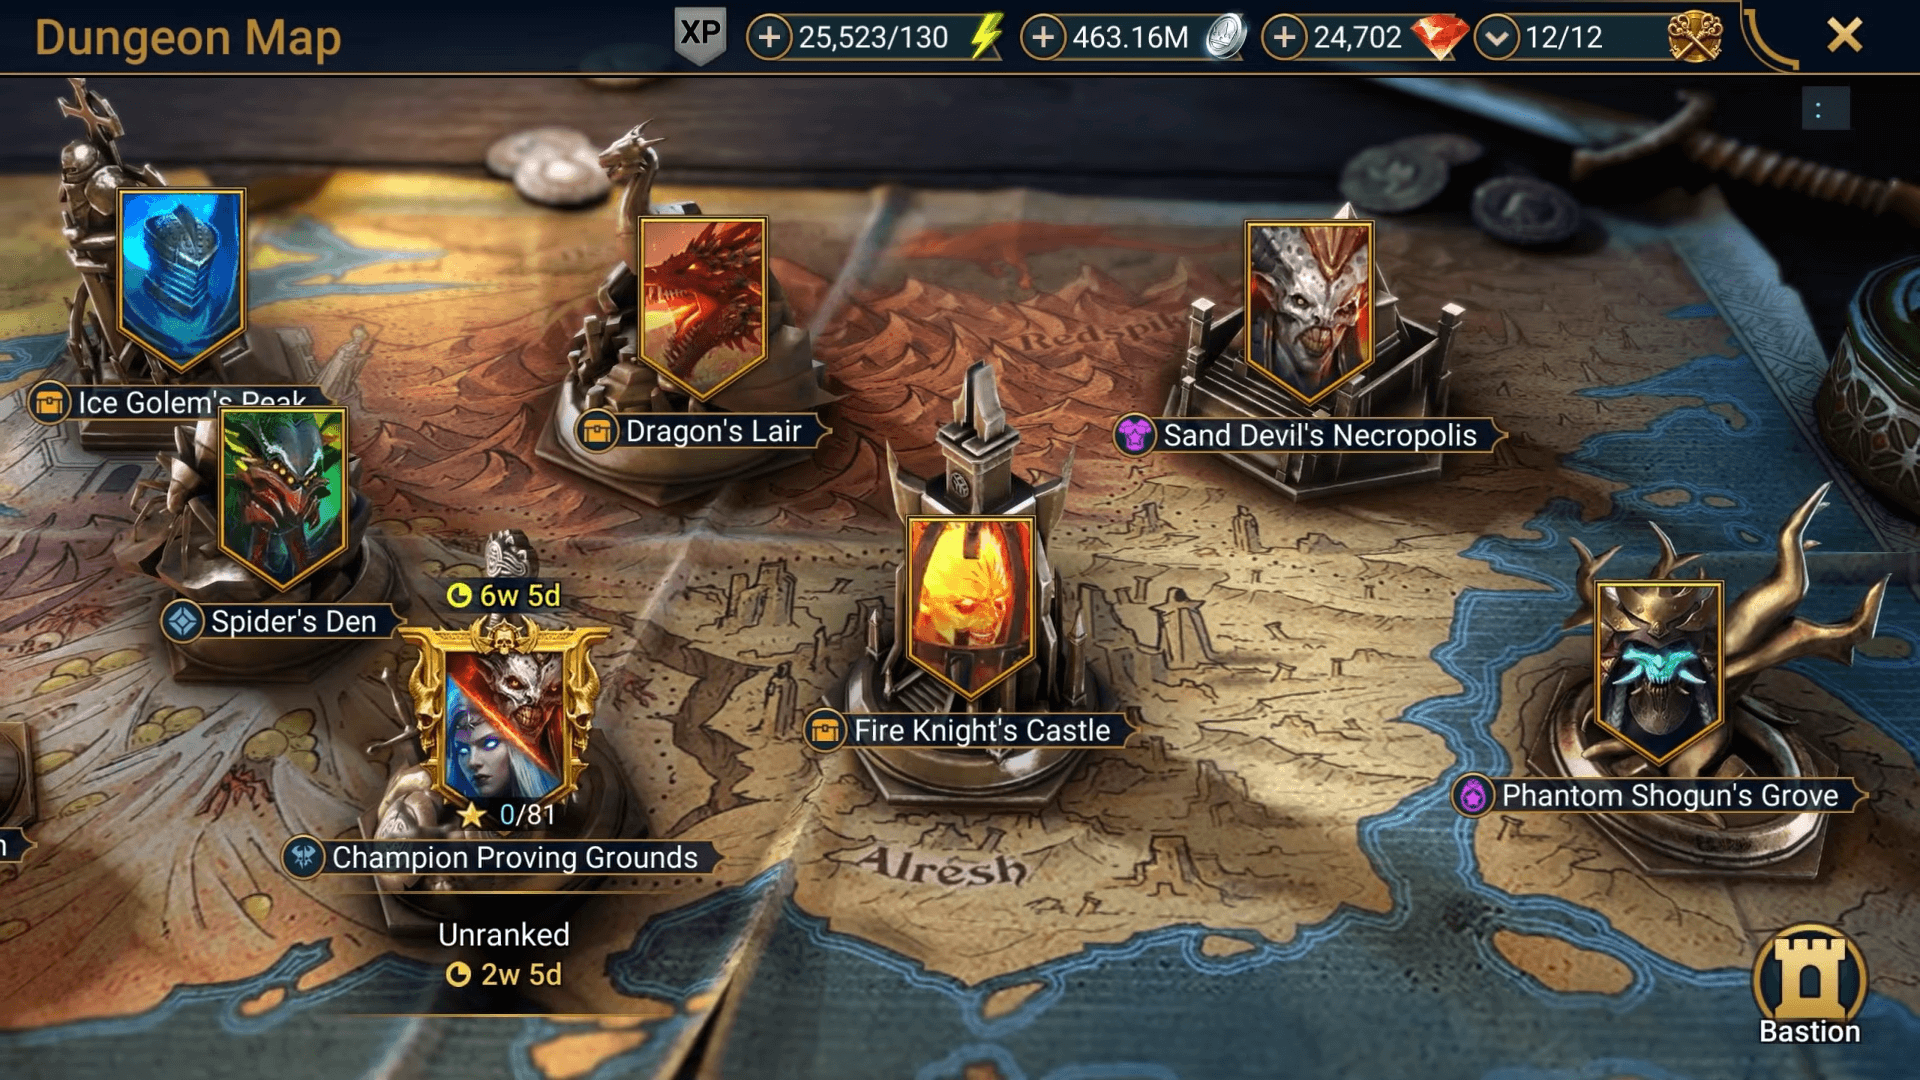
The Proving Grounds uses Attack Tokens to progress through its 27 stages. These tokens refresh daily, while separate Redo Tokens allow you to return to previously completed stages and improve your score.
There’s also a useful Free Regroup option. If a run isn’t going well, you can back out without spending your token, making experimentation considerably less punishing.
Based on the test server version, the rotation is expected to last four weeks. With three battles available per day, clearing all 27 stages once would take nine days, leaving roughly two and a half weeks to revisit stages and improve your results.
Stars Are More Important Than Simply Winning
One of the biggest differences from traditional RAID dungeons is how rewards work.
You don’t receive rewards simply for beating individual stages. Instead, everything revolves around accumulating stars and reaching milestone thresholds.
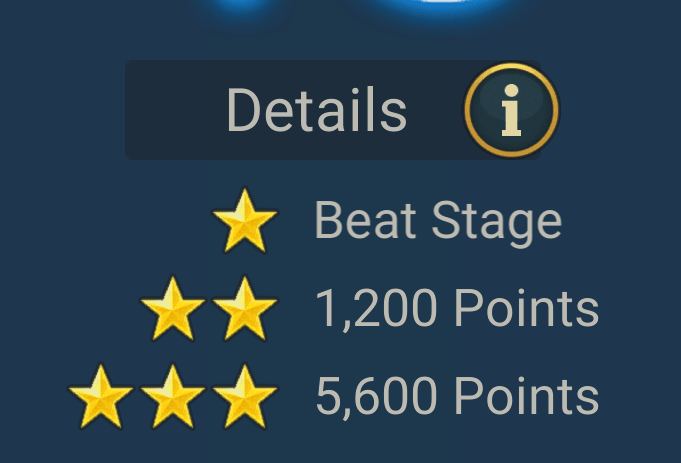
Each stage offers up to three stars:
- 1 Star: Beat the stage.
- 2 Stars: Reach the stage’s intermediate point requirement.
- 3 Stars: Reach the highest point requirement.
The exact point thresholds increase as you progress.
Your base score appears to depend heavily on how quickly you defeat the bosses, but there’s another factor that’s arguably even more important: champion multipliers.
Champion Pools Are the Key to High Scores
Champion Pools Are the Key to High Scores
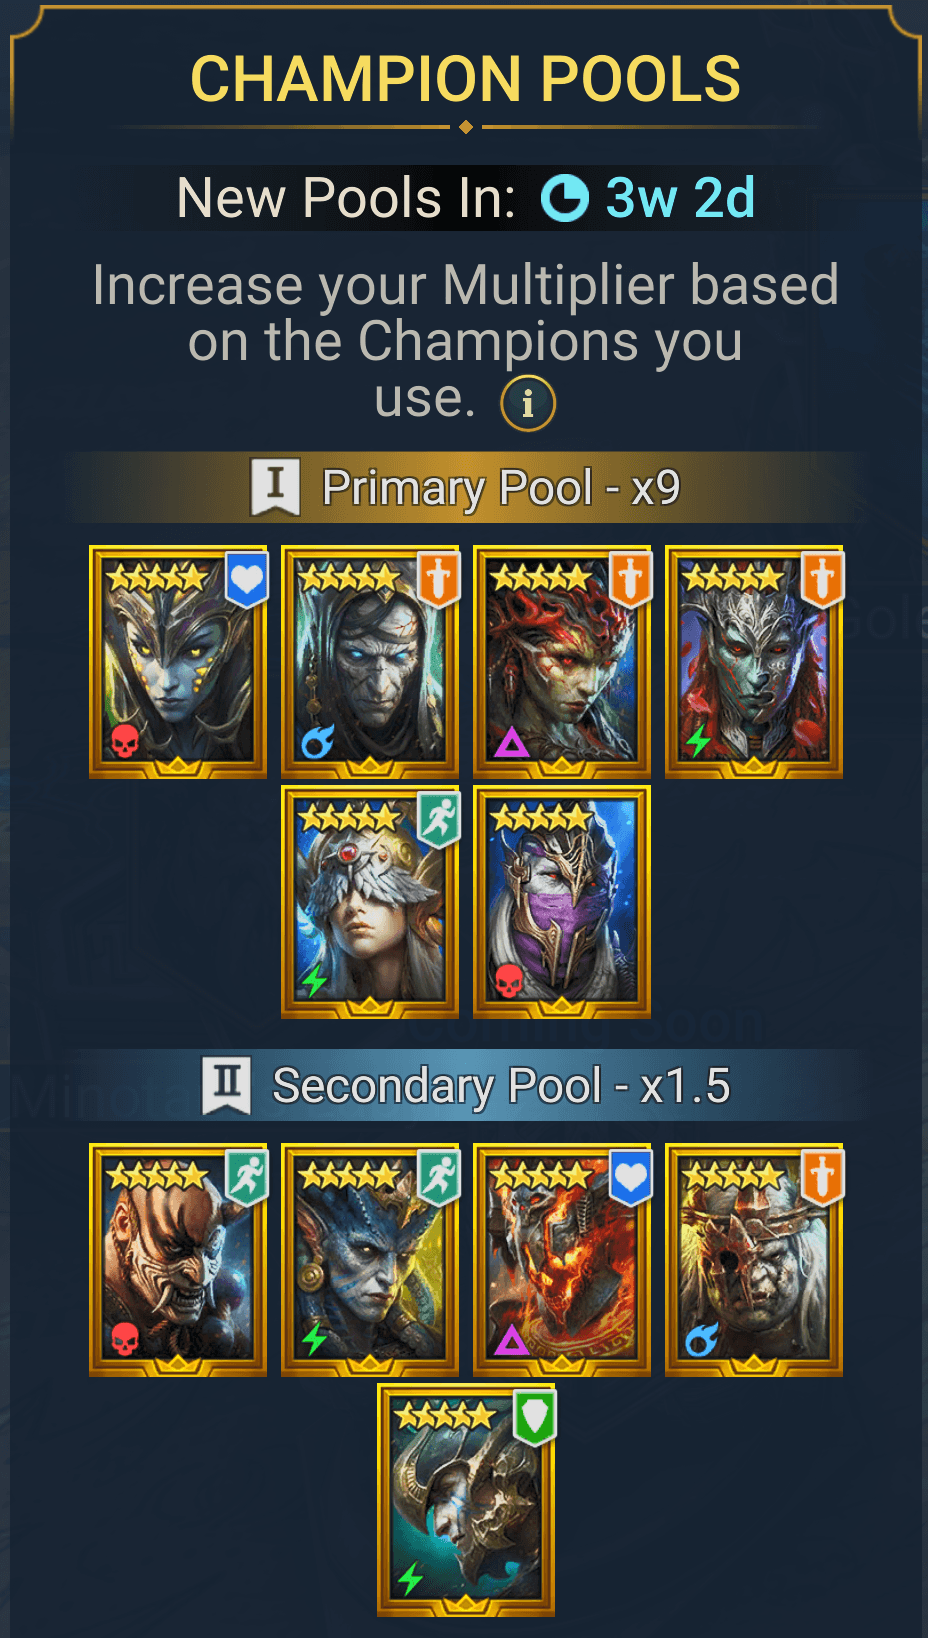
Every rotation features Primary and Secondary champion pools.
Champions in the Primary Pool provide a 9x multiplier, while champions in the Secondary Pool provide a 1.5x multiplier.
Everyone else receives no additional multiplier.
That difference is enormous.
During testing, a powerful boss-killing team containing mostly unrestricted champions scored only 1,531 points on Stage 1. Swapping Ninja for Vallaryn, who qualified for the 9x bonus, pushed the score beyond 6,500 points despite arguably making the team itself slightly weaker.
Using Vallaryn as the only 9x champion still produced roughly 5,900 points, enough to cross the three-star requirement during that test.
The lesson is simple: don’t approach Proving Grounds like a normal dungeon.
Your strongest five champions aren’t necessarily your best five champions here.
Try to Build Around Multiple 9x Champions
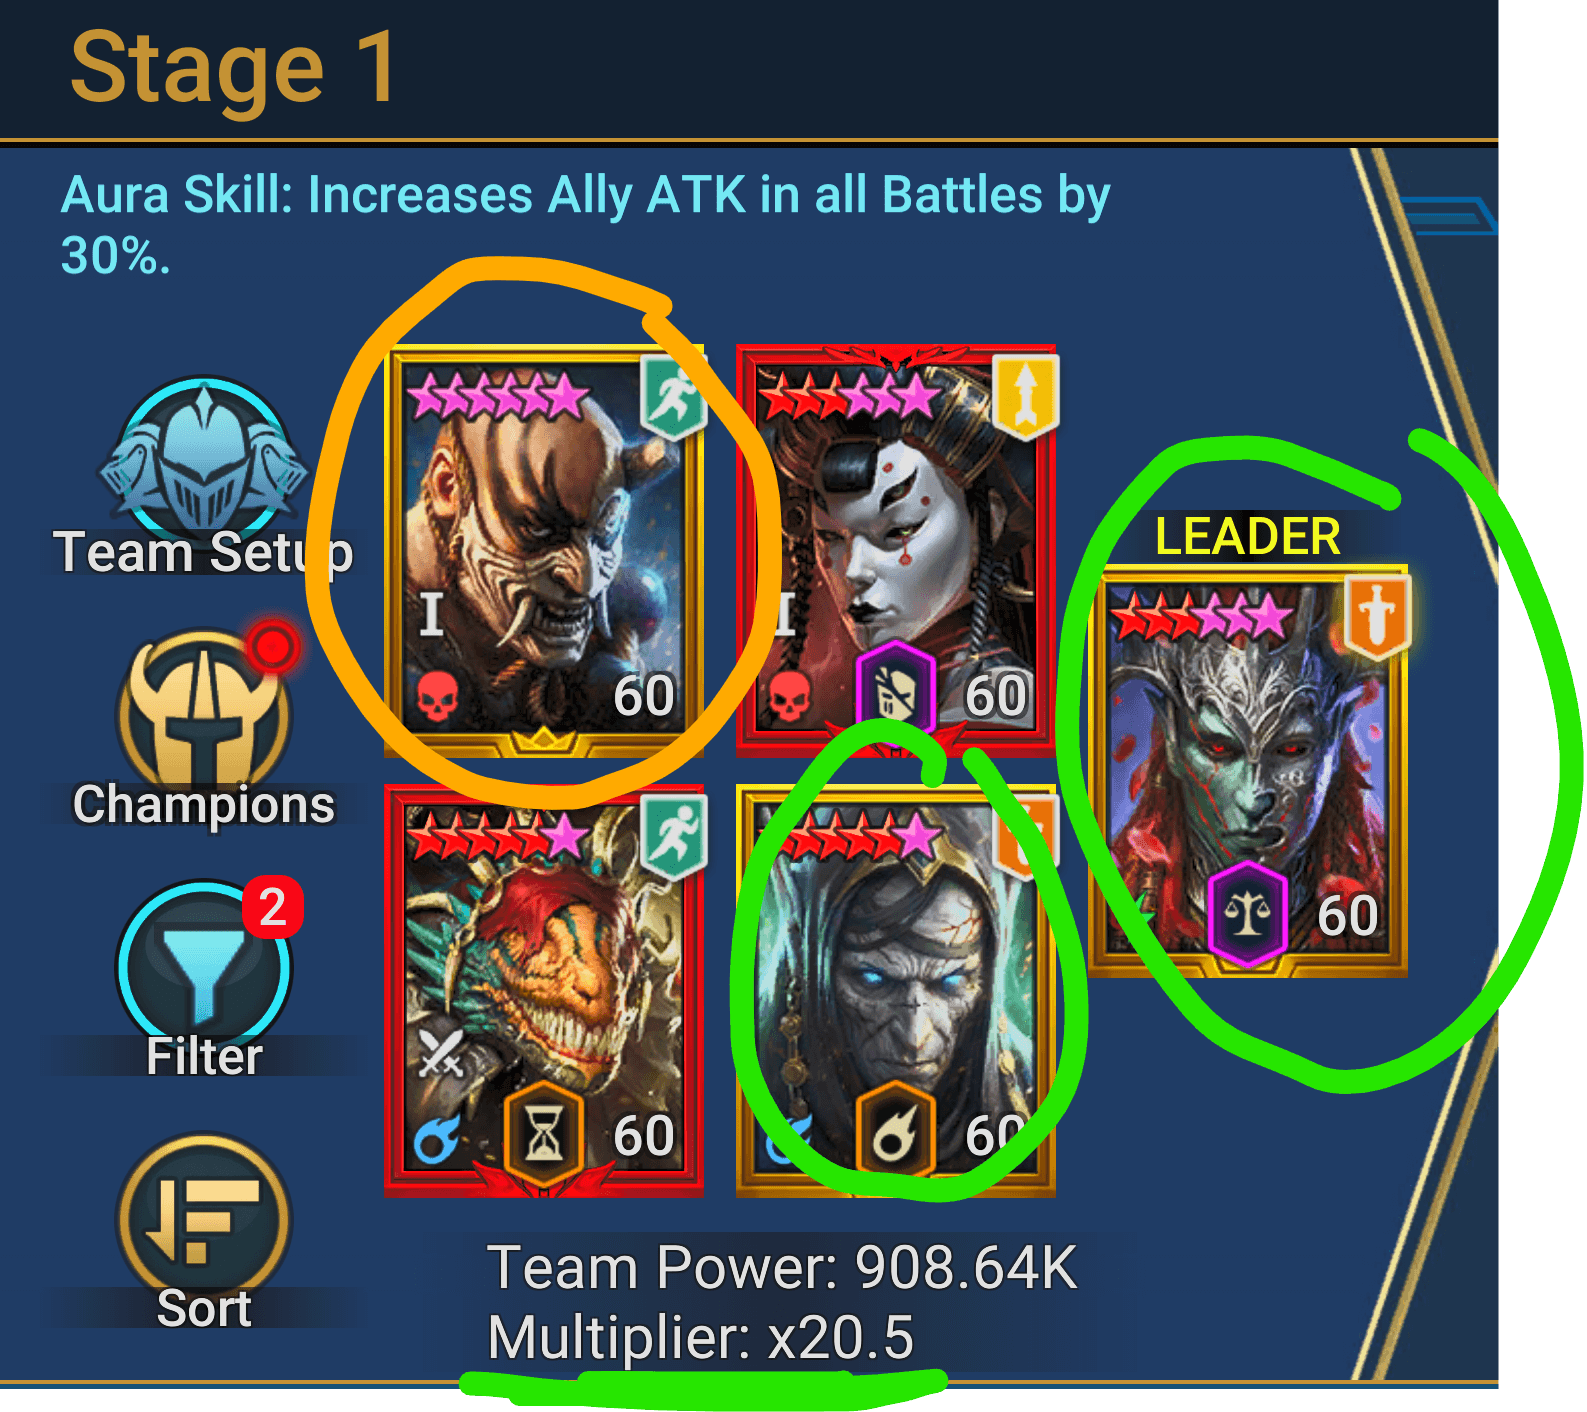
If you’re struggling to earn three stars, your first move should be checking the Primary Pool rather than endlessly improving your existing team.
Testing with three 9x champions produced around 16,000 points on Stage 1 against a requirement of just 5,600.
That’s a huge margin.
For most players, a practical approach should look something like this:
- Check the Primary Pool before building your team.
- Identify two or more 9x champions you can realistically use.
- Fill missing roles with Secondary Pool champions where possible.
- Use unrestricted champions to cover essential mechanics.
- Prioritize survivability first, then optimize your clear speed.
- Revisit completed stages later if you build another multiplier champion.
The scoring system heavily encourages you to engage with the rotating roster rather than brute-force everything with your usual dungeon team.
Building Champions Shouldn’t Be Completely Wasted
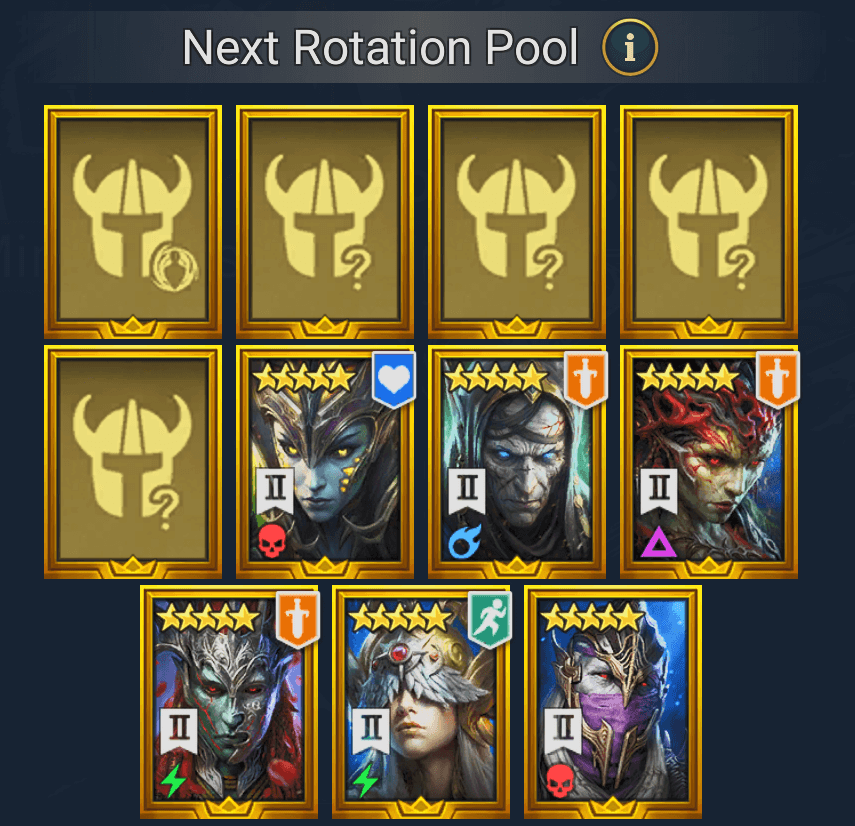
There’s some good news if you’re worried about investing resources into champions purely for one rotation.
The test server showed that the Primary Pool from one rotation becomes the Secondary Pool in the following rotation.
That means a champion built for the 9x bonus should remain eligible for a smaller 1.5x bonus during the next rotation.
It’s a sensible system because building a champion toward the end of a four-week cycle doesn’t immediately make that investment worthless once the rotation changes.
Prepare for Some Seriously Difficult Bosses
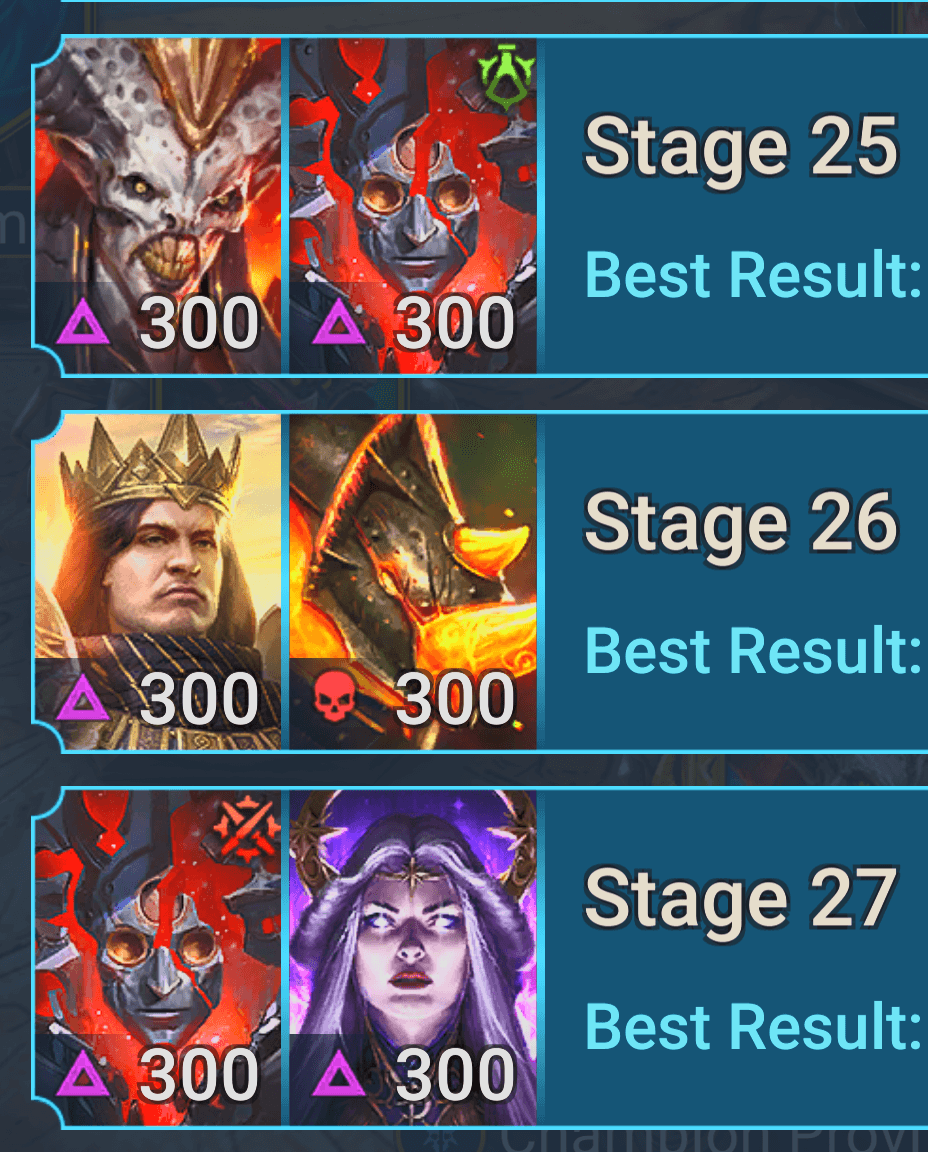
Proving Grounds isn’t just a scoring challenge. Some of the later encounters look genuinely difficult.
There appear to be nine boss combinations that repeat three times, increasing in difficulty as you progress through the 27 stages.
Several encounters stand out.
Sand Devil
Sand Devil could be one of the biggest progression blockers.
The boss appears on multiple stages and can quickly wipe teams that don’t have a reliable survival strategy. Revivers and champions capable of keeping the team alive through its major attacks could become essential.
The challenge is even greater because you’re trying to solve the fight while simultaneously fitting multiplier champions into your team.
Scarab King
Shields are the obvious priority against Scarab King.
You’ll want reliable Shield buffs to prevent his counterattacks, while Protected buffs can help against his ability to steal them.
A specialist Scarab champion may also be worth sacrificing one multiplier slot for if that’s what you need to clear the encounter consistently.
Iron Twins and Griffin
This combination could be particularly awkward.
Griffin can transfer debuffs and remove buffs, while Iron Twins becomes dangerous as you push through its HP thresholds.
Be careful about blindly loading these bosses with debuffs. Timing and survivability could matter much more than raw damage.
Bommal
Bommal is another potential roadblock, especially if your available multiplier champions bring Turn Meter reduction.
Reducing Bommal’s Turn Meter causes additional Dreadbombs to appear, so champions that normally seem useful can actually make the encounter harder.
Protected Block Debuffs should be particularly valuable for surviving the incoming Bombs, Burns, and other effects.
Dark Fae
The final encounter brings Dark Fae and her familiar cloning mechanics.
The difference here is that the fight can last long enough for Dark Fae to clone your entire team again, meaning you need a strategy capable of handling more than the initial duplicate wave.
That makes your own champion selection especially important. Bringing an extremely dangerous champion might help kill the boss faster, but remember—you may have to kill that champion’s clone too.
What Rewards Can You Earn?

There are 81 stars available, which means fully completing the rotation requires three-starring all 27 stages.
Milestone rewards include Amberstones, Starstones and the new Anomalous Accessories.
The Relic rewards looked considerably less impressive during testing, especially considering the lack of Mythical rewards from the regular milestones.
The Anomalous Accessories, however, could be the real prize.
Anomalous Accessories Could Be Extremely Powerful
These new accessories can roll unusual bonuses specifically affecting PvE, PvP, dungeons and bosses.
Examples seen during testing included effects such as:
- Increased damage against bosses.
- Increased PvE damage.
- Reduced damage taken from PvE enemies.
- Increased PvP damage.
- Reduced PvP damage taken.
Some of these bonuses appeared alongside strong traditional stats such as Speed, Accuracy and DEF%.
That’s where things get interesting.
A good accessory already improves your champion’s core stats. Adding direct percentage bonuses against bosses or other PvE enemies could make an excellent piece significantly stronger.
The test rewards also produced more Anomalous stats than initially expected, suggesting usable pieces might not be exceptionally rare.
Finding the perfect combination will still be difficult, but these accessories could become an important part of high-end champion optimization.
It hasn’t opened, but to those with nothing better to do, if you open the filter on your accessory tab, they will be listed only as a sub state. I haven’t seen a glyph for these though, be nice if they do exist.
Absolute garbage for anyone that’s not a whale
The worst “update” I’ve ever seen