
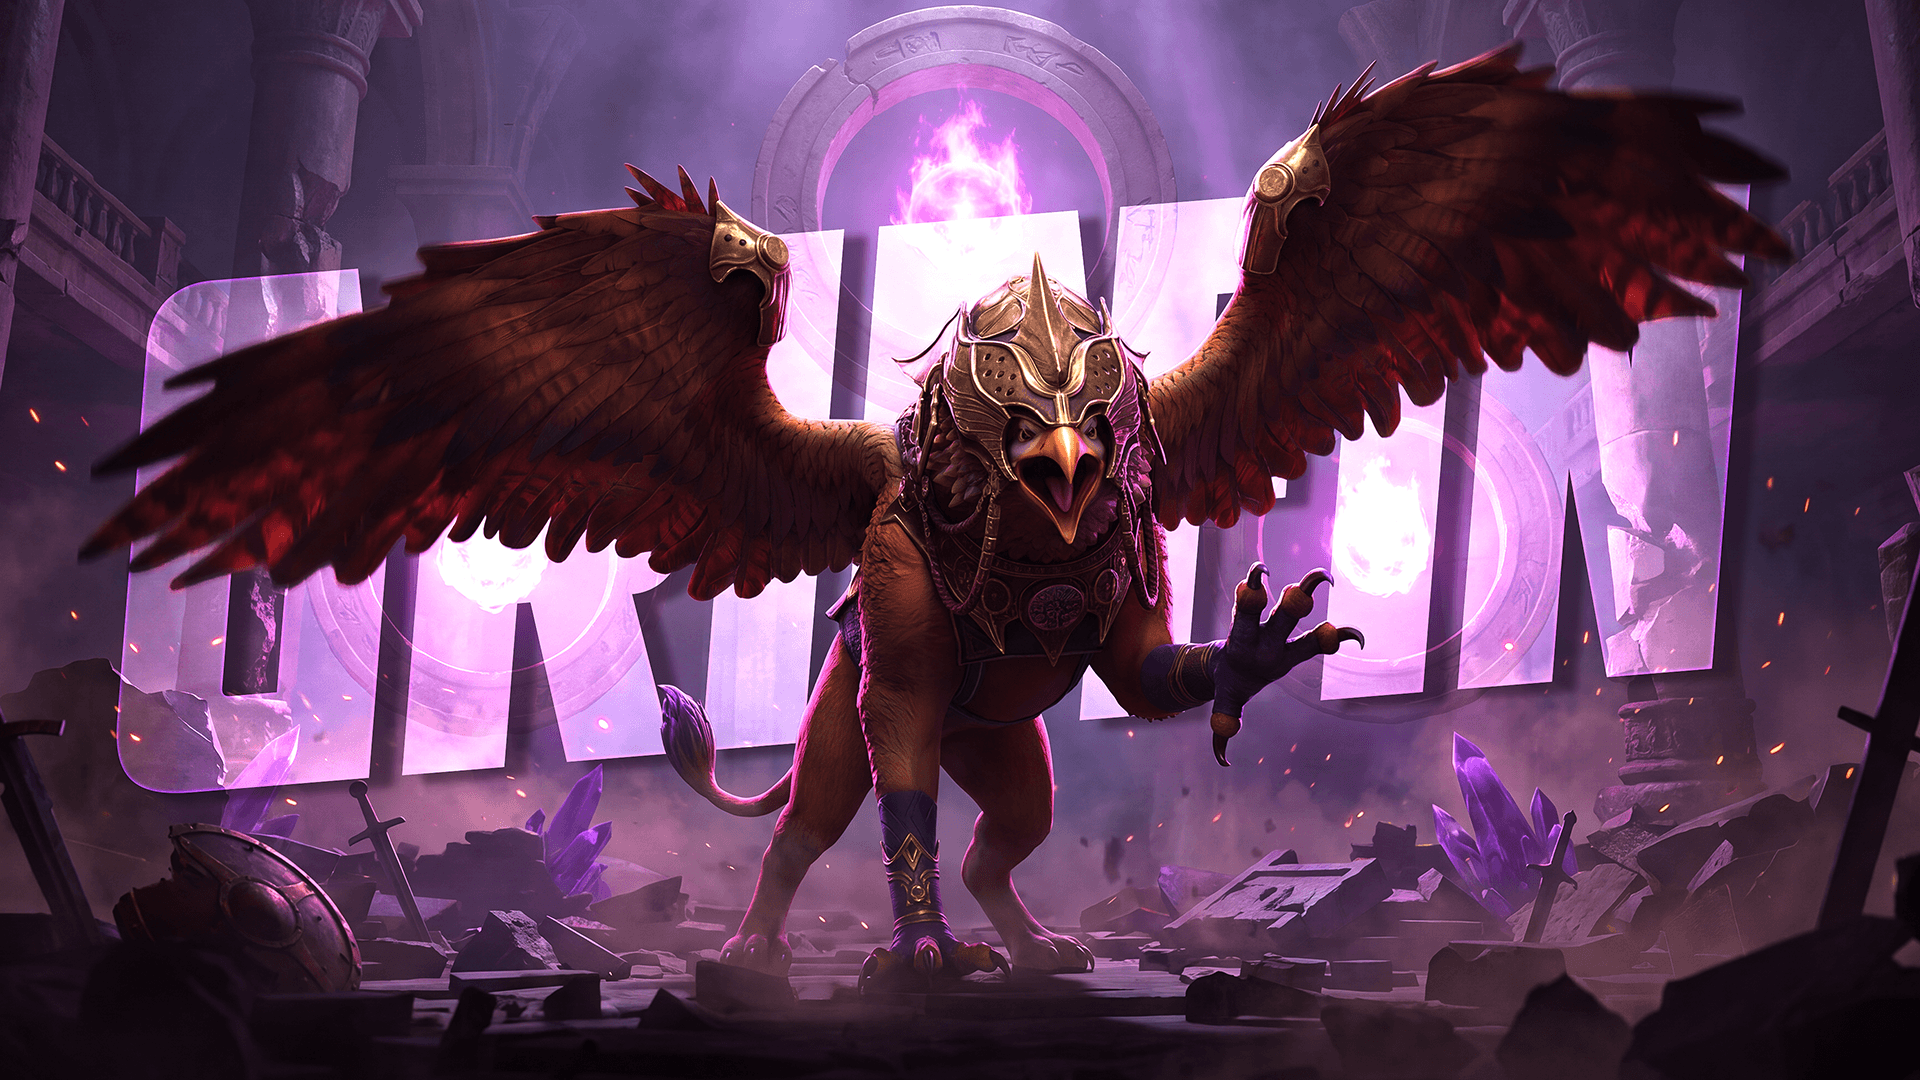

Understanding Griffin’s Mechanics in Raid: Shadow Legends
In this guide, we explore how the Celestial Griffin works in Raid: Shadow Legends. Learn the key mechanics behind this Doom Tower boss encounter, the best Champion types and strategies for controlling its Sky Bond stacks, how to manage buffs and Turn Meter effects, and how to build teams capable of consistently defeating it across the Doom Tower & Cursed City.

What Is the Griffin?
Grythion the Celestial Griffin is a Doom Tower, Proving Grounds & Cursed City boss built around gradually becoming more dangerous as the fight progresses. Its unique Sky Bond mechanic increases its ATK, C.RATE, C.DMG, and SPD as stacks accumulate, gaining additional stacks whenever Grythion takes a turn or one of your Champions drops below 50% HP. Once enough stacks build up, Grythion can even ignore defensive effects such as Shield, Block Damage, and Unkillable.
Grythion can remove your buffs to increase its own damage, transfer debuffs placed on it back onto your team, and react to Turn Meter manipulation by gaining or reducing Turn Meter alongside your Champions. This makes the Celestial Griffin a battle where controlling the turn order of the fight and preventing its Sky Bond stacks from building too quickly becomes increasingly important.
Understanding Griffin’s Skills

Shockwave
Grythion attacks a single Champion and places Fear for 1 turn. While this is his most basic attack, the Fear can still disrupt your rotations by preventing an important Champion from using their intended skill.
Rock Smash
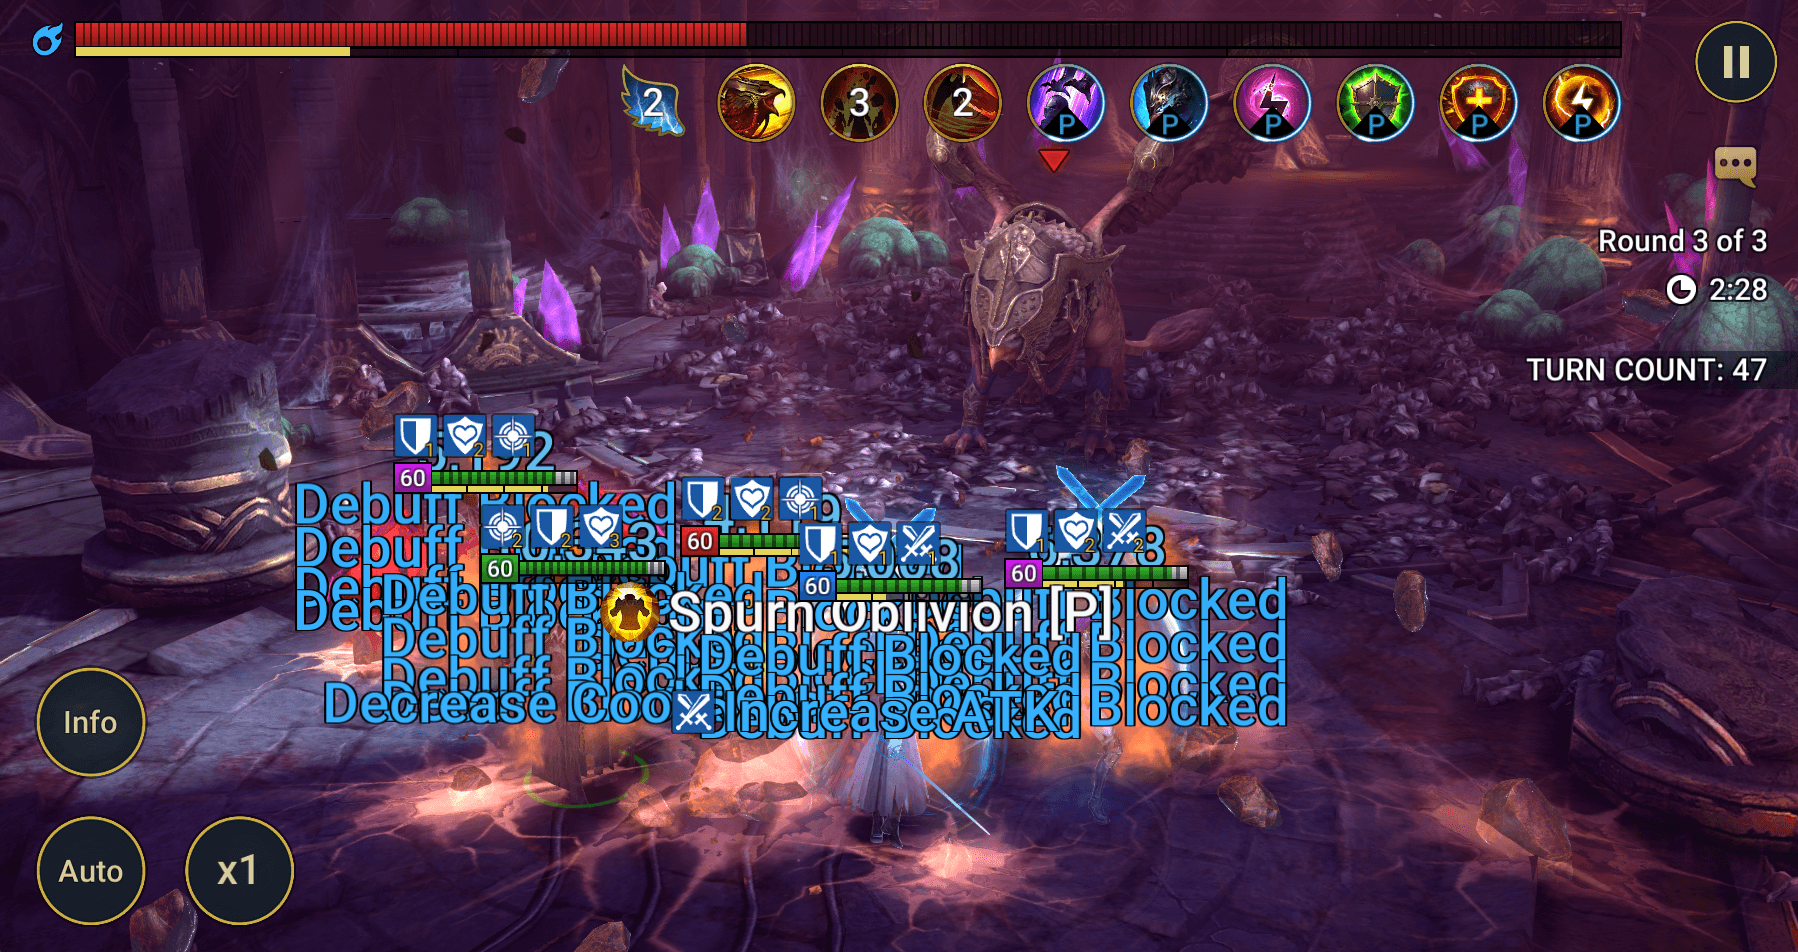
Grythion transfers every debuff currently placed on him onto each of your Champions before attacking the entire team. He also fills his Turn Meter by 5% for every debuff transferred, so stacking too many debuffs before this skill can quickly work against you. Timing a Block Debuffs during this phase, or having a cleansers skill ready is crucial.
Death Gust
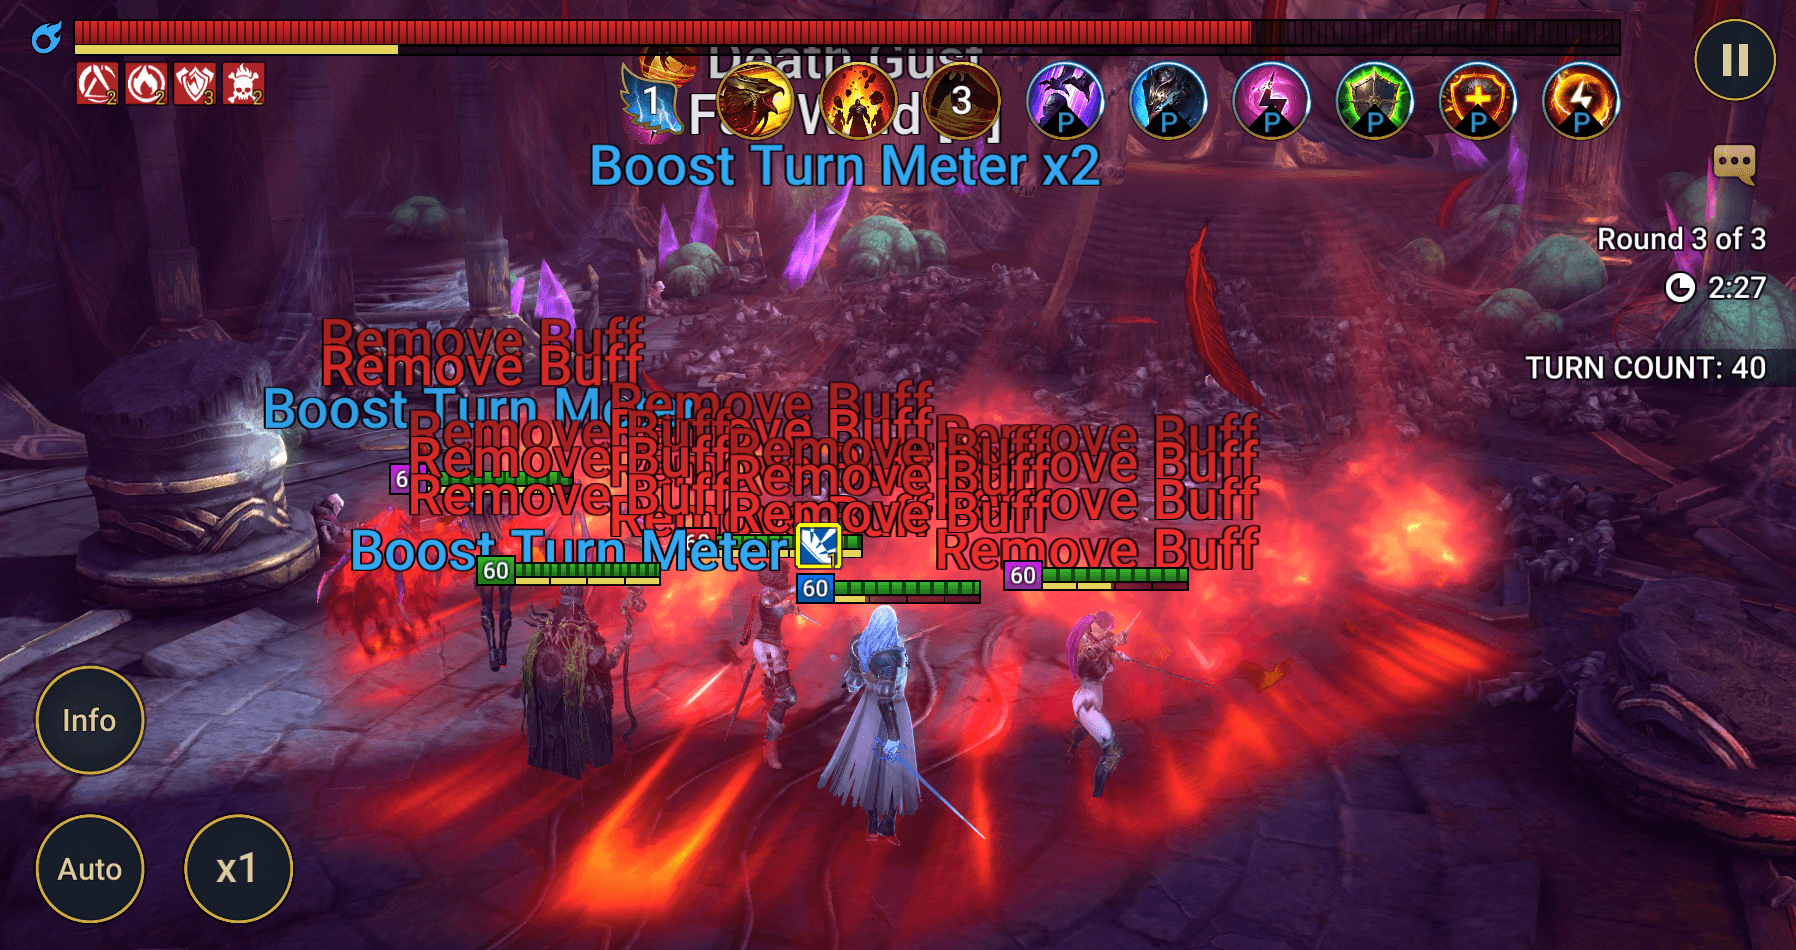
Grythion removes all buffs from your Champions before attacking the entire team, and this buff removal cannot be resisted, though protected buffs can remain. The attack deals 10% more damage for every buff removed, meaning excessive buffs can significantly increase the damage your team receives. Trying to wear off your buffs before this attack can reduce the impact of the skill.
Divine Strike (P)
Whenever a Champion drops below 50% HP, Grythion immediately attacks them and places 100% Heal Reduction for 2 turns. This makes dropping below the 50% threshold particularly dangerous, as you’ll take another hit while also becoming much harder to heal back up.
Celestial Bond (P)
Celestial Bond is the main mechanic behind Grythion becoming increasingly dangerous as the battle progresses. He gains one Sky Bond stack at the start of each turn and another whenever one of your Champions drops below 50% HP.
Each stack increases Grythion’s ATK by 5%, C.RATE by 3%, C.DMG by 5%, and SPD by 2.5, stacking up to 20 times. Once he reaches 10 stacks, his attacks also ignore Shield, Block Damage, and Unkillable, making it important to avoid accelerating his stacks wherever possible.
Fair Wind (P)
Turn Meter manipulation can easily work against you when facing Grythion. Whenever his Turn Meter is decreased, your Champions have their Turn Meters reduced by the same amount, with anyone reaching a fully depleted Turn Meter also receiving Stun for 1 turn.
Turn Meter boosts can be equally problematic. Whenever a Champion has their Turn Meter filled, Grythion receives the same amount, allowing him to take turns faster and build his Sky Bond stacks sooner.
Additional Passives
Grythion is immune to control effects, alongside HP exchange, HP balancing, and cooldown increasing effects. Enemy MAX HP attacks are capped at 10% of his MAX HP per hit, while any Turn Meter reduction used against him is reduced by 50%.
Building Out Your Team
One thing to account for is the waves leading up to the boss. You’ll need enough damage and control to clear them safely, while ideally keeping your most important skills available for when you reach Grythion. We recommend using the Stages Tool to identify the Champions you’ll face on each stage, alongside the Speed, Accuracy, and other stat requirements needed for the boss.
Turn Order
Grythion opens with his A3, removing all buffs from your team before attacking and dealing increased damage for each buff removed. During this opening phase, you’ll generally want to avoid unnecessary buffs, instead focusing on dealing damage and applying the debuffs you need for the fight.
His next turn will be the A2, which transfers all debuffs from Grythion onto your team. There are two main ways to prepare for this: have Block Debuffs active before the transfer, or keep a timely Cleanse ready to remove them afterwards. Block Debuffs is generally the cleaner option, as Grythion still gains Turn Meter for each debuff he transfers even if you cleanse them afterwards.
From here, you’ll have a window to deal as much damage as possible before his active skills cycle back around. Keeping track of these cooldowns can make the encounter much easier, allowing buffs to naturally expire before his buff removal and ensuring Block Debuffs is ready before he transfers your debuffs back onto the team.
Block Debuffs Champion
Block Debuffs is one of the safest ways to deal with Grythion transferring his debuffs back onto your team. Time this before Rock Smash to prevent those transferred effects from disrupting your Champions.
Damage Dealers
Bring enough damage to take Grythion down before his Sky Bond stacks become too high. Strong single target nukers and Enemy MAX HP Champions can help you make the most of your damage windows and shorten the encounter.
Healers & Cleansers
Strong healing helps keep your Champions above 50% HP, preventing unnecessary Sky Bond stacks and avoiding Grythion’s Divine Strike passive. Cleansing is also valuable for removing Heal Reduction if a Champion does fall below this threshold, alongside any debuffs transferred by the boss.
Increase SPD & Debuff Support
Turn Meter fills and reductions can work against you, but Increase SPD provides a safer way to cycle your Champions faster and keep ahead of Grythion. Just be mindful of applying it after his buff removal, with Champions such as Lydia providing Increase SPD alongside Decrease DEF and Weaken to enhance your damage.
Decrease ATK & HP Burn
Decrease ATK can significantly reduce the pressure from Grythion’s attacks and help prevent Champions dropping below 50% HP. HP Burn can also provide consistent damage, with Champions such as Ninja able to activate it for additional bursts without needing to overload the boss with debuffs that could later be transferred.
Ally Attack Champions
Ally Attack provides a strong source of burst damage without requiring additional buffs. This makes it particularly useful during windows where Decrease DEF, Weaken, and other key debuffs are active, allowing your team to push out as much damage as possible before Grythion cycles back to his dangerous skills.
Avoid Turn Meter Manipulation
Try to avoid Champions heavily reliant on Turn Meter fills or reductions. Grythion’s Fair Wind passive punishes both mechanics, reducing your team’s Turn Meters when his is decreased and gaining Turn Meter whenever your Champions receive Turn Meter fills.

Griffin Team example
Here are some Champions that stand out when building teams for the Celestial Griffin, covering several of the most effective roles for controlling the encounter and taking down the boss before its Sky Bond stacks become overwhelming. Use these picks as examples when building your own team, adapting the approach around the Champions available on your account.
Padraig

Padraig brings useful support against the Celestial Griffin, passively placing buffs on allies based on their Champion type. This allows him to reapply buffs after Grythion removes them without relying entirely on active skill cooldowns. His Increase SPD does come alongside a Turn Meter fill, which can also boost Grythion, but his main value comes from enabling Ally Attacks for strong bursts of damage while also providing a useful cleanse when needed.
Lydia

Lydia brings Decrease DEF and Weaken to enhance the damage your team deals, alongside Strengthen and Increase SPD to help allies withstand incoming hits and outpace the Celestial Griffin. These buffs can be particularly useful after Grythion uses his buff removal skill, making Lydia an easy fit for many teams if you’ve obtained her through Faction Wars.
Whisper

In the right build, Whisper remains one of the strongest single target boss slayers in the game. Her Extra Turn potential while Decrease DEF and Weaken are active can allow her to attack repeatedly during your main damage windows. She also passively deals 20% more damage to bosses, while her A2 can ignore 100% DEF when the target is under Weaken.
Minaya

Minaya brings a strong combination of a 40% heal and Block Debuffs for all allies, alongside Shields for anyone who is fully healed. This helps keep your team above 50% HP to avoid triggering additional Sky Bond stacks, while a well timed Block Debuffs can protect against Grythion’s debuff transfer. She also brings Leech, allowing allies to recover additional HP through the damage they deal.
Rotos

This particular team didn’t need any additional support due to how quickly Whisper could take down the boss, so Rotos was brought in for extra damage to speed up the encounter. This can vary depending on your account and how well you’re surviving Grythion’s attacks, so consider this a flexible slot where you can bring additional healing, protection, or other support if needed.
Tips for taking on Griffin

- Keep Allies Above 50% HP – Every time one of your Champions drops below 50% HP, Grythion gains another Sky Bond stack and immediately attacks them with Divine Strike. Strong healing can prevent these unnecessary stacks and slow down how quickly the boss becomes dangerous.
- Save Key Skills Through the Waves – You’ll need to clear waves before reaching Grythion, so use AI Presets where possible to ensure important cooldowns are available when entering the boss encounter.
- Prepare for the Opening Buff Removal – Grythion opens with Death Gust, removing all buffs before dealing increased damage for each one removed. Avoid placing unnecessary buffs before this attack and look to apply your important buffs afterwards.
- Time Block Debuffs for Rock Smash – Grythion follows his opening attack with Rock Smash, transferring his debuffs onto your team. Having Block Debuffs active beforehand is one of the safest ways to prevent those effects from disrupting your Champions.
- Don’t Overload Grythion With Debuffs – Every debuff transferred by Rock Smash also fills Grythion’s Turn Meter by 5%. Focus on the debuffs that provide the most value, such as Decrease DEF, Weaken, and Decrease ATK, rather than unnecessarily stacking effects.
- Make the Most of Your Damage Windows – Once Grythion’s dangerous active skills have been used, you have an opportunity to unload your strongest attacks. Ally Attack and powerful single target damage dealers such as Whisper can help deal huge bursts before those skills cycle back around.
- Avoid Turn Meter Manipulation – Grythion’s Fair Wind passive punishes both Turn Meter reduction and fills. Increase SPD is generally a safer way to outpace the boss without directly manipulating Turn Meter, although some Champions may still be worth using despite bringing these effects.
- Use Brimstone at the Right Time – A timely Smite placement can provide valuable additional damage as Grythion cycles through his active skills, helping wear down his HP without needing to heavily stack additional debuffs.
- Let Buffs Expire When Possible – Keep an eye on the cooldown of Death Gust and allow buffs to naturally wear off before it returns where possible. Fewer buffs removed means less bonus damage coming back at your team.
- Don’t Let the Fight Drag On – Sky Bond makes Grythion progressively stronger as the encounter continues, eventually allowing his attacks to bypass Shield, Block Damage, and Unkillable. Bring enough damage to finish the fight before his stacks become overwhelming.