

RAID Update 11.70 Introduces Champion Proving Grounds
RAID: Shadow Legends Update 11.70 will add Champion Proving Grounds, a permanent rotation-based Dungeon for developed accounts.
The mode combines 27 dual-Boss stages with rotating Champion Pools and score-based rewards. Players can earn Anomalous Accessories, Statstones and materials for six Legendary Faction Relics.
Here is everything confirmed, plus an early breakdown of the strongest rewards.
What Is Champion Proving Grounds?
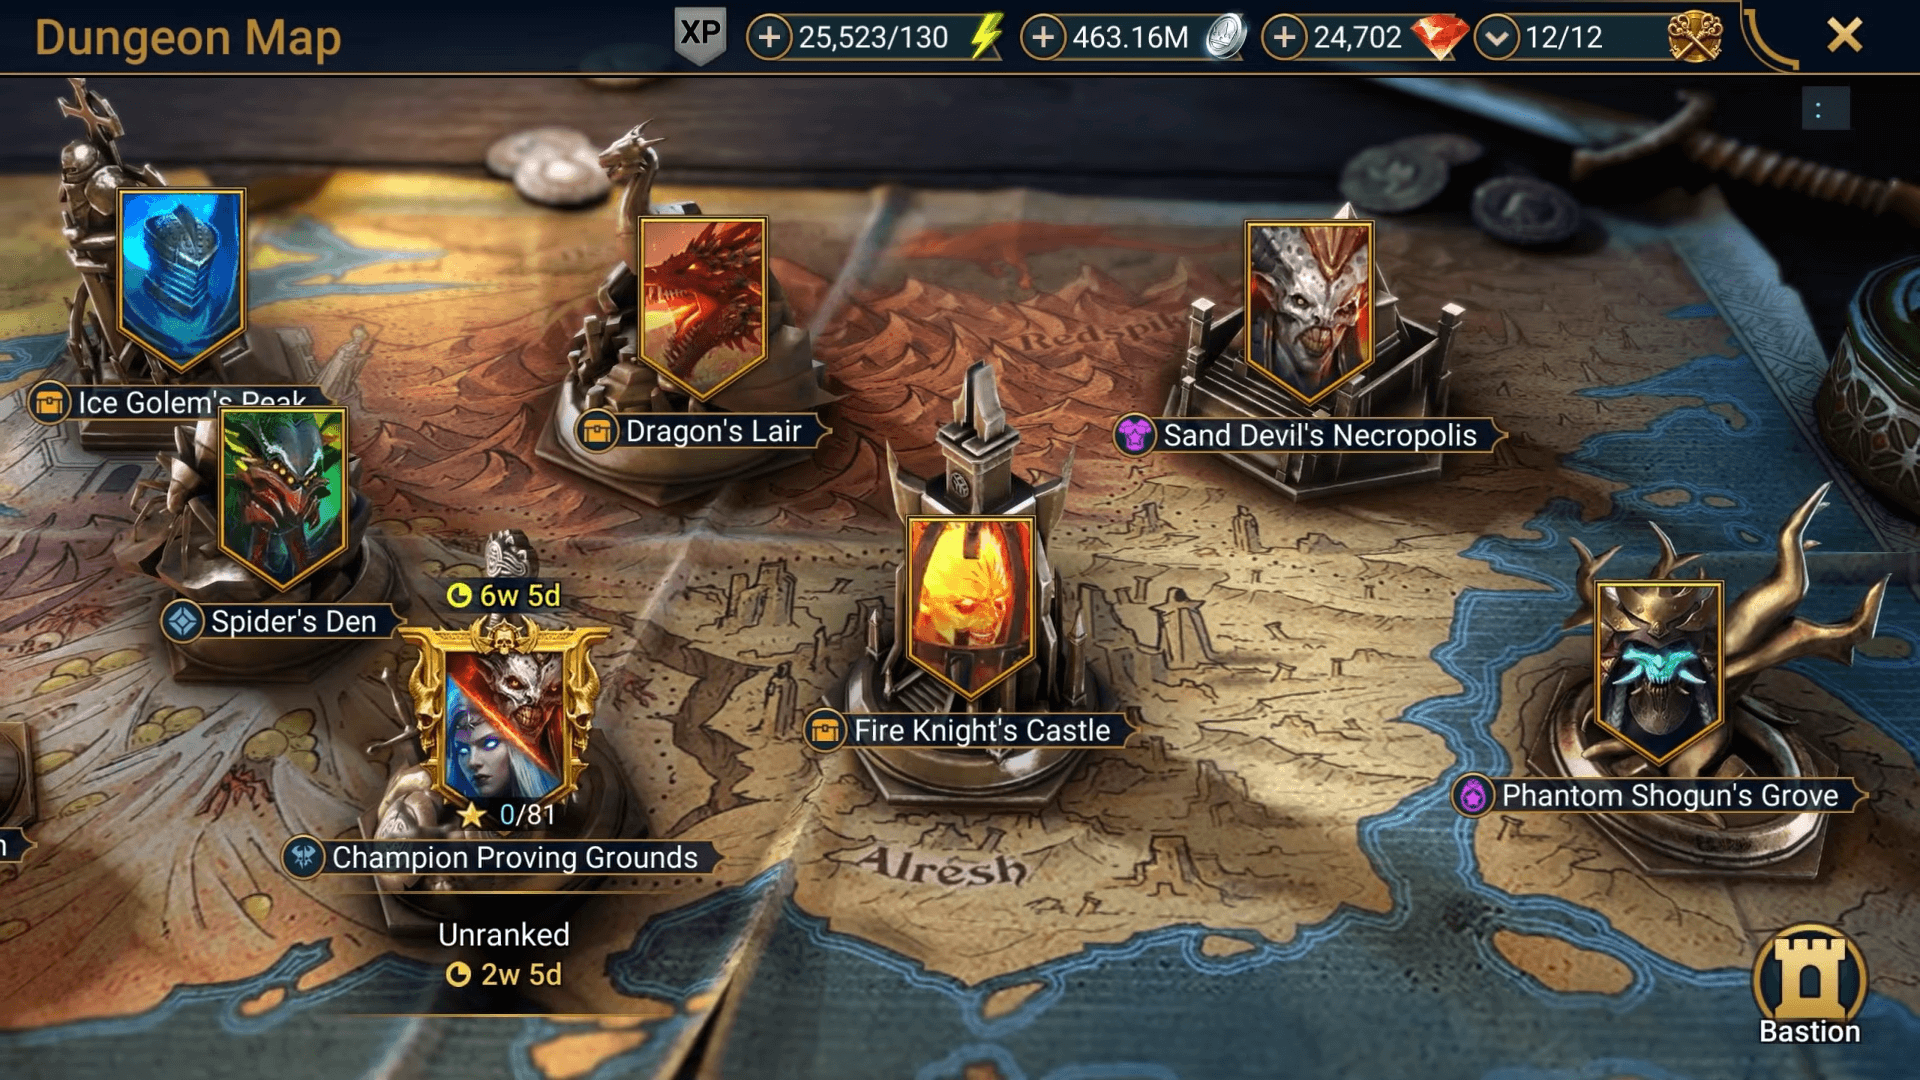
Champion Proving Grounds unlocks at Player Level 60. It will appear between the Spider and Fire Knight Dungeons.
This new Dungeon does not replace the Event Dungeon.
Each rotation contains 27 stages. Every stage places your team against two existing RAID Bosses. The confirmed selection draws from several areas:
- Gear and Potion Dungeons
- Doom Tower
- Faction Wars
- Iron Twins Fortress
- Sand Devil’s Necropolis
- Phantom Shogun’s Grove
Preview images featured pairings drawn from Bosses such as Minotaur, Iron Twins, Griffin, Scarab King, Dark Fae, Bommal and Sand Devil.
These pairings remain fixed between rotations. Boss Affinities and stage levels appear fixed too. The rotating Champion Pools create the main team-building challenge.
How Stage Scores and Stars Work
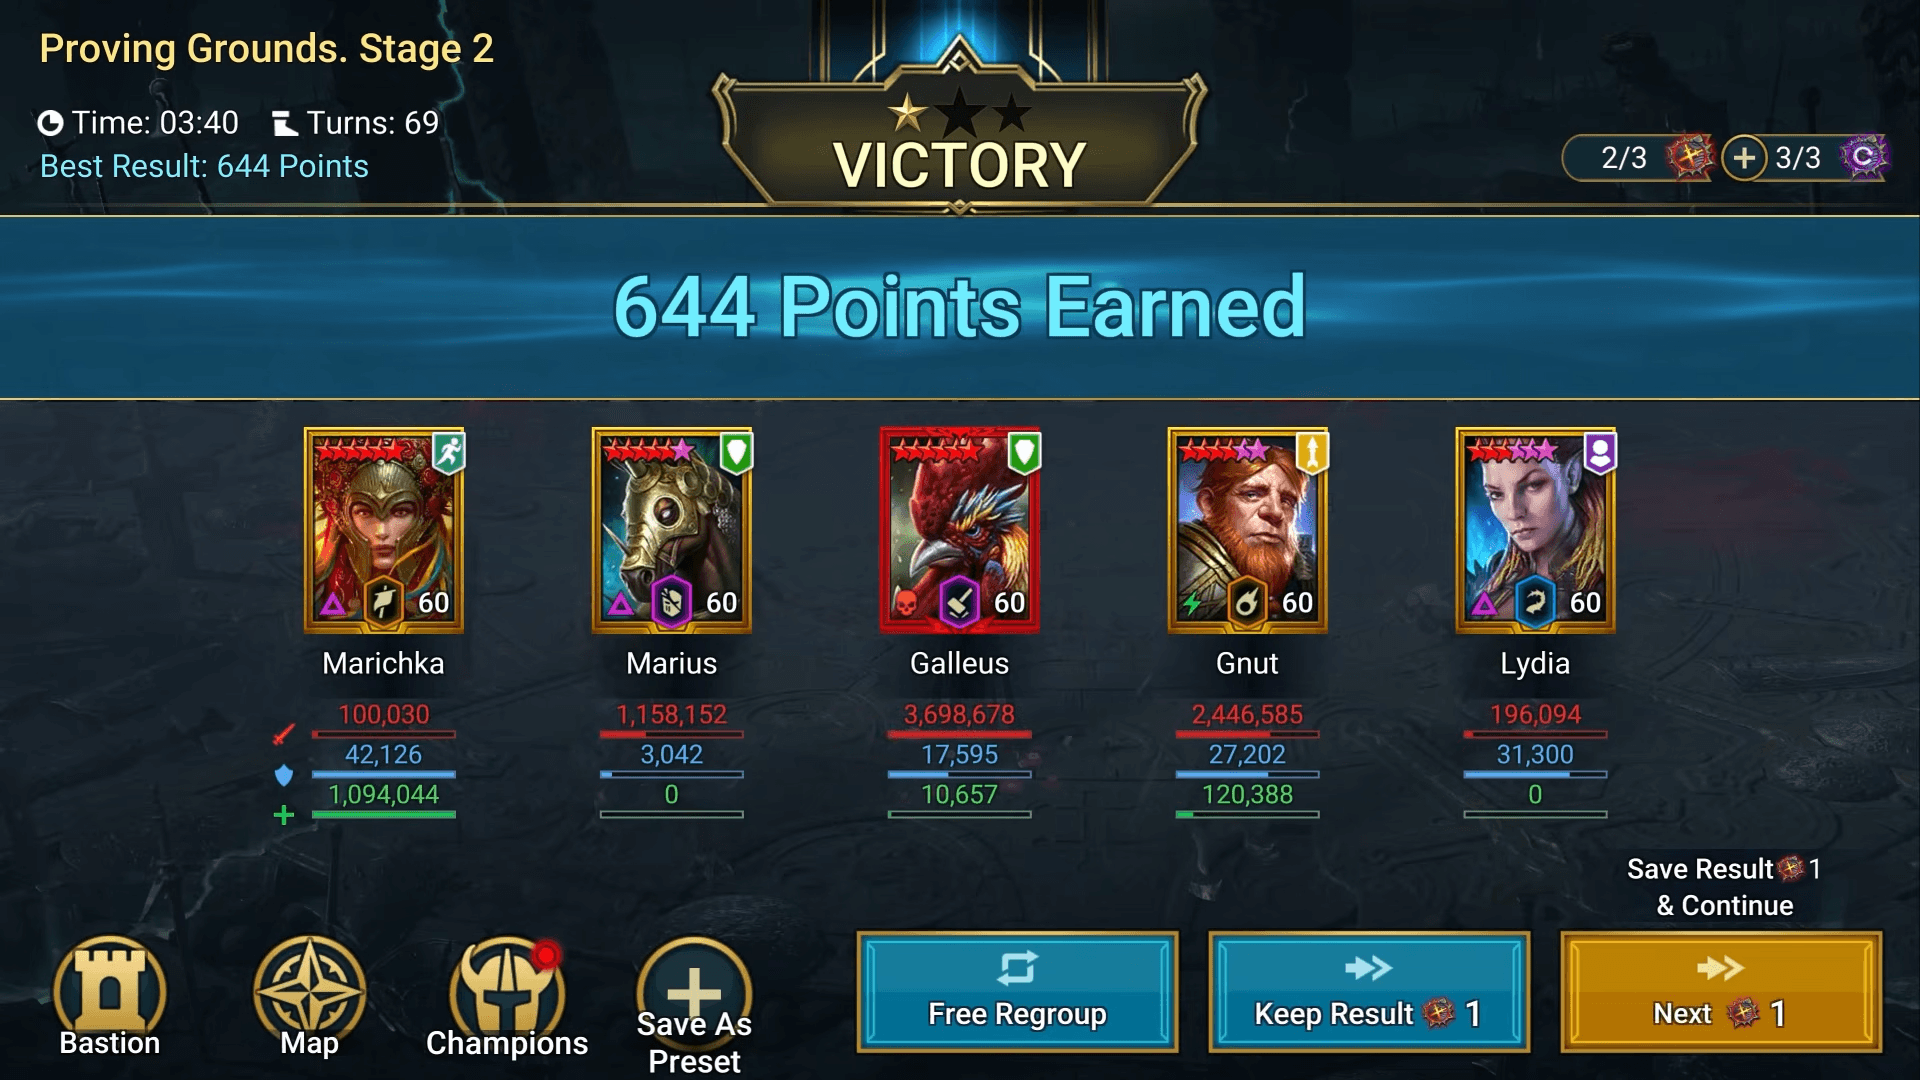
Clearing a stage grants at least one Star. Two and three Stars require higher scores.
Players earn points through the stage battle and its listed conditions. Clear speed appears likely to affect the score, but Plarium has not confirmed the full calculation.
Each stage offers three Stars. This creates a maximum total of 81 Stars across all 27 stages.
One Star should remain possible with Champions outside the featured Pools. Two Stars will require stronger scores. Three Stars will place far more value on the Pool multipliers.
This setup keeps basic stage progression open to most developed accounts. Maximum rewards demand a wider roster.
Primary and Secondary Champion Pools
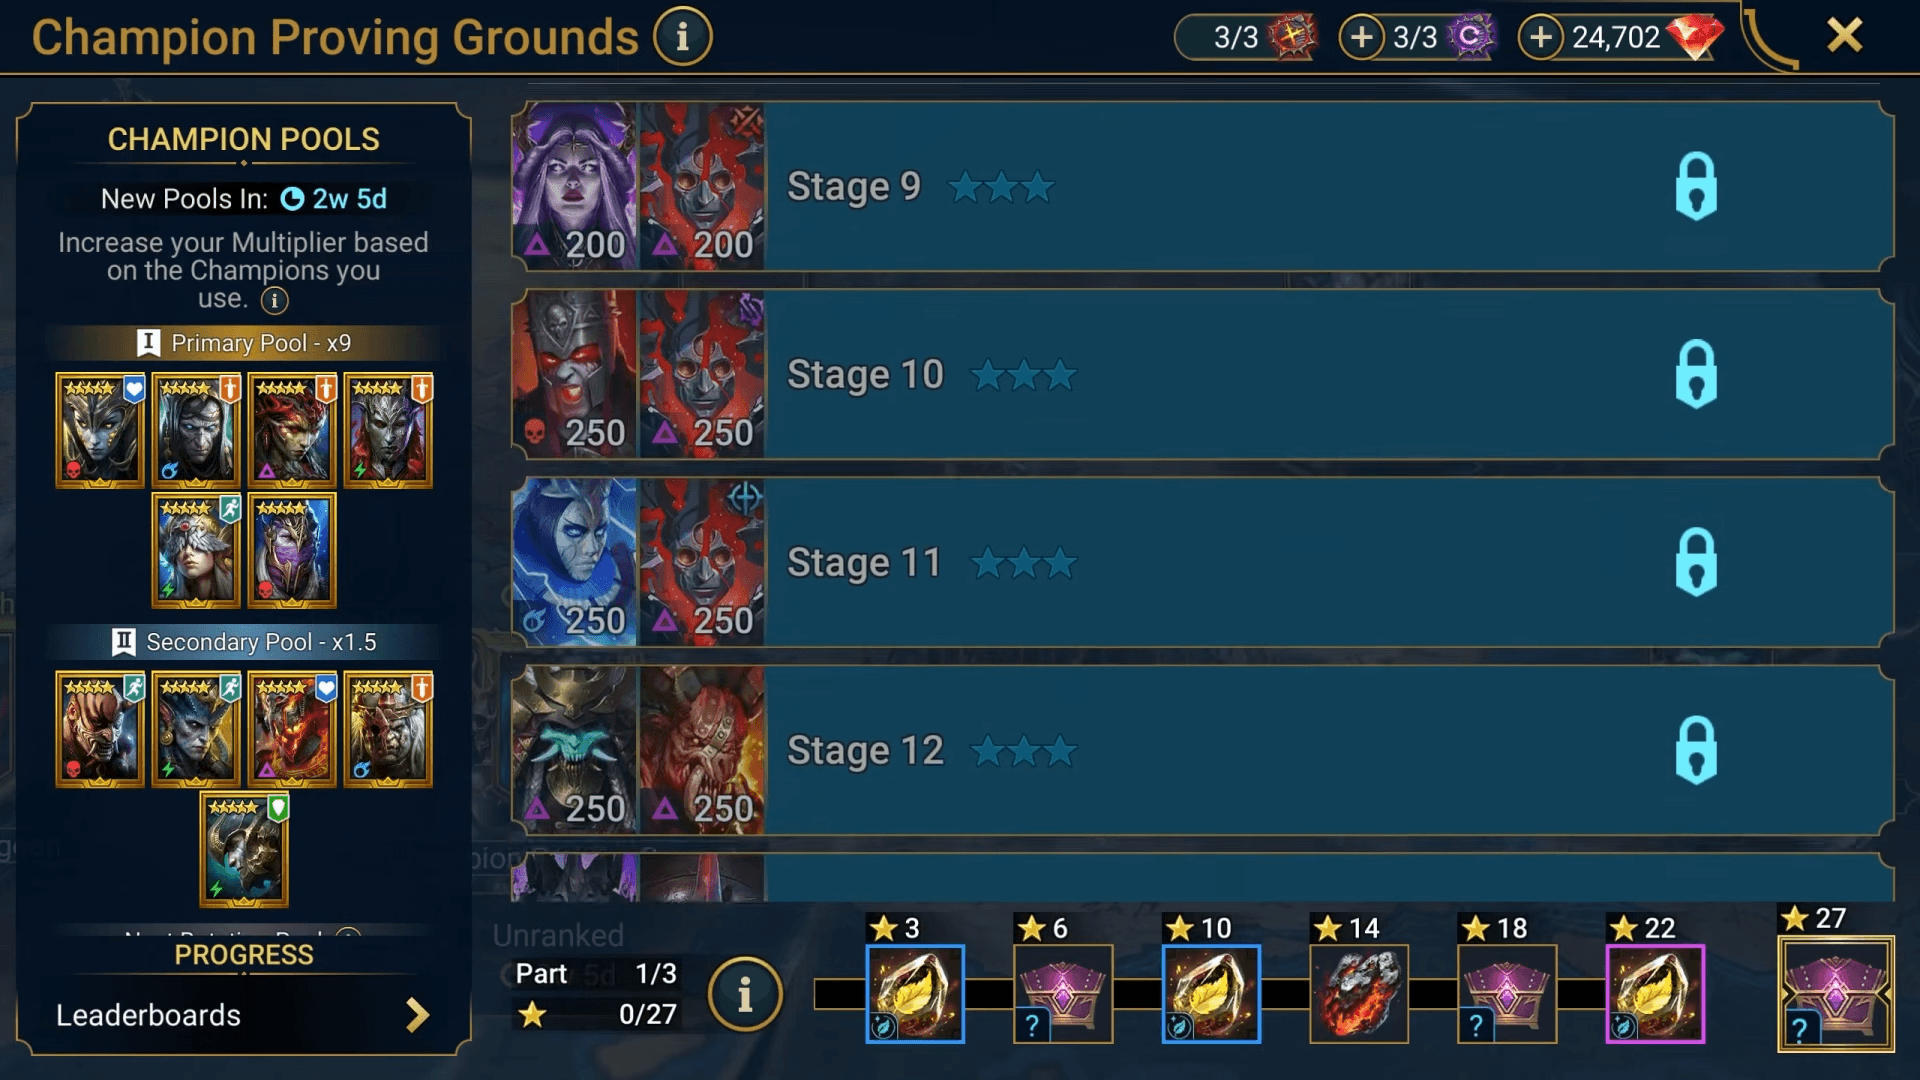
Every rotation features a Primary Pool and Secondary Pool.
- Primary Pool: Grants the largest Point Multiplier.
- Secondary Pool: Grants a smaller Point Multiplier.
- Other Champions: Remain usable but grant no bonus multiplier.
The preview showed a x9 Primary Pool Multiplier and a x1.5 Secondary Pool Multiplier. Live values can differ between rotations.
Players will not need to fill the entire team with Primary Pool Champions. Featured groups can lack healing, Block Debuffs, revives or other key support effects.
This leaves space for flexible support Champions. Cooldown reduction, healing, revival and protection skills should remain valuable across many stages.
Damage dealers are easier to replace. A missing healing or cleanser can stop a team from functioning against several Boss pairings.
Which Champions Will Enter the Pools?
The Champion Pools will focus on recent releases instead of older Champions.
Expected choices include:
- Fusion Champions
- Free Login Champions
- Recent Guaranteed Champions
- Champions linked to current events
- Other recent additions
This gives event Champions more value after their original release.
The first preview featured Champions tied to the Web of Corruption event in its Primary Pool. Its Secondary Pool contained other recent releases.
Champion Proving Grounds will display part of the next rotation’s Pool early. Some slots can remain hidden until Plarium reveals their related Fusion, collaboration or event.
Players should treat each recent Fusion and guaranteed Champion as a possible Proving Grounds option. Vaulted event Champions can become key scoring tools several weeks later.
Proving Keys and Rematch Keys
Champion Proving Grounds uses two Key types.
Proving Keys open new stages. The game only consumes the Key after a successful clear with at least one Star. Failed attempts cost nothing.
Rematch Keys reopen completed stages. These attempts let players improve their saved score and claim extra Stars.
Every player receives:
- 3 Proving Keys per day
- 3 Rematch Keys per day
- Up to 3 extra Rematch Keys purchased with Gems
Three daily Proving Keys let players clear all 27 stages in nine days. That leaves around 19 days for improved scores during a 28-day rotation.
Rematch Keys look far more limited. Players should target stages sitting close to the next Star requirement.
Plarium has not confirmed whether a Rematch Key is only consumed after a better score. The Gem refill suggests each completed rematch attempt will spend one Key.
Rotation Length and Resets
Each Champion Proving Grounds rotation lasts 28 days.
The following areas reset at the start of a new rotation:
- Stage progress
- Leaderboard standings
- Champion Pools
- Milestone progress
The 28-day limit gives players little time to rank, book and gear several new Champions. Early Pool previews will help, but hidden Champions can reduce that preparation window.
Plarium has prepared the opening rotations and plans to review player feedback. Future rotation length and structure can change after the first cycles.
Champion Proving Grounds Leaderboard
Each rotation includes a dedicated leaderboard.
The top 15 players receive extra rewards after the 28-day cycle. Rankings then reset for the next rotation.
This leaderboard will reward more than raw account power. Players need deep rosters, strong gear and several Champions from the featured Pools.
Milestone and Stage Rewards
Players receive rewards for clearing stages. Stars then unlock a separate Milestone track.
Confirmed rewards include:
- Starstone
- Coalescence Relic crafting materials
- Proving Ground Chests
- Anomalous Accessories
The Milestone track gives every account a reason to improve old scores. A single extra Star can push the account into the next reward tier.
Anomalous Accessories
Anomalous Accessories are upgraded versions of existing accessories. They currently come from Proving Ground Chests.
Plarium plans to add more Anomalous Sets through future content.
Each item keeps its original Set bonus. An Anomalous Stone Skin Necklace still counts towards the Stone Skin Set.
The main change appears within its Substats. Flat HP, ATK and DEF rolls can be replaced by powerful mode-based bonuses.
Useful standard Substats such as SPD, ACC, RES and percentage stats appear to remain available.
New Anomalous Substats
The eight new Substats are:
- PvE DMG +: Increases damage across PvE content.
- PvP DMG +: Increases damage across PvP content.
- Boss DMG +: Increases damage against Bosses.
- DNG DMG +: Increases damage inside Dungeons.
- PvE DMG -: Reduces damage taken across PvE content.
- PvP DMG -: Reduces damage taken across PvP content.
- Boss DMG -: Reduces damage taken from Bosses.
- DNG DMG -: Reduces damage taken inside Dungeons.
Relevant PvE bonuses stack together.
A Champion with PvE DMG +, Boss DMG + and DNG DMG + receives all three bonuses during a Dungeon Boss fight.
This creates several powerful combinations:
- Hydra and Chimera: PvE DMG + combined with Boss DMG +.
- Dungeon Bosses: PvE DMG +, Boss DMG + and DNG DMG +.
- Arena: PvP DMG + or PvP DMG -.
- Defensive Boss builds: PvE DMG – combined with Boss DMG -.
A Critical Damage Amulet with multiple offensive Anomalous Substats can become an exceptional damage item.
Available Anomalous Sets
Anomalous Accessories can drop from these Sets:
The best drops will need the correct Set, Faction, item type, main stat and Anomalous Substats. Mythical items with several useful Anomalous rolls will be extremely rare.
Existing accessories will not become useless overnight. Strong SPD, ACC, RES and Critical Damage pieces still have value. Anomalous items will replace weaker pieces over time.
Jewellery storage will gain 200 extra slots. Players will still need strict accessory management as the new drops build up.
Coalescence Faction Relics
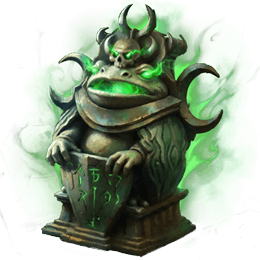
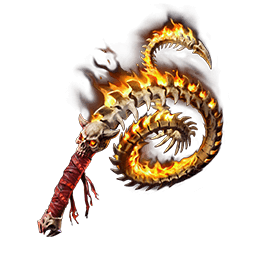
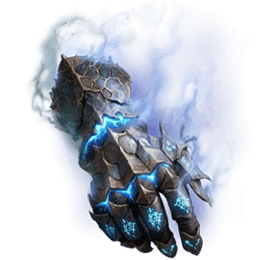

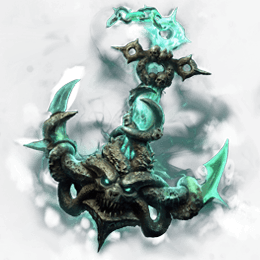
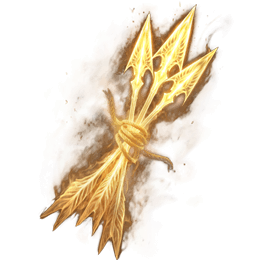
Champion Proving Grounds will provide materials for the new Coalescence Relic Group.
Each Relic has a standard effect and three Faction Bonuses. The active bonus depends on the wearer’s Faction.
Champions from any Faction can equip these Relics and use the standard effect. Only listed Factions receive the extra bonus.
Relic upgrades improve the standard effect. Faction Bonuses remain fixed.
Update 11.70 introduces six Legendary Coalescence Relics. The Group currently contains no Rare, Epic or Mythical options.
Bloatshield Totem
Stats: RES main stat, SPD and DEF secondary stats.
Bloatshield Totem reduces enemy Ignore DEF effects by 5% for each active buff placed on allies by the wearer. The starting effect stacks up to 15%.
Upgrades raise the maximum reduction to 50%.
A Champion placing two buffs on four allies creates eight active buff instances. At maximum rank, that can reduce enemy Ignore DEF effects by 40%.
The Relic suits defensive Arena supports. It can help against Bosses with Ignore DEF skills too.
Faction Bonuses:
- Ogryn Tribes: Grants a 20% chance to receive an Extra Turn after placing buffs on allies with a skill. This triggers once per skill and turn.
- Demonspawn: The wearer and allies reflect 15% of skill damage for each active buff placed on them by the wearer.
- Shadowkin: Raises the wearer’s MAX HP by 5% for each buff they place on allies. The bonus stacks up to 100%.
The Ogryn Tribes effect stands out for Champions who place buffs through several skills.
The Demonspawn bonus looks tailored towards defensive PvP teams. Duchess Lilitu and other buff-heavy supports can build large reflection effects.
The Shadowkin bonus needs an HP-based Champion who places many buffs. Its current selection looks narrower, but future Champions can make it far stronger.
Fleshmelt Lash
Stats: DEF main stat and C. DMG secondary stat.
Fleshmelt Lash raises skill damage by 10% during attacks made outside the wearer’s turn.
Upgrades raise the bonus to 50%.
This applies to Ally Attacks, Counterattacks and similar effects. Its limited trigger makes it a specialised Relic.
Faction Bonuses:
- Barbarians: Ignores 15% of the target’s DEF during out-of-turn skill attacks.
- Skinwalkers: Skill effects placed during out-of-turn attacks cannot be resisted.
- Shadowkin: Skills always land as critical hits during out-of-turn attacks.
Marius the Gallant is a strong Skinwalkers candidate. His out-of-turn A1 gains more damage, and its effects cannot be resisted.
The Relic has strong numbers at maximum rank. Its value rests on the wearer joining Ally Attacks or triggering frequent Counterattacks.
Gauntlet of Ruin
Stats: ACC main stat, with ATK and C. DMG secondary stats.
Gauntlet of Ruin raises the wearer’s Ignore DEF effect by 1% each time they place a debuff with a skill. The starting effect stacks up to 5%.
Upgrades raise the maximum Ignore DEF bonus to 20%.
This Relic competes with damage options such as Irethi Coronet. It becomes outstanding for damage dealers who place several debuffs and remain below 100% Ignore DEF.
Faction Bonuses:
- Dark Elves: Deals 3% extra MAX HP damage per debuff on the target, up to 30%. Bosses and minions take 25,000 extra damage per debuff, up to 250,000.
- Orcs: Deals 5% more skill damage for each debuff on the target.
- Argonites: Raises the wearer’s C. DMG by 20% for each debuff on the target.
The Orc bonus looks like the strongest match. Ten debuffs create a 50% skill damage bonus before the added Ignore DEF.
Gharol Bloodmaul, Varl the Destroyer, Ash’nar Dragonsoul and Kro’khad stand among the early candidates.
Dark Elves gain large extra damage against regular enemies. Bosses use the fixed damage version, which can still reach 250,000 per skill.
Gauntlet of Ruin looks like one of the best Relics in the first Coalescence group.
Lifespring Skull
Stats: HP main stat, with DEF and RES secondary stats.
Lifespring Skull reduces incoming damage by 0.5% each time the wearer heals an ally with a skill. The starting effect stacks up to 10%.
Upgrades raise the maximum reduction to 20%.
The wearer needs repeated skill-based healing to reach full value. This makes the Relic slower than the main damage options.
Faction Bonuses:
- High Elves: Healing from the wearer’s skills always becomes critical.
- Banner Lords: Heals every ally by 50% of any surplus healing received by the wearer from skills.
- Lizardmen: Activates an Instant Turn after the wearer’s skill leaves every ally at full HP. This effect has a four-turn cooldown.
The Banner Lords bonus has a strong pool of possible healers. Raglin, Marichka the Unbreakable and other large healers can spread surplus healing across the team.
The Lizardmen bonus can reset the wearer into another action after a full-team heal. Its strength depends on finding a Champion with reliable burst healing.
Lifespring Skull appears weaker than the offensive Relics. It still offers a clear role for long defensive battles.
Sempiternal Anchor
Stats: ACC main stat, with HP and SPD secondary stats.
Sempiternal Anchor reduces a target’s SPD by 2.5% each time the wearer steals or decreases its Turn Meter. The starting effect stacks up to 10%.
Upgrades raise the maximum SPD reduction to 25%.
The effect can become powerful in lengthy Boss fights. Its value depends on whether the target accepts both Turn Meter effects and SPD destruction.
Faction Bonuses:
- Sylvan Watchers: Turn Meter reduction and stealing effects can work on weak hits.
- Undead Hordes: Ignores 30% of the target’s RES during skill-based Turn Meter effects.
- Knights Revenant: Grants a 50% chance to repeat Turn Meter reduction effects from skills. This triggers once per skill.
The Knights Revenant effect offers the clearest power increase. A repeated Turn Meter reduction can build the SPD penalty faster.
Sempiternal Anchor remains a niche option. Many modern Bosses block Turn Meter reduction, which limits its possible targets.
Sibilant Gold
Stats: C. DMG main stat, with HP and SPD secondary stats.
Sibilant Gold raises the wearer’s Ignore DEF effect by 2% for each active buff on them. The starting effect stacks up to 10%.
Upgrades raise the maximum Ignore DEF bonus to 20%.
Ten active buffs provide the full effect. Buff extension and high-buff teams will help the wearer reach that cap.
Faction Bonuses:
- Sacred Order: Deals 5% more skill damage for every 10% HP the target has lost.
- Undead Hordes: Grants a 25% chance to deal extra single-target pure damage. The extra strike uses the initial skill’s damage multiplier and counts as a normal hit.
- Dwarves: Grants an extra 15% chance to land a critical hit.
The Sacred Order bonus becomes stronger as the target loses HP. A target at 10% HP gives the wearer 45% more skill damage.
This has major potential against Chimera and other high-HP Bosses. Polara and other Sacred Order damage dealers can gain a huge late-fight boost.
Undead Hordes gain a powerful effect for single-target attackers such as Rotos the Lost Groom.
Dwarves can build at 85% C. RATE and still reach the cap through the Relic. This frees gear rolls for more C. DMG, ATK or DEF. Trunda Giltmallet is an obvious candidate.
Sibilant Gold joins Gauntlet of Ruin among the strongest early Coalescence Relics.