
Understanding Fire Knight Hard Mode Mechanics in Raid: Shadow Legends
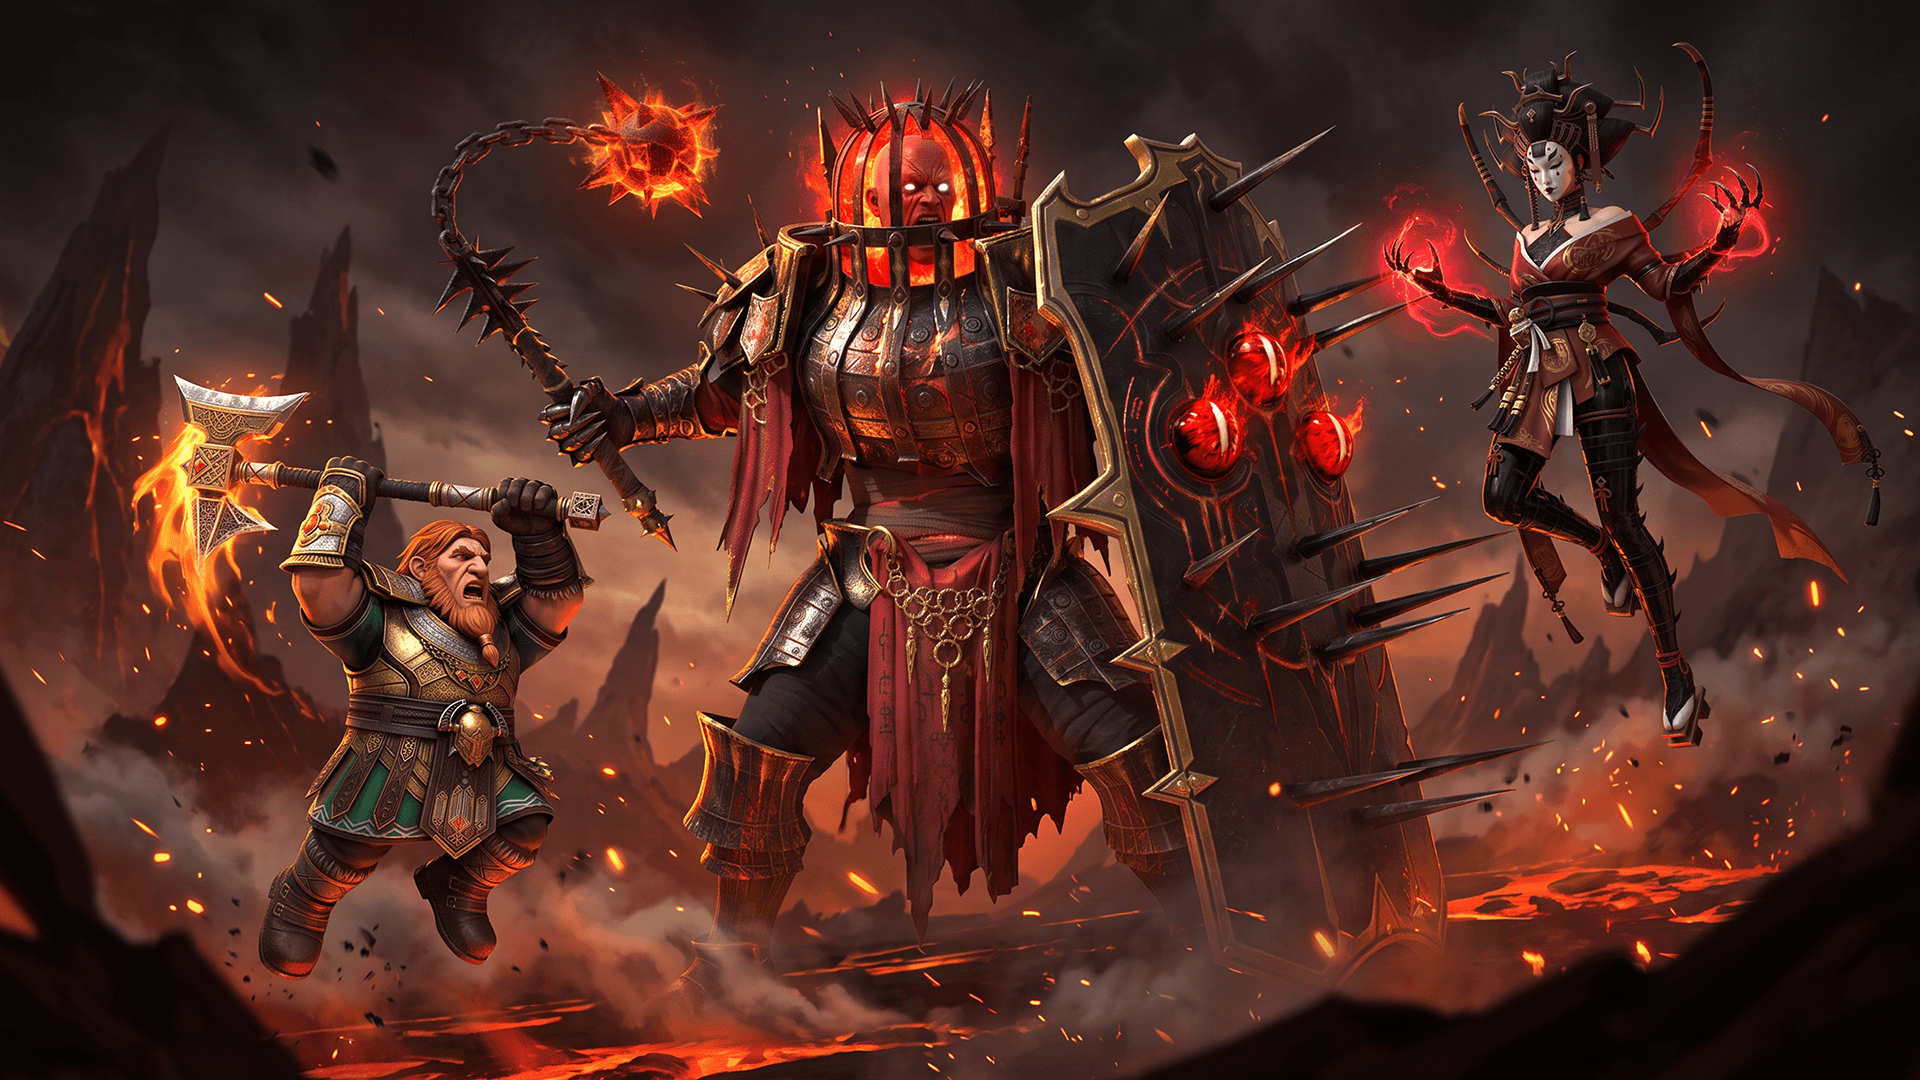
In this guide, we explore how Hard Mode Fire Knight works in Raid: Shadow Legends. Learn the key mechanics, the best type of Champions and strategies to counter them, what to watch out for during the fight, and how to build teams capable of defeating one of the game’s toughest dungeon bosses.

Understanding Fire Knight Hard Mode Mechanics
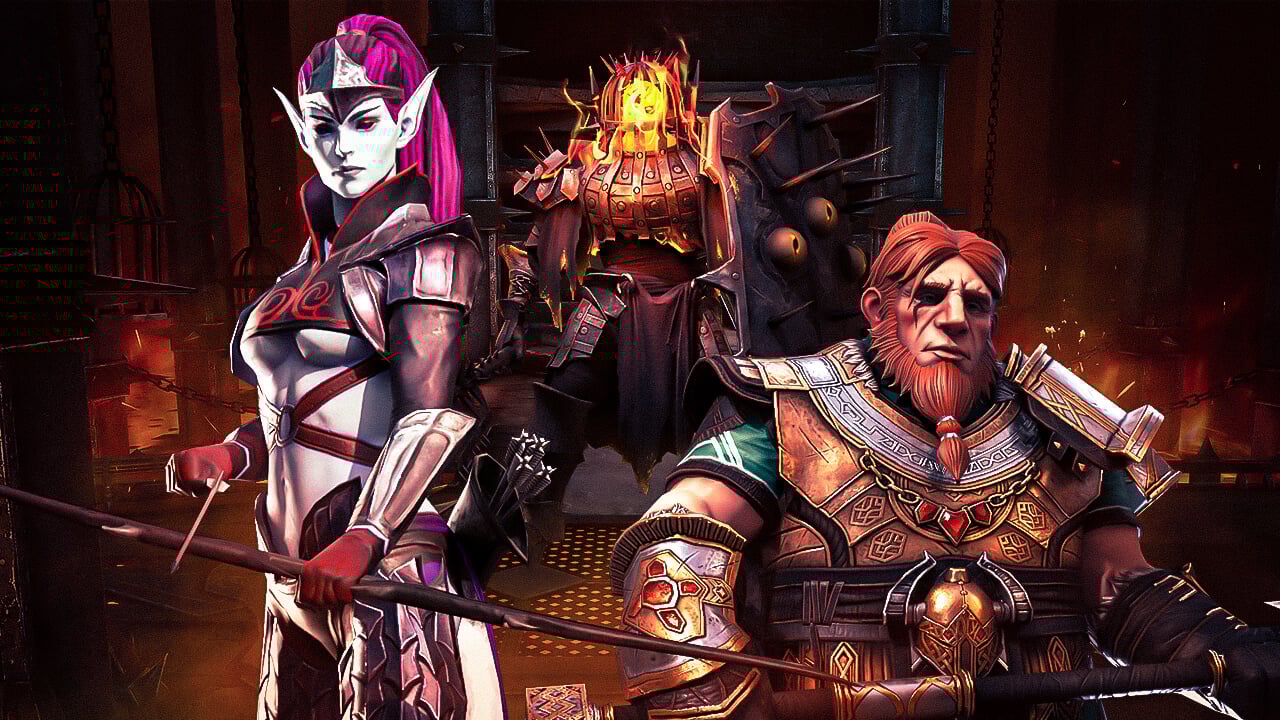
What Makes Fire Knight Hard Mode Different?
Unlike Normal Mode, Hard Mode Fire Knight cannot have his Turn Meter reduced through traditional Turn Meter control. Instead, you’ll need Champions capable of placing Freeze with their default or active skills while his shield is down, making A1 Freeze Champions the core of most successful teams. Ally Attack Champions become incredibly valuable, helping reduce the shield counters faster while providing extra opportunities to land Freeze and keep the boss under control.
Alternative strategies also exist, such as surviving the boss’s initial attack before breaking his shield with Counterattacks, Reflect Damage, or the Faultless Defence Blessing. Once the shield is removed, maintaining consistent Freeze applications & speed manipulation becomes key to preventing Fyro from taking turns and securing a successful run.
While the boss’s shield is down, every Freeze debuff placed reduces his Turn Meter by 15%, making Champions capable of placing Freeze multiple times in a single turn exceptionally powerful. The more Freeze applications you can land, the easier it becomes to keep the Fire Knight from taking another turn and restoring his shield.
The Fire Knight’s attacks also become much more threatening in Hard Mode. In Normal Mode, his A2 places Decrease SPD while destroying your Champions’ MAX HP based on the damage dealt through the A1. In Hard Mode, this default skill also destroys MAX HP through Shields, while his A2 also destroys MAX HP, places both Decrease SPD and Decrease DEF, and can quickly wear your team down if you’re unable to keep him under control.
Normal Vs Hard Mode Stats
Comparing Stage 25 of Normal Mode with Stage 10 of Hard Mode highlights just how much the difficulty increases. On Normal, the Fire Knight has just 100 SPD alongside lower HP, ATK, DEF, Accuracy, and Resistance, making him far easier to control and defeat. In Hard Mode, his Speed jumps to 250, accompanied by increases across all of his core stats, demanding much stronger builds and more specialised team compositions.
Enemy MAX HP damage dealers remain valuable in both versions of the dungeon, but they become even more important in Hard Mode due to the boss’s enormous HP pool. Champions such as Gnut and Marius can quickly chip away at his health once the shield is down, helping defeat the boss before he has a chance to take another turn and restore his shield, especially if you can’t maintain a consistent Freeze cycle.
Understanding the Fire Knight Shield
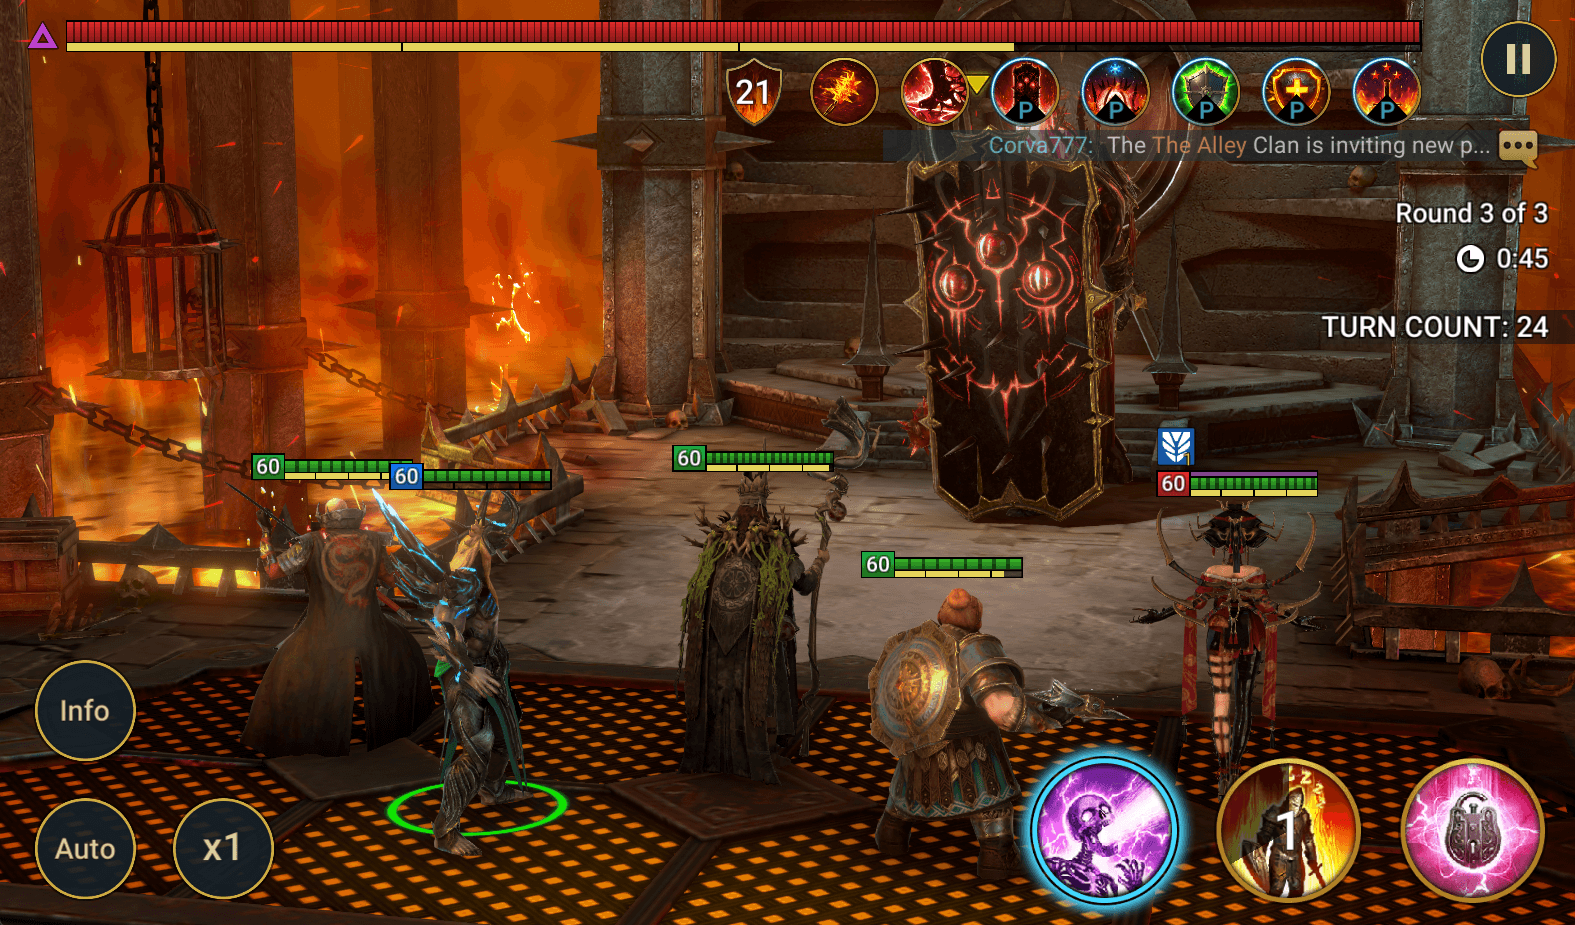
The Fire Knight begins every battle protected by a Divine Shield, reducing all incoming damage by 80% while making him immune to debuffs, skill effects, and any attempt to remove the shield. Compared to Normal Mode, Hard Mode dramatically increases the number of shield counters required to break it, rising from 12 on Stage 25 Normal to 21 on Stage 10 Hard, with the requirement increasing as you progress through the Hard stages.
If the Fire Knight starts his turn with the shield still active, he’ll unleash a powerful attack that destroys your Champions’ MAX HP based on the remaining shield strength. Even when using strategies involving Faultless Defence, Reflect Damage, or Counterattack, it’s important to reduce the shield as much as possible beforehand so your team can recover and repeat the process if needed.
Because of the increased shield counters, multi hit Champions become even more valuable in Hard Mode. Prioritise Champions with multi hit A1s that pair well with Ally Attack or Counterattack, use AI presets to ensure those skills are used immediately, and consider Blessings such as Phantom Touch to squeeze out additional hits and break the shield faster.
Breaking the initial shield is only the beginning, as it regenerates every time the Fire Knight takes a turn. Maintaining control is therefore essential, but if he does manage to act, Heal Reduction can prevent him from recovering HP, helping ensure your progress isn’t undone before you have to break the shield again.
The Hard Mode Fire Knight Passives

Outside of the Bloodflame Cloak interaction with the Divine Shield, Hard Mode Fire Knight also introduces several important passives. Quell the Flames instantly removes any Freeze debuffs placed on the boss, but each application still triggers the 15% Turn Meter reduction. As a result, the Fire Knight will never remain frozen like Tauraze in the Grim Forest, but Freeze remains the key to controlling his turns. This passive also destroys each target’s MAX HP by 1% for every hit while the Divine Shield is active.
Like Normal Mode past stage 20, damage from Enemy MAX HP skills is capped at 10% of the boss’s MAX HP per hit, making multi-hit Enemy MAX HP Champions significantly stronger than single hit options. The Fire Knight is also immune to all forms of crowd control outside of the unique Freeze interaction.
Finally, Hard Mode brings the Awakened Weakness passive, reducing both the damage you deal to the boss and the damage he deals to your team based on your Champions’ Awakening Levels. The higher your team’s Awakening Levels, the smaller these penalties become, making awakened Champions a noticeable advantage when tackling the hardest stages.
Fire Knight Hard Mode Champion Examples
Here are a few of the top Champions for Hard Mode Fire Knight, each bringing effects that help overcome the dungeon’s unique mechanics. While this isn’t a complete list of every viable option, it highlights the types of Champions and abilities that make the biggest impact, giving you a solid foundation when building your own team.
Gnut

Gnut is one of the top Champions for Hard Mode Fire Knight, thanks to his triple hit A1 that places Freeze instead of Turn Meter reduction against bosses immune to Turn Meter control. This allows him to consistently keep the Fire Knight under control once the shield is broken, while his triple hit A3 deals Enemy MAX HP damage to quickly wear the boss down before the shield can be restored. His A2 also provides Decrease ATK and Weaken, boosting both your team’s survivability and damage throughout the fight.
Blizaar
Blizaar is a strong Hard Mode Fire Knight option thanks to his multiple ways to place Freeze, including a triple hit A1 that helps keep the boss’s Turn Meter under control once the shield is broken. His defensive kit also makes him a solid choice for go second teams, pairing especially well with the Faultless Defence Blessing thanks to his self revive and Ally Protection.
Criodan

Criodan brings great utility for Hard Mode Fire Knight, combining Increase SPD and Turn Meter boosts with Freeze placements to keep your team cycling turns while controlling the waves & boss. His passive also helps him take turns more frequently, allowing him to maintain reliable Freeze uptime throughout the fight, while having a triple hit A1 to help break the shield counters.
Mikage
Her base form is an outstanding option for Hard Mode Fire Knight, providing a full team Ally Attack alongside Increase ATK and Increase C. DMG to rapidly break the boss’s shield. She pairs especially well with multi-hit Shadowkin Champions such as Genzin, while her buff extension also helps maintain key effects throughout the fight.
Padraig

Grand Oak Padraig brings everything a Hard Mode Fire Knight team wants, combining a full team Ally Attack with a strong SPD Aura to help break the shield and cycle turns more efficiently. His full MAX HP restoration also helps recover from the boss’s MAX HP destruction, while his passive grants valuable buffs based on each ally’s type, providing useful support regardless of your team composition.
Kymar
Prince Kymar is a great fit for fast Hard Mode Fire Knight teams, resetting all ally skill cooldowns while filling their Turn Meters by 20%. After your initial rotation breaks the shield, he lets your team quickly repeat the process with another Ally Attack, more Enemy MAX HP skills, and additional Freeze skills to maintain control & defeat the boss before the boss can restore his shield.
Senna
Senna enables a unique Hard Mode Fire Knight strategy through her revive, which immediately triggers a full team Ally Attack. By intentionally allowing your team to be defeated while Senna survives in Stoneskin, she can revive everyone, break the shield through the Ally Attack, then use her exceptional Turn Meter & speed manipulation to take control of the fight before the boss gets another turn.
Neldor

Neldor combines a triple hit A1 and four hit A2 to help break the shield while applying repeated Freeze for Turn Meter control. His passive can trigger additional A1 attacks whenever an ally places Freeze, while Decrease ATK, Decrease ACC, and Decrease SPD provide useful support against the boss and surrounding waves.
Cruetraxa
Cruetraxa is a great example of a Champion whose value comes from consistent multi hit attacks rather than Freeze. Her four hit A1 helps rapidly reduce the Fire Knight’s shield counters while dealing strong damage, making her an effective option for both the boss and waves. Other Champions, such as Genzin, can fulfil a similar role by combining reliable multi hit attacks with strong damage to wear down the shield as quickly as possible.
Marius
Marius excels in Fire Knight by combining exceptional wave clearing with powerful boss damage. His AoE attacks helps clear the waves quickly, while his triple-hit Enemy MAX HP A3 rapidly chunks down the Fire Knight once the shield is broken, making him one of the strongest damage dealers for speeding up runs alongside his Increase ACC & Increase DEF utility.
How to build Fire Knight Champions

Build Focus
Hard Mode Fire Knight places much greater emphasis on Speed than the Normal version, as your goal is to take as many turns as possible before the boss restores his shield. Accuracy is equally important for Champions applying Freeze and other debuffs, with the required ACC increasing as you progress through the Hard stages. The Raid Stages Tool is a great resource for checking the exact stat requirements for each stage.
Beyond raw stats, your team order is just as important. Ally Attack Champions should generally take their turns first to help break the shield, followed by your Freeze Champions, Enemy MAX HP damage dealers, and other utility Champions. Setting up AI presets to efficiently clear the waves while ensuring key skills are available for the boss can make a huge difference to your consistency.
Recommended Artifact Sets
Artifact Sets should focus on helping your team consistently deal with Hard Mode Fire Knight’s mechanics. Sets such as Perception are excellent for reaching the Accuracy needed to land Freeze and other debuffs, while Speed focused & stats sets help to cycle turns more quickly to prevent the boss from restoring his shield.
For damage dealers, sets such as, Cruel, Savage, Lethal, and Merciless remain great choices, provided you can still reach the Speed and Accuracy requirements for the dungeon. Balancing damage with enough Speed to clear the waves efficiently and execute your boss strategy is far more important than maximising damage alone.
Stoneskin can also be valuable for niche strategies, particularly on Champions such as Senna, allowing them to survive the boss’s opening attack before reviving the team and enabling an Ally Attack to quickly break the shield.
Reflex and Relentless can also be valuable, helping you cycle back to key skills more often through cooldown reductions or extra turns. While less reliable than a full team reset, they can make strategies built around steadily wearing the boss down.
Tips for using Fire Knight Hard Champions
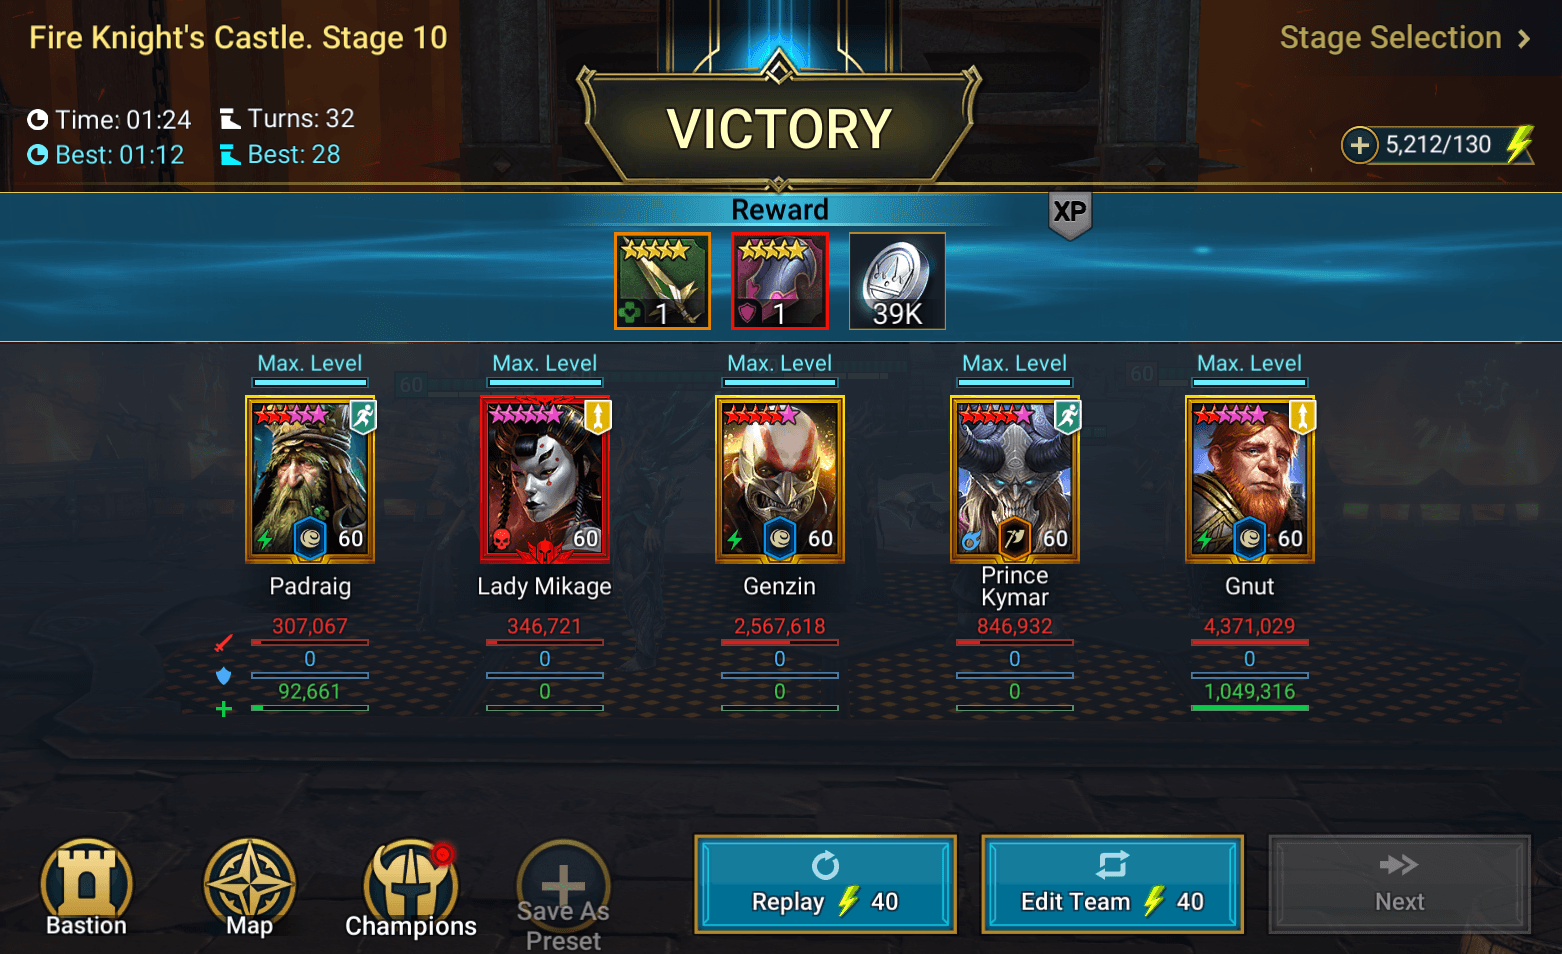
Hard Mode Fire Knight is all about maintaining control once the shield is broken. Debuffs such as Decrease DEF and Weaken help maximise your damage, while Decrease ATK makes surviving any boss turns much easier. Heal Reduction can also be useful, preventing the boss from recovering HP if he manages to take turns.
Managing the boss’s debuffs is equally important. Block Debuffs can be timed to counter his Decrease SPD and Decrease DEF, while cleansers such as Grand Oak Padraig can remove them and restore any destroyed MAX HP, helping your team recover over longer fights.
Fast teams often combine multiple Ally Attack Champions, reset Champions, multi-hit attackers, Enemy MAX HP damage dealers, and strong wave clear to reach the boss with key skills available and quickly establish control. Higher Awakening Levels also reduce the penalties from the Awakened Weakness passive, making them a noticeable advantage.
Finally, don’t overlook Blessings and team setup. Soul Reap, Faultless Defence, Phantom Touch, and effects like Reflect Damage, Counterattack, and Ally Attack all help to reduce the shield and defeat the boss faster, while proper Speed tuning and AI Presets ensure your team uses the right skills on the waves and has every important ability ready for the boss.