Beginner Team Synergy Guide Etheria Restart
Building a strong, synergistic team in Etheria: Restart is essential for conquering both early progression and tougher boss fights like Terrormaton and DokiDoki. Whether you’re new to the game or starting a fresh account during the final beta or launch, this guide will walk you through three foundational team comps: Free-to-Play Core, Control Team, and Boss-Clearing Teams—each structured with progression, flexibility, and synergy in mind.
Core Free-to-Play Starter Team (Gray + Lian Foundation)

Most players will begin their journey with a free-to-play core team featuring Gray and Lian, forming the backbone of an efficient early-game comp. Gray is a standout SR unit, providing a powerful [Crit Rate+] buff and [DEF-] combo. His Skill 2 gives your entire team a [Crit Rate+] boost while granting himself an extra turn, allowing immediate follow-up with his Skill 3 for an AoE [DEF-]. Crucially, Gray’s [DEF-] only applies if he crits—so building crit rate on him early is essential.
Lian complements Gray beautifully. Her Skill 3 is a heavy single-target nuke that absorbs turn meter from the enemy, often giving her a second turn almost immediately. Combined with her cleaving Skill 2, which spreads damage among enemies, she becomes a versatile and aggressive early-game DPS. This synergy enables consistent burst rotations: Gray opens with buffs and defense break, Lian follows up with nukes.
The third team slot belongs to your Selector Unit, typically your guaranteed SSR from the Target Summon. If you choose a damage dealer like Borgne, this unit serves as the team’s main AoE cleaner. If you opt for Beyontin, you gain support in the form of [Crit DMG+] buffs, cooldown reduction, and even a team revive.
The fourth slot is your flex position, allowing you to fill in based on what the team needs. Early on, this could be a healer, an extra buffer, or a turn meter rotator like Chiaki the Echo. This four-unit core provides the foundational synergy to carry you through most early story, dungeon, and daily content.
Crowd Control Team (Stun, Sleep, and Tempo Manipulation)

As content becomes harder, crowd control (CC) becomes a vital strategy—especially in modes where survival is key. The Control Team centers around locking enemies down before they can act, combining DPS, CC specialists, and rotation boosters for maximum control.
Lian once again works well as your core damage dealer thanks to her fast cycling and turn meter manipulation. The second slot is your primary control unit. Viable options include Obol for [Stun], Kraken for [Freeze] that also prevents turn meter gain, Lilith for AoE [Stun], or Kazuyo the Reverie for AoE [Slumber]. Each offers different advantages: Kraken completely halts turn progression, Obol brings damage over time, and Kazuyo enables bonus damage from [Slumber] (which increases damage taken by 25%).
In slot three, many players opt for a controller/support hybrid like Tiamat—who can [Taunt] all enemies—or a second damage amplifier like Freya. Freya is particularly potent in this role due to her passive that pushes your team forward when you gain buffs and delays the enemy when they get debuffed.
Your fourth unit should be a rotator or support that helps manage cooldowns or provide utility. Options include Chiaki the Echo for consistent turn meter push, Kloss for turn meter redistribution, or Freya again if not used earlier. The rotation opens with your rotator (Chiaki the Echo or Kloss), followed by your CC unit locking down the enemy team. This gives Lian and your second DPS the space to clean up without risk of retaliation.
[Slumber] based CC (from Kazuyo the Reverie) is also worth noting: although enemies wake upon taking damage, [Slumber] boosts incoming damage, effectively acting as a soft debuff amplifier. This kind of tempo lock, when combined with strong AoE, results in enemies being wiped before they can act.
Attribute Basics and Why They Matter
Understanding the Affinity Triangle is critical as you push deeper into content. The triangle follows:
Reason (Red) > Hollow (Green) > Odd (Blue) > Reason
Constant (Light) and Disorder (Dark) oppose each other
Being at an advantage grants your unit +15% crit rate and +15% damage dealt. Being at a disadvantage, however, reduces crit rate by 30%, effect accuracy by 50%, and damage by 15%. Always consider this when selecting damage dealers or control units for specific bosses. In most modes, Disorder and Constant remain neutral, though certain endgame bosses apply special affinity restrictions.
Terrormaton Team Template

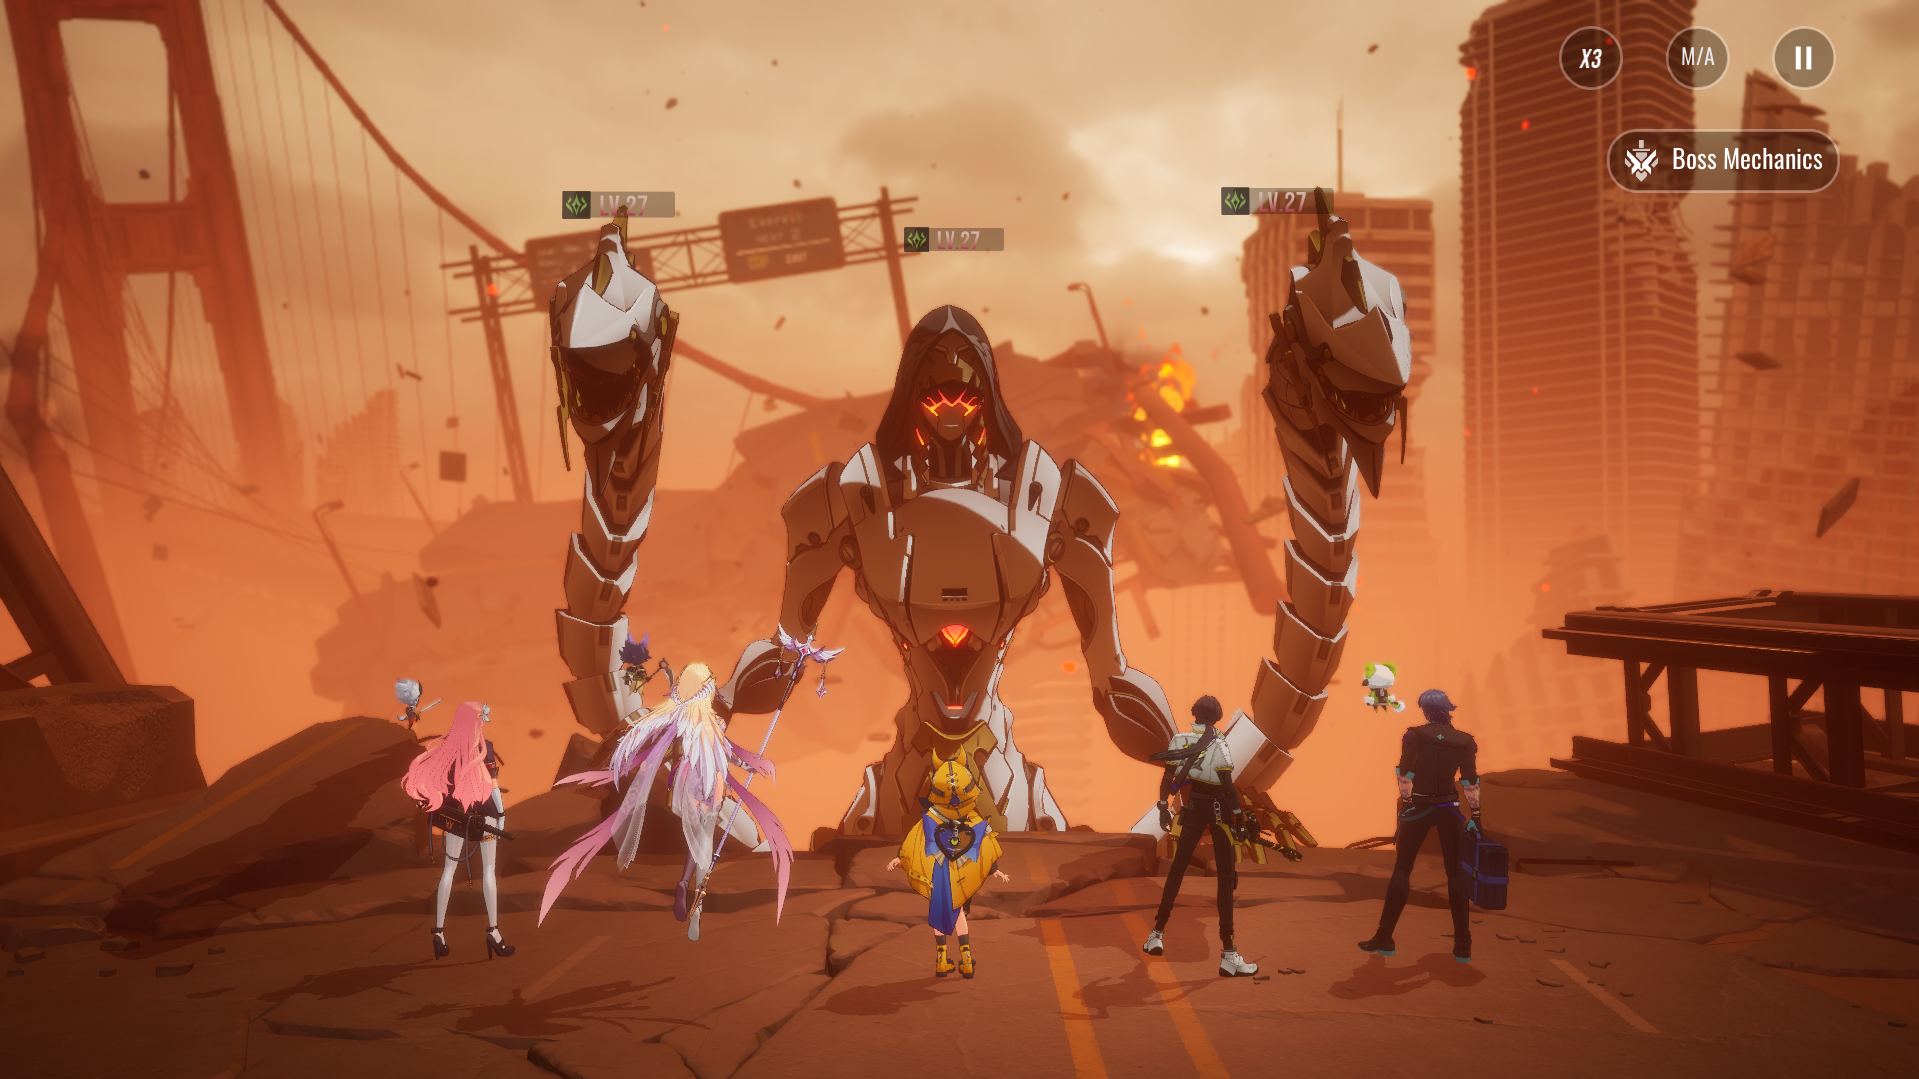
Terrormaton is one of Etheria’s main boss fights, requiring a well-rounded and well-tuned team. Your standard team layout should include:
- Slot 1 – Main DPS: Lian remains viable through Hell difficulty thanks to her cleave potential and turn manipulation.
- Slot 2 – Buffer: Gray’s [Crit Rate+] buff & [DEF-] continues to scale as enemy HP pools rise.
- Slot 3 – Debuffer: Debuffs like [Erosion] from Dinah stack damage and help control the boss. Other options include Freya [Nightmare], or Kloss [Hacking in Progress].
- Slot 4 – Secondary DPS or Cleanup: A secondary damage dealer like Rilmocha or Borgne rounds out your offense.
- Slot 5 – Rotator or Utility: Freya adds buffs, defense, and turn control, while Chiaki the Echo provides consistent team-wide turn meter gain.
Fight strategy is simple: buff, [DEF-], debuff, rotate. If you struggle to clear in time, target the left arm first to reduce incoming mechanics. Otherwise, go straight for the boss’s body for a faster clear. Properly tuned, this comp can clear Terrormaton in 30–45 seconds.
DokiDoki Team Template

DokiDoki introduces tougher mechanics with buffing enemy forms and heavy AoE retaliation. The key here is control and synergy.
Your first slot should be an advantageous AoE DPS, such as Rilmocha, Tiamat, Lilith, or Borgne. Lian is disadvantaged here due to attribute mismatch and should be avoided.
Slot two can flex into another DPS or support like Gray.
The third slot belongs to your rotator. Freya shines here again with her turn push/pull effects and damage amplification. Chiaki the Echo and Kloss remain viable.
The fourth slot is non-negotiable: this must be a control unit to strip the boss’s damage reduction buff, which can only be removed by applying a control effect. Use Kraken [Freeze], Obol [Stun], or Kazuyo the Reverie [Slumber] to reliably disable the frontline mobs and reduce their defensive buffs.
Finally, your fifth unit can be another rotator, debuffer, or healer. If you’re struggling to survive, bring someone like Lingluo or Mia. Otherwise, use Freya for synergy or another support to maximize tempo and uptime.
Closing Thoughts
These three team cores—Free-to-Play Foundation, Control, and Boss Templates—cover nearly every type of PvE content you’ll encounter in Etheria: Restart. Gray and Lian form a powerful starting duo, while Freya, Kraken, Tiamat, and other top-tier SSRs offer valuable synergy as you build toward tougher content. Attribute matchups matter, control units are non-negotiable in DokiDoki, and proper turn manipulation makes the difference between a smooth clear and a wipe.
As always, experiment with your roster and try different comps. There’s no single “perfect” team, but these foundations will help you build a strong, flexible lineup that can evolve as you acquire new Animus.


