Modules & Matrixes Breakdown
In Etheria: Restart, optimizing your character’s gear is one of the most impactful ways to push through challenging content—and it all starts with understanding modules and Matrix effects. Welcome to part one of our two-part deep dive into gear customization, where we’ll break down everything you need to know about the module system and Matrix bonuses. This guide is all about helping you build stronger, more efficient characters. Part two will cover Shell Companions and how these systems synergize, so stay tuned for that!
But for now, let’s get into the foundation of your builds—Modules.
What Are Modules and Where Do You Get Them?

Modules are one of the two core components of your gear setup (the other being Shell Companions). You can farm modules in the Threshold, where three powerful bosses await: Terrormaton, DokiDoki, and Aurora. Each of these bosses drops gear pieces tied to different Matrix set bonuses, which are key to unlocking your characters’ full potential.
As you climb the dungeon difficulties—from Normal to Hard, Nightmare, and eventually Inferno—you’ll not only increase your odds of better quality gear, but you’ll also gain access to more Matrix symbols on those pieces. These symbols are what activate your set bonuses.
Matrix Effects Explained
Matrix modules offer powerful set effects that dramatically shape your build. Some of the base sets include:
- Onslaught – Attack bonus
- Wellspring – HP bonus
- Harvest, Momentum, Swift Raid, and more unlock as you progress
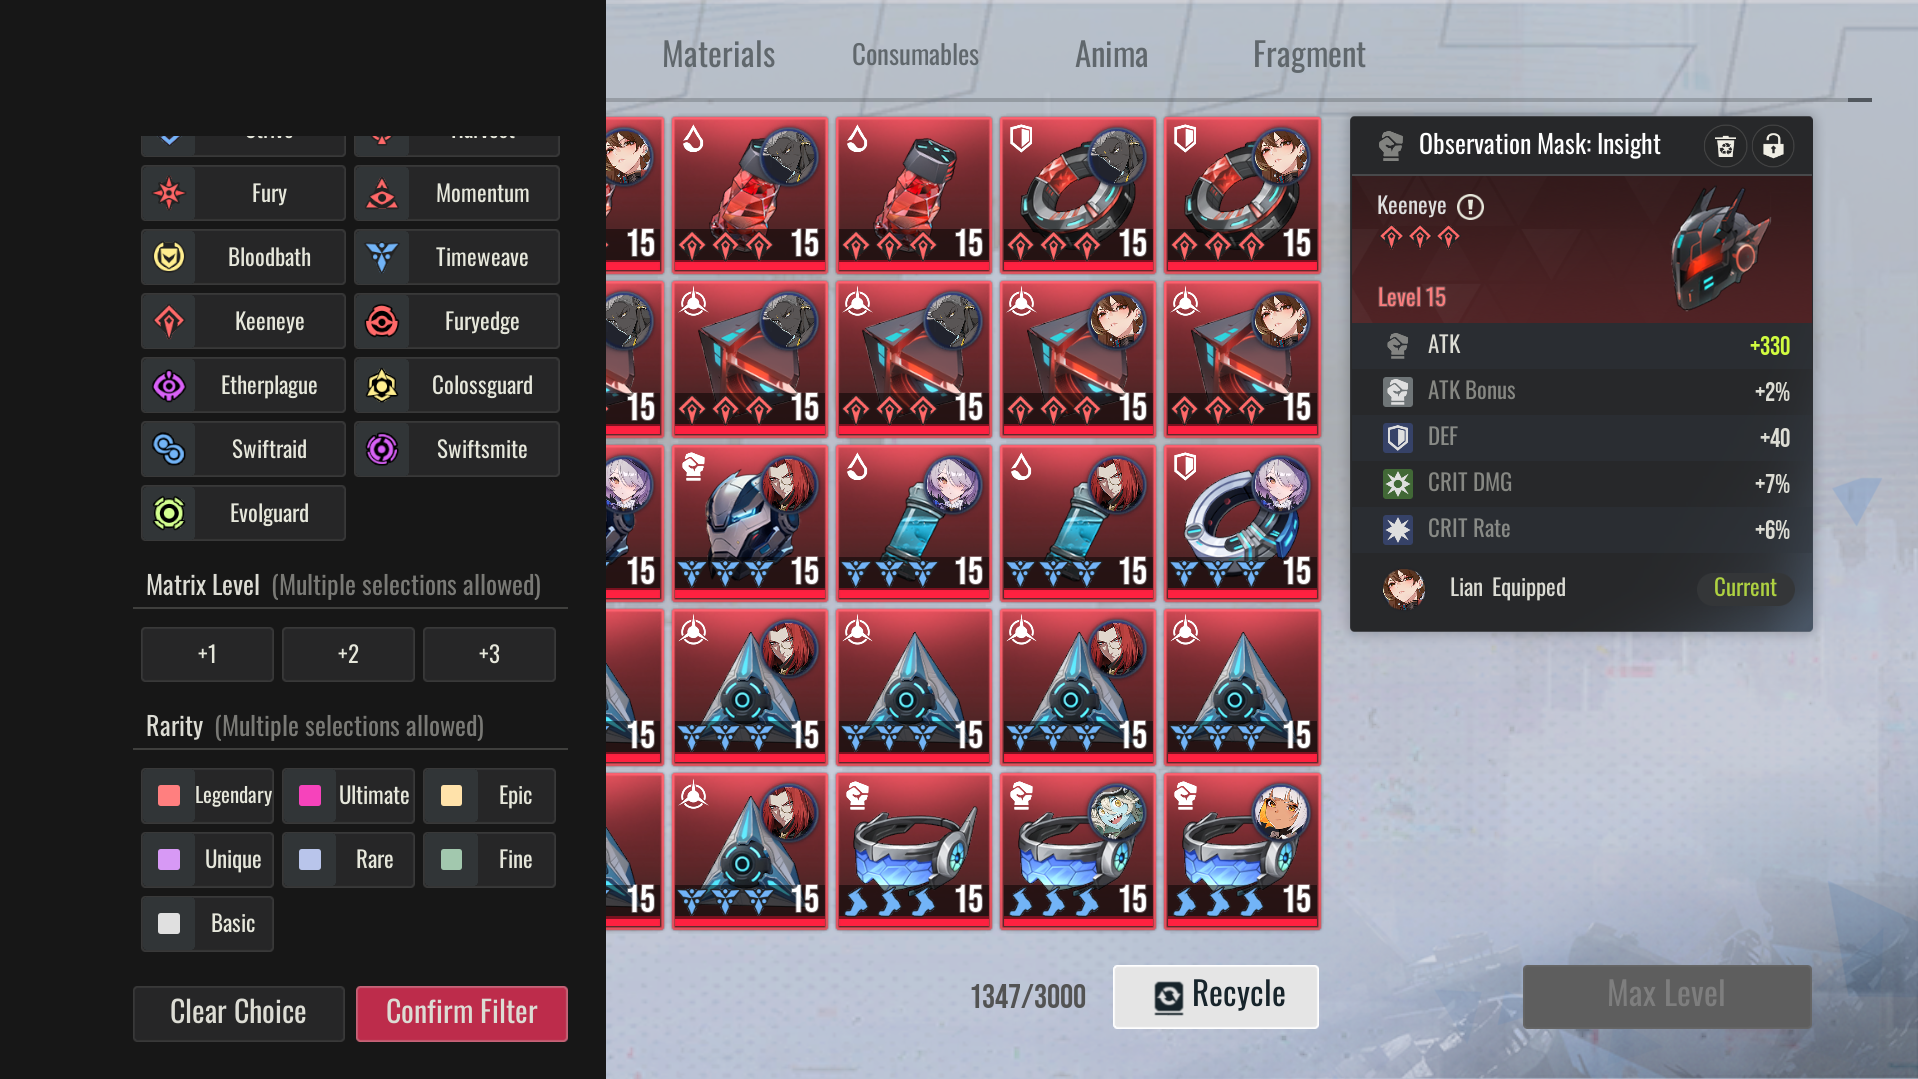
Each set activates at thresholds of 4, 8, and 12 Matrix symbols, increasing the set bonus accordingly. For example:
- 4 symbols of Onslaught = +10% Attack
- 8 symbols = +25% Attack
- 12 symbols = +45% Attack
To activate these bonuses, you’ll need to equip gear pieces that carry the corresponding Matrix symbols. As you progress, higher-rarity gear will have more symbols per piece, making it easier to hit these set milestones.
Understanding Gear Rarity and Symbol Scaling

Gear rarity plays a huge role in your character’s progression. The rarities from lowest to highest are:
- Basic
- Fine
- Rare
- Unique
- Epic
- Ultimate
- Legendary
Higher-rarity gear offers better base stat values and more Matrix symbols. However, don’t assume every legendary drop is better than a rare one. Some higher-difficulty dungeons might drop legendary gear with only one Matrix symbol, while a slightly lower-tier dungeon might drop a rare piece with two.
Always pay attention to the symbol count—quality matters, but quantity of symbols is crucial for activating those juicy set bonuses.
Module Gear Structure: Left Side vs. Right Side

Each character can equip six module pieces, divided into two categories:
Left Side (Flat Stats Only):
- Mask – Flat Attack
- Transistor – Flat HP
- Wrist Wheel – Flat Defense
Right Side (Percentage Stats & Substats):
You’re aiming for stats like:
- HP Bonus
- Attack Bonus
- Defense Bonus
- Crit Rate %
- Crit Damage %
- Effect Accuracy %
- Effect RES %
- Speed (as a substat only)
While early gear might still roll flat stats on the right side, your goal is to transition into percentage-based stats as you farm better modules.
Important: Speed cannot be rolled as a main stat on any module. It can only appear as a substat, so you’ll need to hunt carefully for those valuable speed rolls.
Rerolling and Stat Growth
As you level up a gear piece, substats get unlocked and rerolled. Early pieces might start with just one substat, revealing more as you enhance the gear. Once all substats are visible from the start, your chances of getting high-value rolls increase dramatically.
For example:
- A fully leveled low-rarity piece might have +178 flat attack.
- A high-rarity legendary piece at the same level might give you +330 flat attack.
The more visible substats at the start, the better your chances of rolling into high-value bonuses like +20% attack or +15% crit rate.
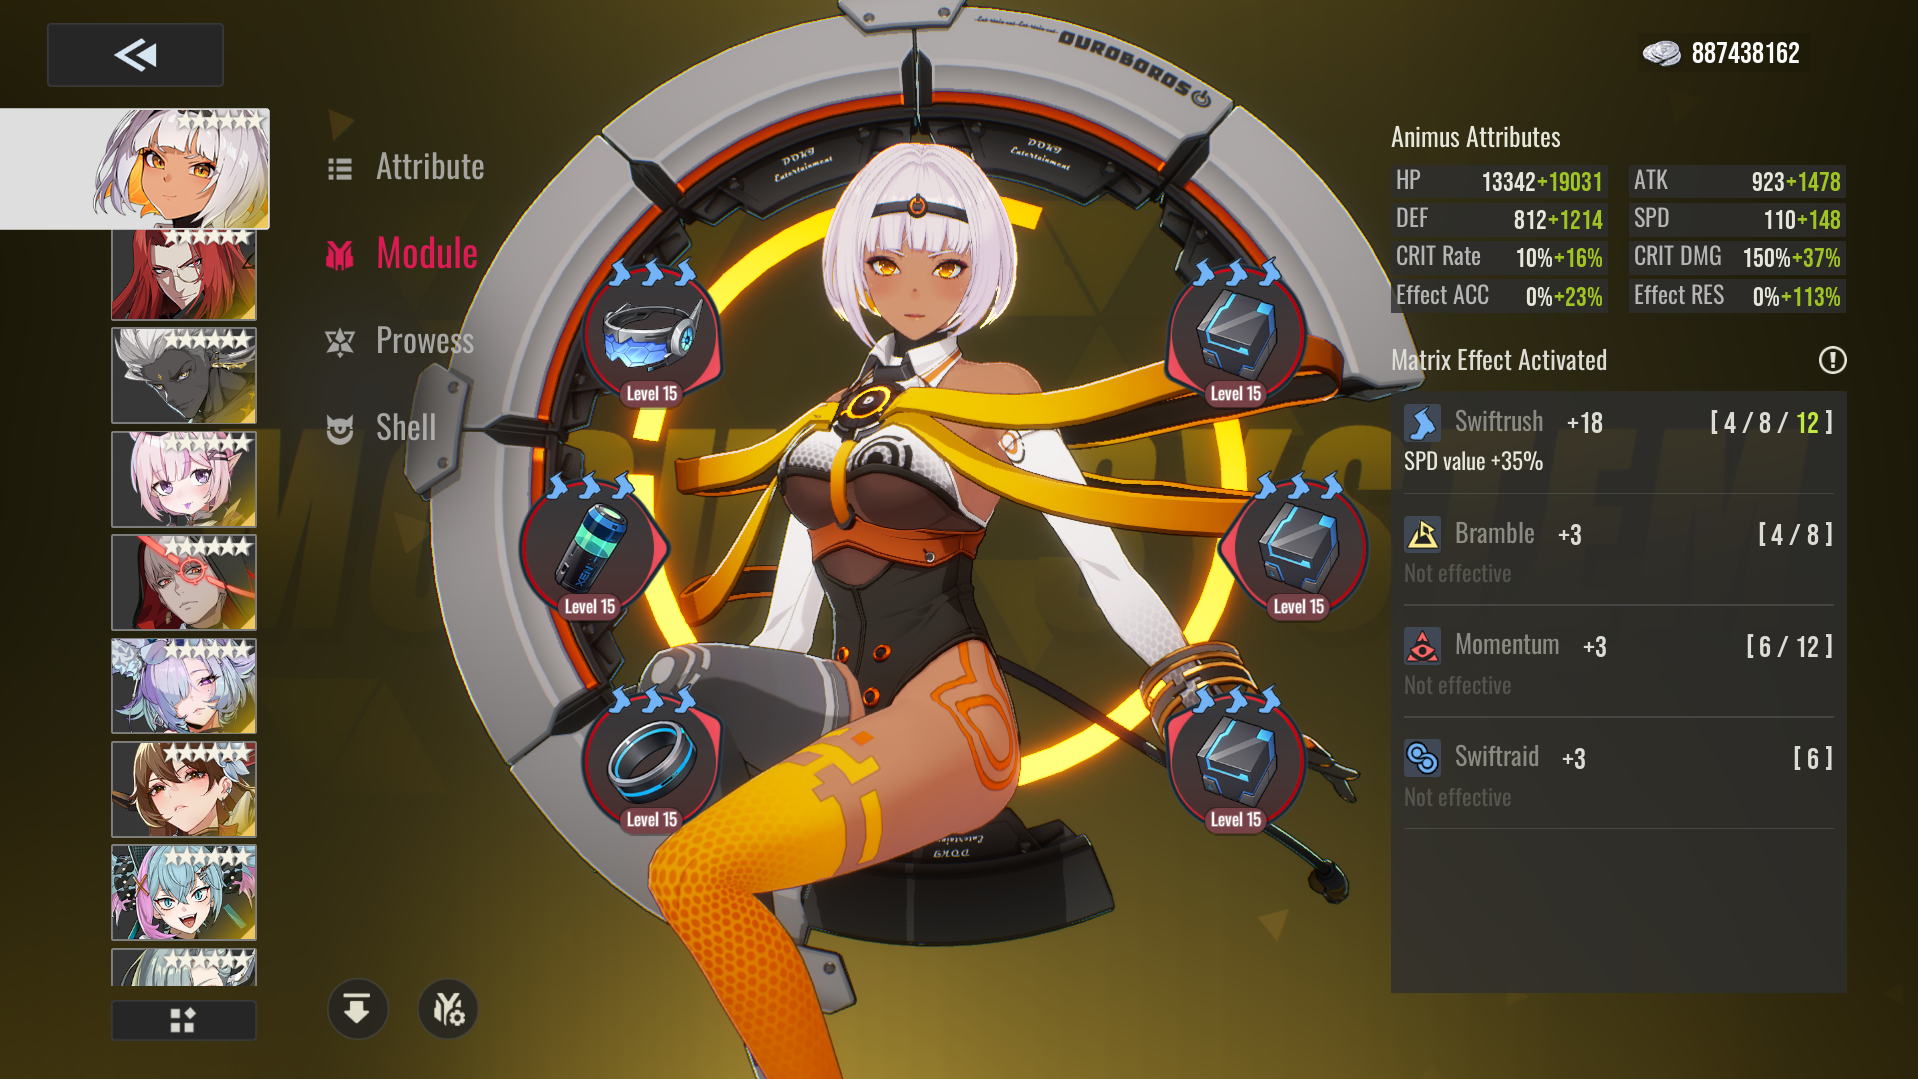
Real Example: Khloros Module Build

Let’s take a look at Khloros, a fan-favorite character, to visualize how modules impact performance.
In this build:
- Khloros has a 4-piece Onslaught set, granting +10% Attack.
- You can clearly see the active bonuses on each gear piece—no guessing!
- The build also includes a mix of rarities with different symbol counts, showing that strategic synergy beats raw rarity.
Another character example showcases:
- Harvest (8-piece)
- Momentum (12-piece)
- Swift Raid (6-piece)
While it’s not always possible to hit full 12-piece bonuses early on, even partial bonuses like a 6-piece Swift Raid still provide solid benefits, such as +12% Crit Rate.
Final Tips for Module Progression
- Don’t max bad gear: Avoid wasting resources on low-symbol, low-rarity pieces unless you’re desperate early on.
- Prioritize percentage stats on the right side gear as your account develops.
- Balance symbols and stats: Sometimes a piece with fewer symbols but better stats is worth using.
- Track symbol scaling by difficulty: Farm smarter, not harder.
What’s Next? Shell Companions!

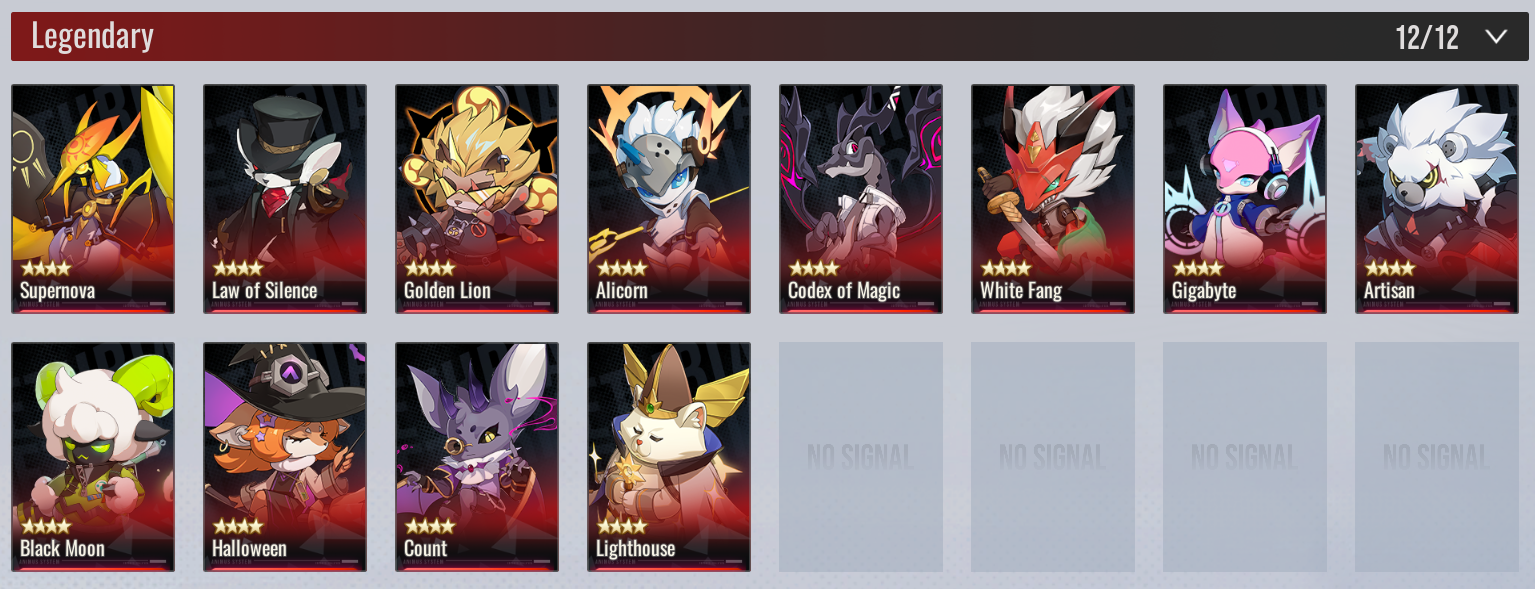
Modules are just half of the puzzle. In our next guide, we’ll explore Shell Companions, the second piece of the gear-building puzzle in Etheria: Restart. These companions not only boost stats but also bring powerful passives and additional Matrix synergies to the table.
Final Thoughts
Getting to grips with the module system is a game-changer in Etheria: Restart. It allows you to customize your builds in meaningful ways, maximize stat efficiency, and prepare for late-game content. Whether you’re trying to clear tougher Threshold bosses or dominate in PvP, knowing how to use your Matrix symbols wisely will make all the difference.


