Aurora Boss Guide
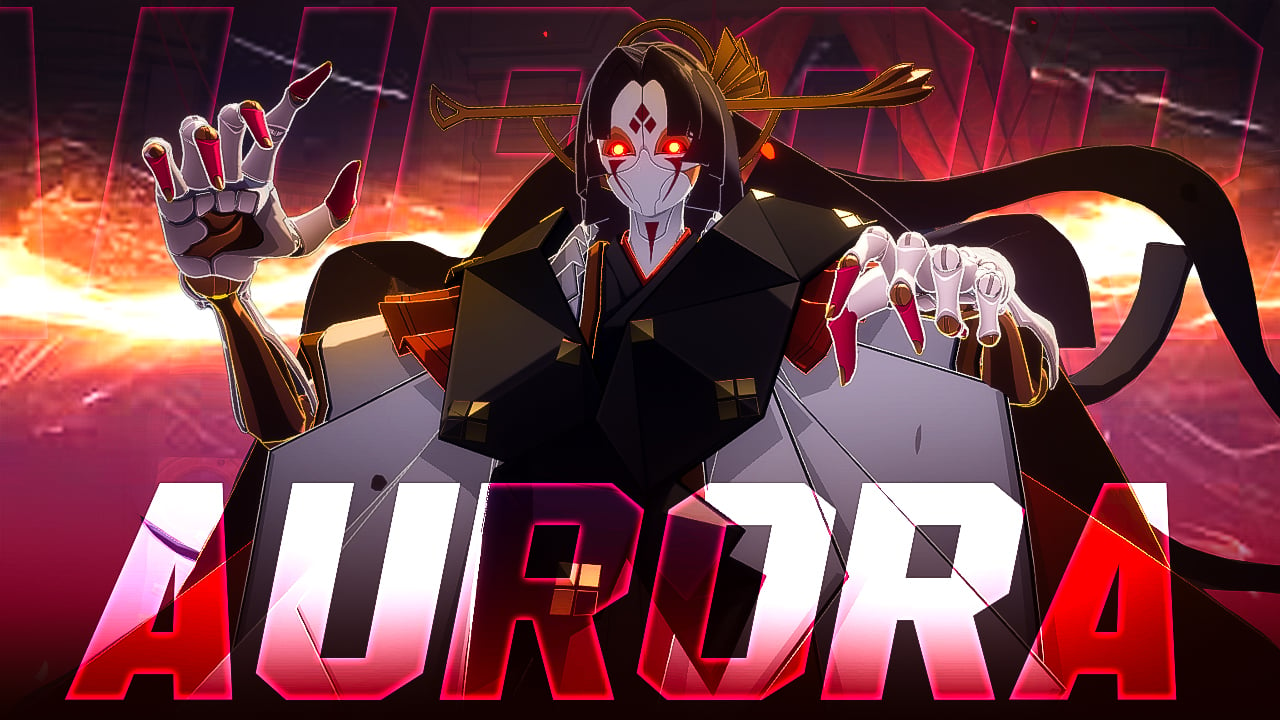
Aurora is the final boss you will face in Etheria: Restart’s Threshold, a content area specifically focused on farming Modules to enable your Matrix Bonuses.
You can face Aurora on Normal, Hard, Nightmare, Hell and lastly, Inferno difficulties – there are 3 stages for each difficulty jump.
When you reach Hell I difficulty, Aurora will deal 30% Increased Damage to Hollow Element Animus, which increases to 100% on the final stage, Inferno!
A puppeteer lost to the genesis infection, wandering alone in the ruins of a theater, rehearsing puppet shows. Anyone who tries to interrupt her performance will be met with hostility and attack.
In this guide, we will break down Aurora’s Skills, how to face this encounter, as well as recommending what we would consider an ideal progression team to help you along the way.
Aurora Skills

Pristine Crystal
Guides paper cranes to fly toward enemies, dealing 350% damage to all enemies; if targets have debuffs, increases the damage multiplier to 450%.

Dangling Foliage
Summons countless paper cranes to charge at enemies, dealing 600% damage to all enemies with a 80% chance to inflict a 3-turn [Wild Proclamation]; if the unit has [Accumulated Anger], converts own [Accumulated Anger] into corresponding stacks of [Wrath], then applies 20 stack(s) of [Accumulated Anger]. Additionally inflicts [Curse Shield] equal to 30% of the target’s Max HP, and this effect ignores [Immunity].
[Wild Proclamation] – When the turn starts, takes damage equal to 450% of Aurora’s ATK. This effect cannot stack.
[Accumulated Anger] – Lose 1 stack(s) upon taking damage, but if the attacker has [Wild Proclamation], the reduction chance decreases to 25%. This effect cannot be dispelled.
[Wrath] – Upon reaching 15 stacks, Aurora immediately uses Lingering Grudge to counterattack. This effect cannot be dispelled.

Lingering Grudge
Summons countless paper cranes to charge at enemies, dealing 700% damage to all enemies; every 1 time(s) this skill is used, increases the damage multiplier by 140%.
How to beat Aurora

Aurora is the final threshold boss, and she’s built to punish slow or unoptimized teams. The fight revolves around a stacking system of [Accumulated Anger] and [Wrath], with Aurora unleashing increasingly powerful AoE attacks based on how many [Wrath] stacks she has. Your goal is to slow [Wrath] buildup by removing [Accumulated Anger] stacks through multi-hit attacks, making speed and efficiency the name of the game.
Aurora’s Skill 2 is the core of her kit. It applies [Wild Proclamation], a debuff that acts like a [DoT] but can be cleansed or prevented with [Immunity]. It also applies [Curse Shield], which reduces the damage Animus deal by 50% and this cannot be blocked by [Immunity]. This debuff can be removed when the Animus receives healing so tuning your healer to go before your damage dealers is crucial. On top of that she gains 20 stacks of [Accumulated Anger] when casting, which later converts into [Wrath]. If [Wrath] hits 16, she instantly uses her Skill 3, an AoE nuke that scales harder with each use. Because her side adds grant her [Wrath] passively each turn and are nearly unkillable, the best method is to ignore them and focus on bursting Aurora.
The most effective strategy is to bring a team built around buff removal, speed control and burst damage. A comp like Viper, Dinah, Lingluo, Lily and Diting works wonders: Dinah brings [Vulnerable], [DEF-] and Turn Meter utility; Viper removes [Immunity], places [ATK-] and [SPD-] to control [Wrath] gain; Lingluo removes the [Curse Shield] allowing Diting to do their thing. Lily is here to keep the turns moving and reset Diting cooldown to hit hard multiple times. This setup bursts Aurora down and avoids most of her lethal retaliation effects.
Take note: Its important for your support animus to go before your damage dealers to get the most out of them. We have suggested Lingluo but other options like Chiaki or Mia will also fill this role fine. If you have Rosa, use her. She has the affinity advantage and can knock back Aurora’s turn meter slowing her down either further.


