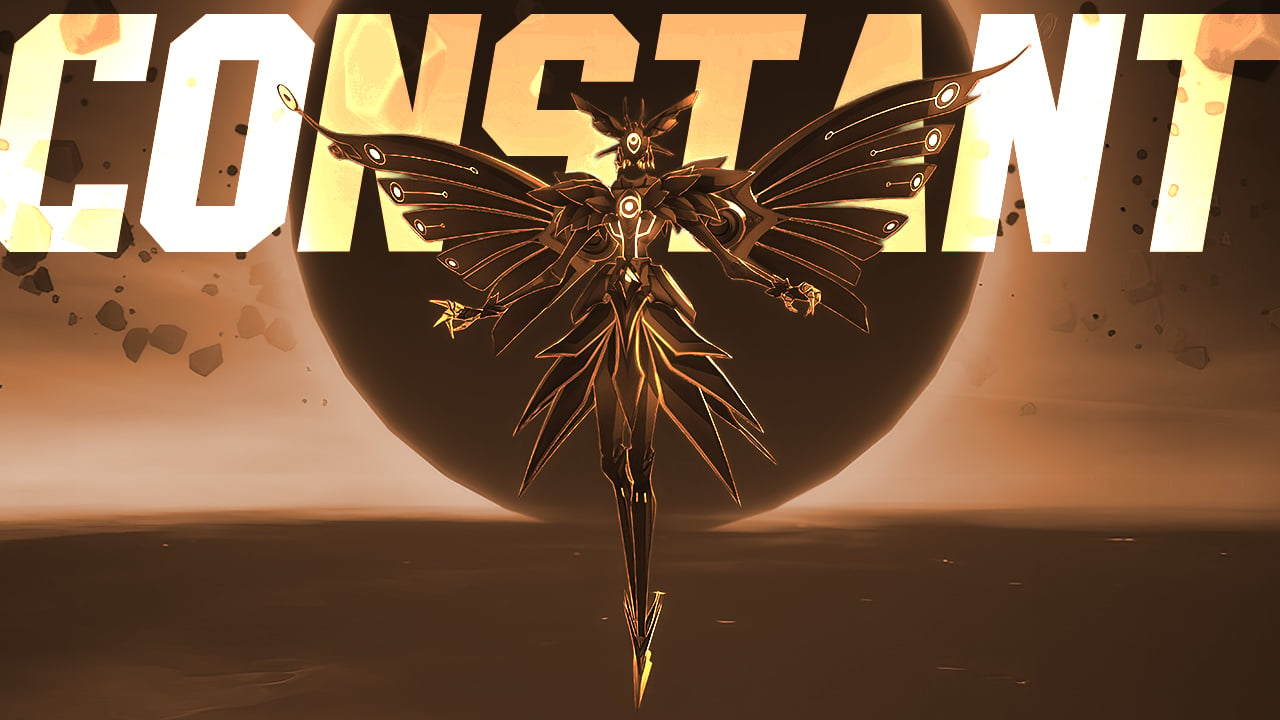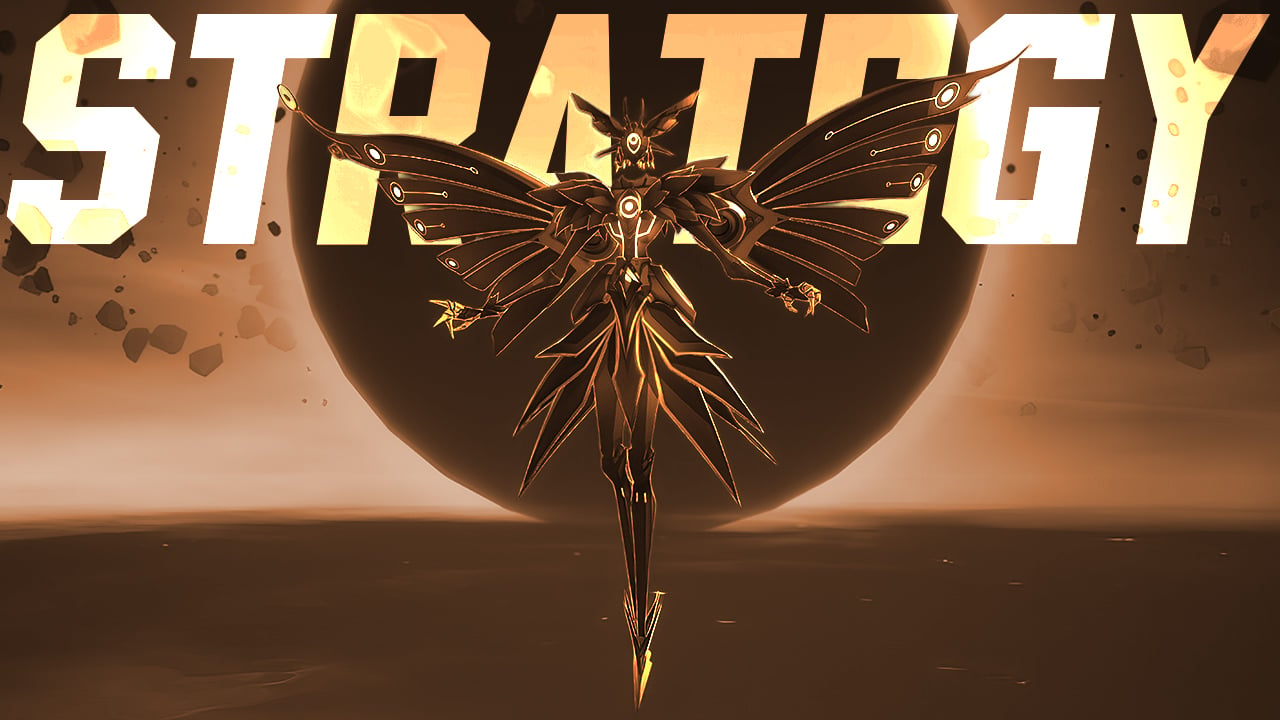
Wyrm Constant Boss Guide
Wyrm Constant is one of five Union Bosses that you will face in Etheria: Restart, which serve as the game’s Clan Boss in essence.
The Wyrm Bosses are a Union-wide progression boss, where you will gain more rewards based on the damage you deal to it.
An extremely dangerous Meltdown creature born from the Turbulent Stream of Etherons. Empowered by special Constant particles, it possesses strength that exceeds all limits, bringing forth a calamity from which no one can escape.
In this guide, we will break down Wyrm Constant’s Skills, how to face this encounter, and recommend what we would consider an ideal progression team to help you along the way.
Wyrm Constant Skills
Spatial Whirlwind
Harnesses energy from another realm, dealing 2 hits of 250% damage to all enemies; each hit grants the user 15 stacks of [Shield of the Light].
Converging Stream
Summons otherworldly beams to deal 600% damage to a single enemy and gain a 2-turn [ATK+].
Black Hole
Simulates a black hole, dealing 450% damage to all enemies; before attacking, grants the user 25 stacks of [Shield of the Light].
Digital Calibration
Unleashes countless Spatial Whirlwinds, dealing 600% damage to all enemies and ignoring 10% of their DEF; for every 1 stack of [Shield of the Light] the user has, ignores an additional 3% of the target’s DEF.
Data Blockage
Increases damage taken by 75%; for every 1 stacks of [Shield of the Light] the user has, reduces damage taken by 2%.
Weak Point
When Wyrm is attacked by units of countering type, increases DMG Taken by an additional 100%.
Self-Upgrade
For every 2 skills Wyrm uses, gains 1 stack(s) of [Self-Upgrade].
How to beat Wyrm Constant

This version of the Wyrm Union Boss centers entirely around the [Shield of Light] mechanic—a self-buff that drastically reduces the damage you deal and supercharges the Wyrm’s nukes. Rather than relying on debuff uptime, this fight tests your ability to strip stacks quickly and consistently using multi-hit attacks and smart turn management. The Wyrm opens with 100 HP bars, and your score reflects how many full clears you can accomplish. Like other bosses, 80+ bars equals SSS (Tier 100), and partial clears still grant meaningful rewards. High-performance here is all about tempo and utility, not brute force.
Each time the boss uses its AoE skills, it stacks [Shield of Light] up to 25 stacks at once. These stacks increase its damage by 1.5% per stack and reduce incoming damage by 2% each. They can’t be blocked, stolen, or dispelled, and they fall off only when the boss is hit—one stack per hit. This makes multi-hitters and speed boosters vital to reduce incoming burst and unlock your team’s full damage potential. The boss’s defense ignore ability scales based on the number of stacks of [Shield of Light] remaining, making the boss devastating if left unchecked.
Importantly, the boss is immune to control and [DoT] effects. You won’t be able to stun, poison, or freeze it. Instead, the strategy revolves around multi-hit skills, Disorder-element damage, and stat-based debuffs like [DEF-] and [ATK-]. The boss also passively increases its damage over time, so long battles get more dangerous—another reason to cycle skills fast and hit hard early.
Top-tier performers in this fight include Diting and Victor, two single-target, multi-hit Disorder damage dealers with incredible synergy in this mode. Ditting’s passive gives him +60% Crit Rate automatically against low-HP enemies—perfect for a solo boss—and even converts excess Crit Rate into Crit Damage. Victor, though nerfed, still holds up as a potent choice thanks to his element advantage and multi-hit count. These units are also SRs, making them accessible to most players.
For support and control, Kloss is exceptional. Her unique debuff reduces the boss’s damage output up to 45% and increases the damage it takes by up to 25%. The best part is that it’s unpurifiable. She also applies [DEF-] for free extra burst. If you’re missing Kloss, RC-77 brings a valuable [ATK-] to soften the boss’s blows, while Dinah adds [Vulnerable] for bonus damage. Both are solid substitutions.
Speed control is just as important as debuffing. Lily, Kazami Kazuyo, and even Mio offer [SPD+], helping your team rotate faster and land more hits to clear stacks. Lily also provides follow-up attacks, which passively chip away at [Shield of Light] without burning cooldowns. Any unit that boosts team tempo or reduces cooldowns is an asset.
Survivability is flexible depending on your damage and stack-clearing speed. If you need sustain, Lingluo is a great free option after 7 days of login. Chiaki is another excellent defensive pick, with [Origami Guardian] to reduce damage taken. Freya also works well, adding Lifesteal and increasing the damage the boss takes with her unique debuff [Nightmare].
In short, Constant Wyrm is a battle of momentum. You’ll need a team built around multi-hit consistency, shield-clearing rotation, and core debuffs to maximize damage and minimize punishment. With the right setup, you’ll shave off stacks before each big nuke, keep your damage flowing, and steadily climb toward that SSS score.


