
Ultimate Beginner Guide Part 2
So, you’ve jumped into Etheria: Restart, cleared the early chapters, and now you’re eyeing Chapter 6, wondering, “What now?” Good news—this guide is exactly what you need. We’re diving into the second half of Day One progression, detailing the moment-to-moment gameplay flow, who to build, how to use your stamina smartly, and why Kraken is amazing. If you’re feeling lost in the chaos of team setups, gear, and shells, don’t worry—we’ve got your back.
Let’s break down what to expect after reaching the latter stages of Chapter 6, especially if you’re following a methodical, free-to-play-friendly path.
Where You Should Be at the End of Chapter 6
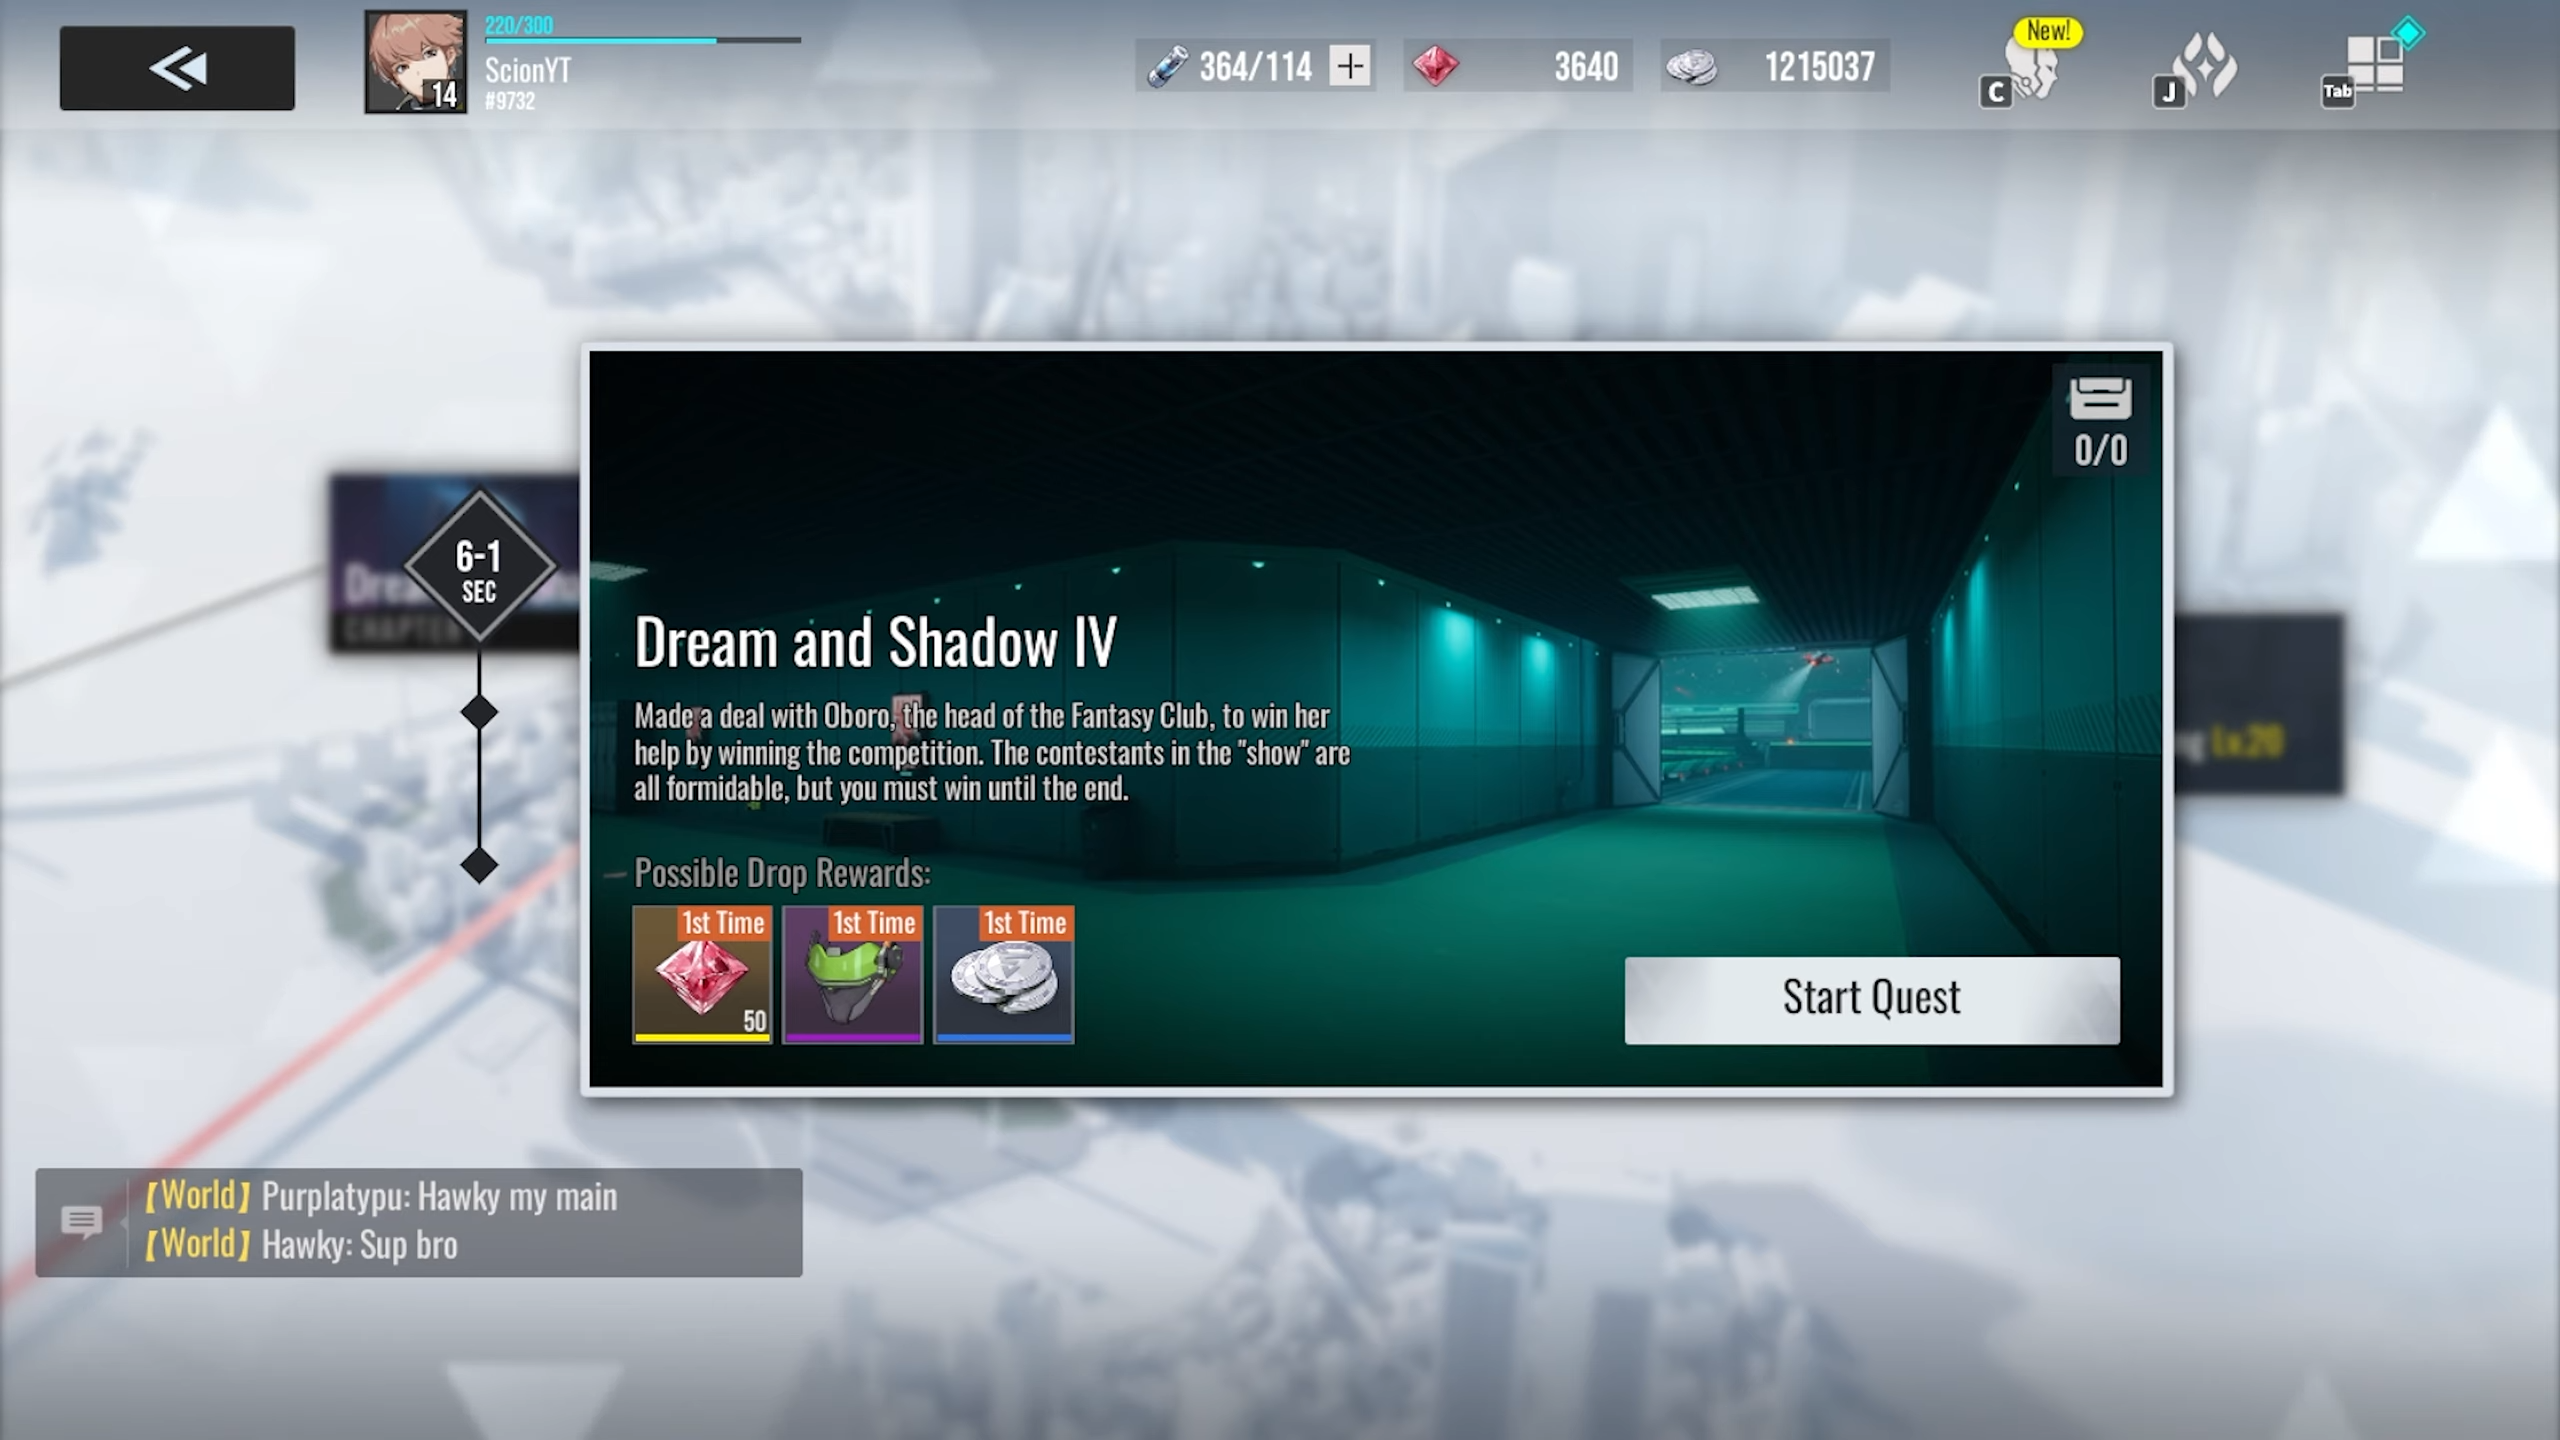
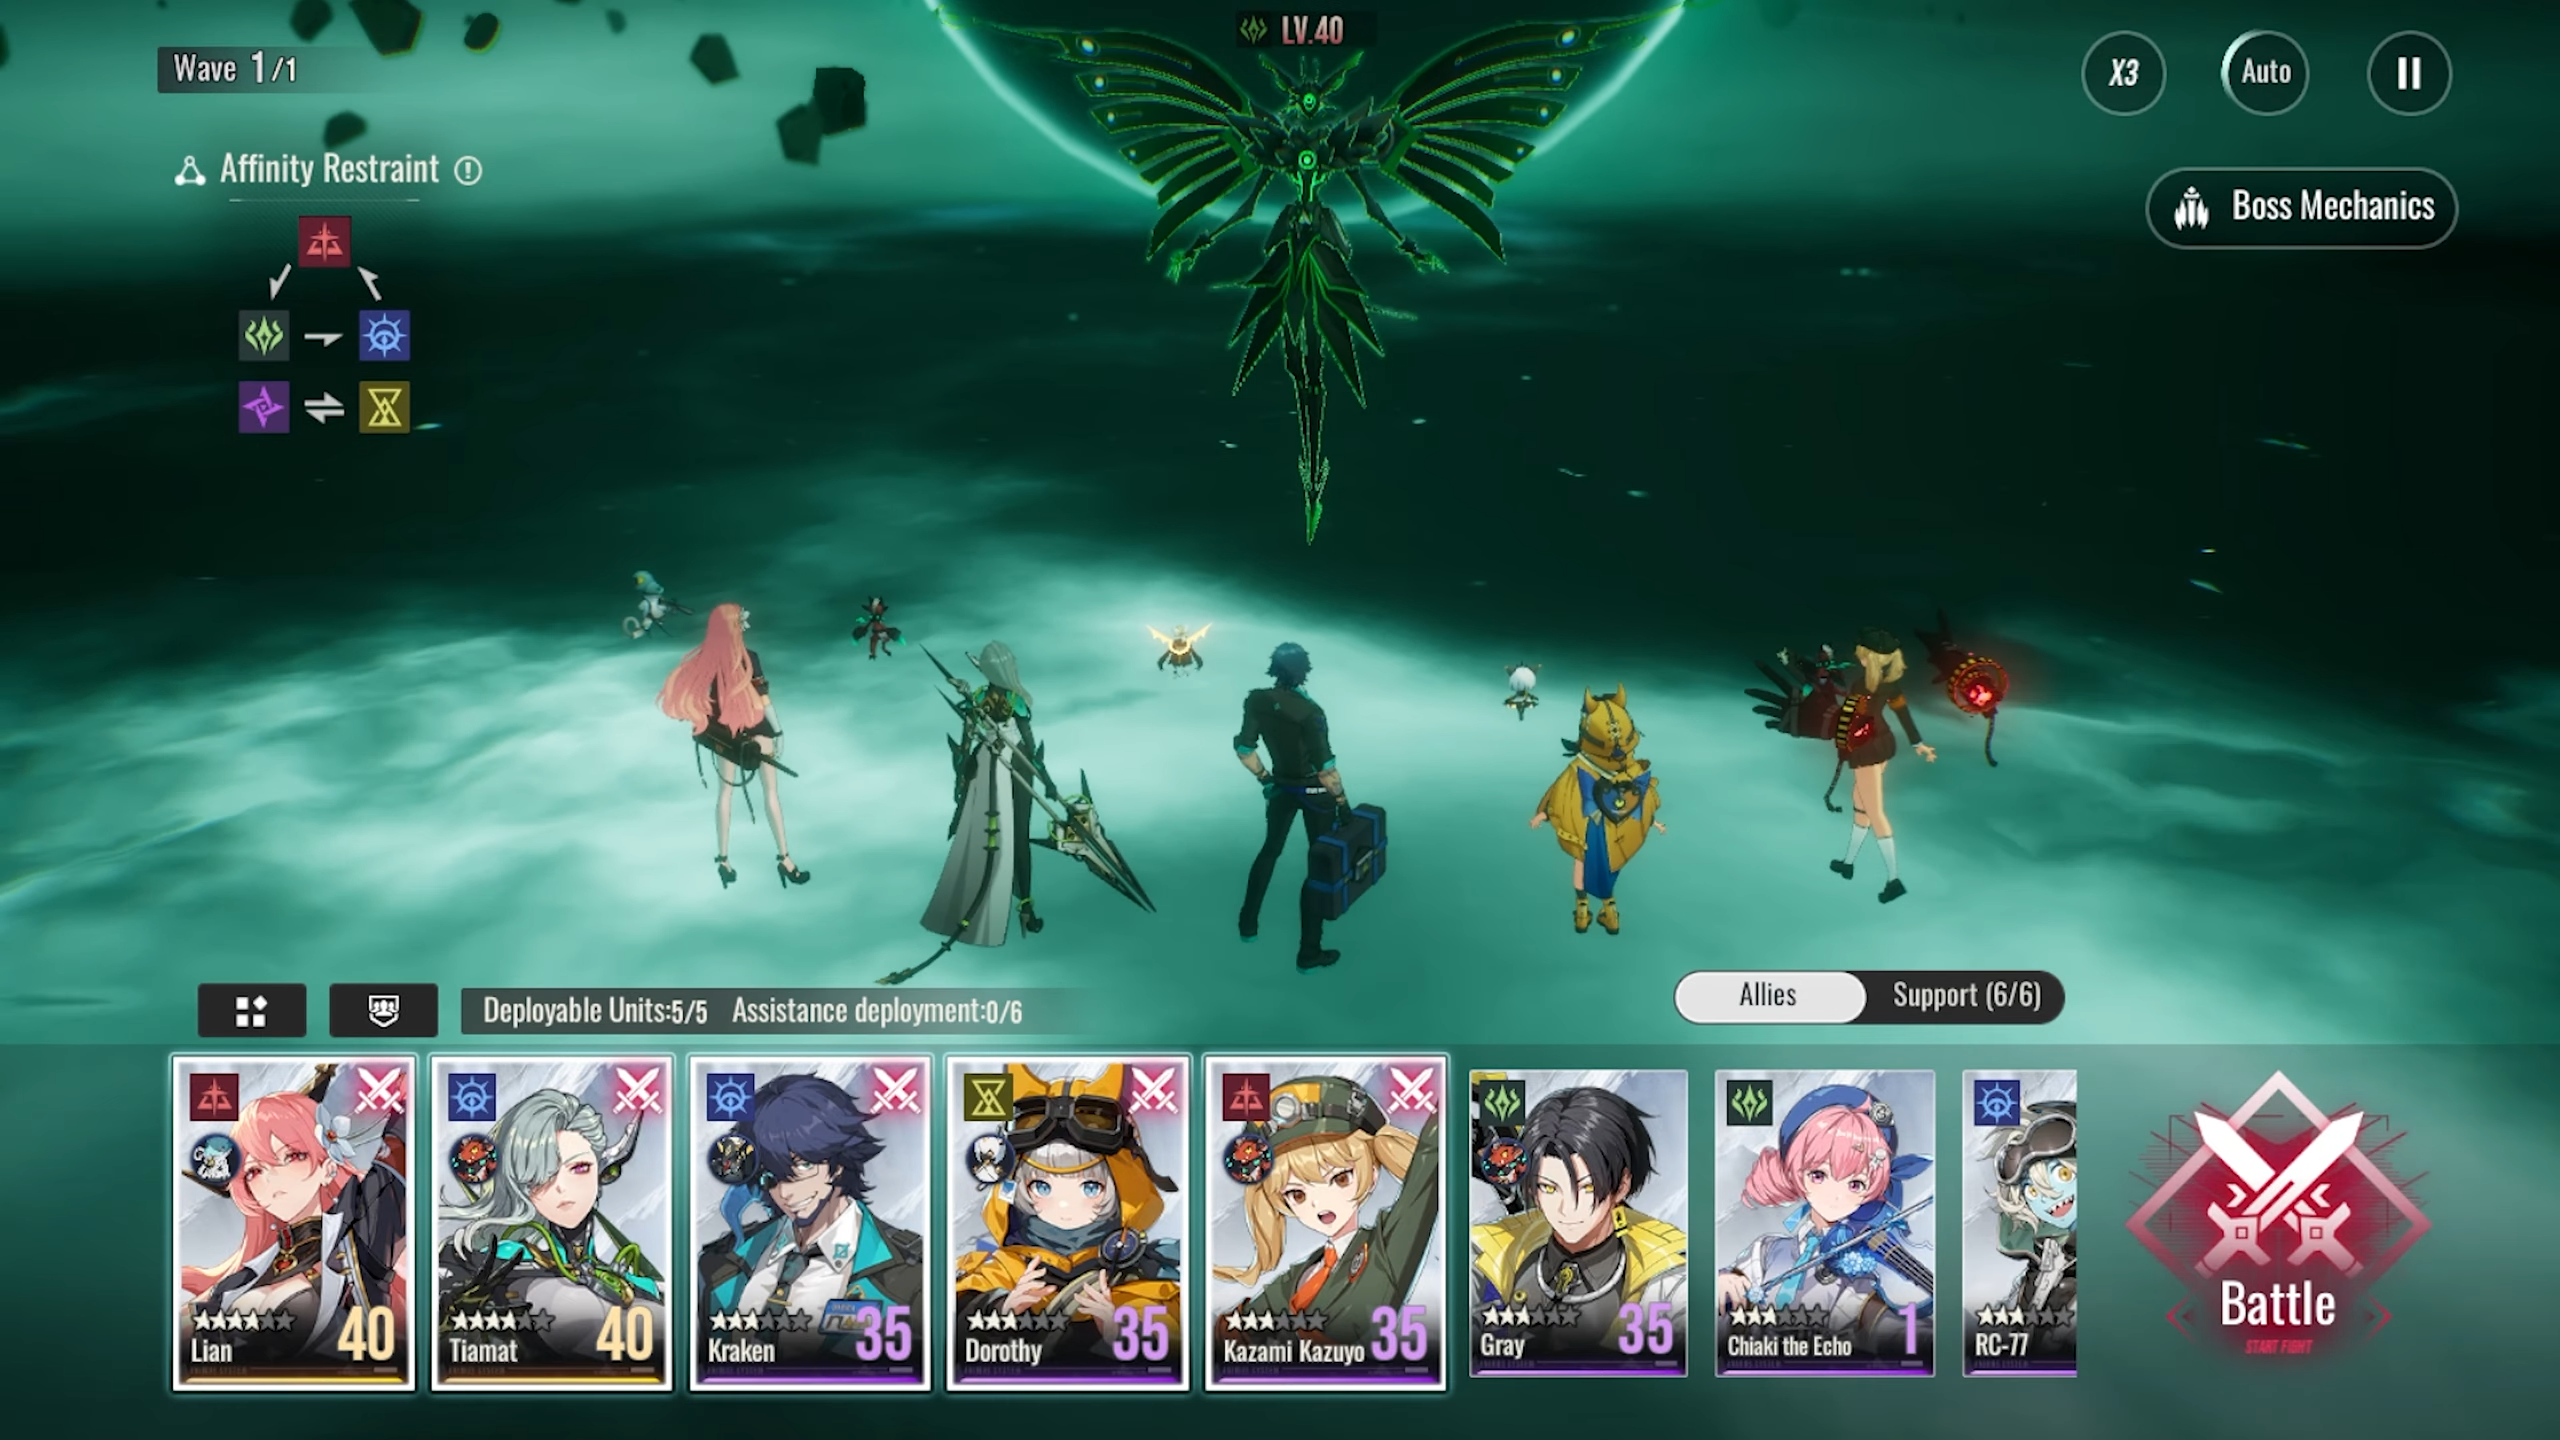
By the time you’re closing in on Massiah—the god-tier antagonist—it’s likely you’ve built up a small core team around level 35-40. As an example we had a team that includes:
- Tiamat (Level 40) – Beastly DPS who thrives in her Dragon State.
- Lian (Level 40) – Early carry.
- Kraken (Level 35) – Crowd control god, and we’ll talk more about why he’s amazing.
- Dorothy, Gray, Kazami (Level 35) – Solid support and backup options.
- New Pulls: Obol & Sania – High potential additions that are definitely worth investing in.
The recommendation is to pause after each chapter to reassess: level up your characters, equip better shells, and organize your teams to optimize efficiency.
Kraken: The Underrated MVP of Etheria
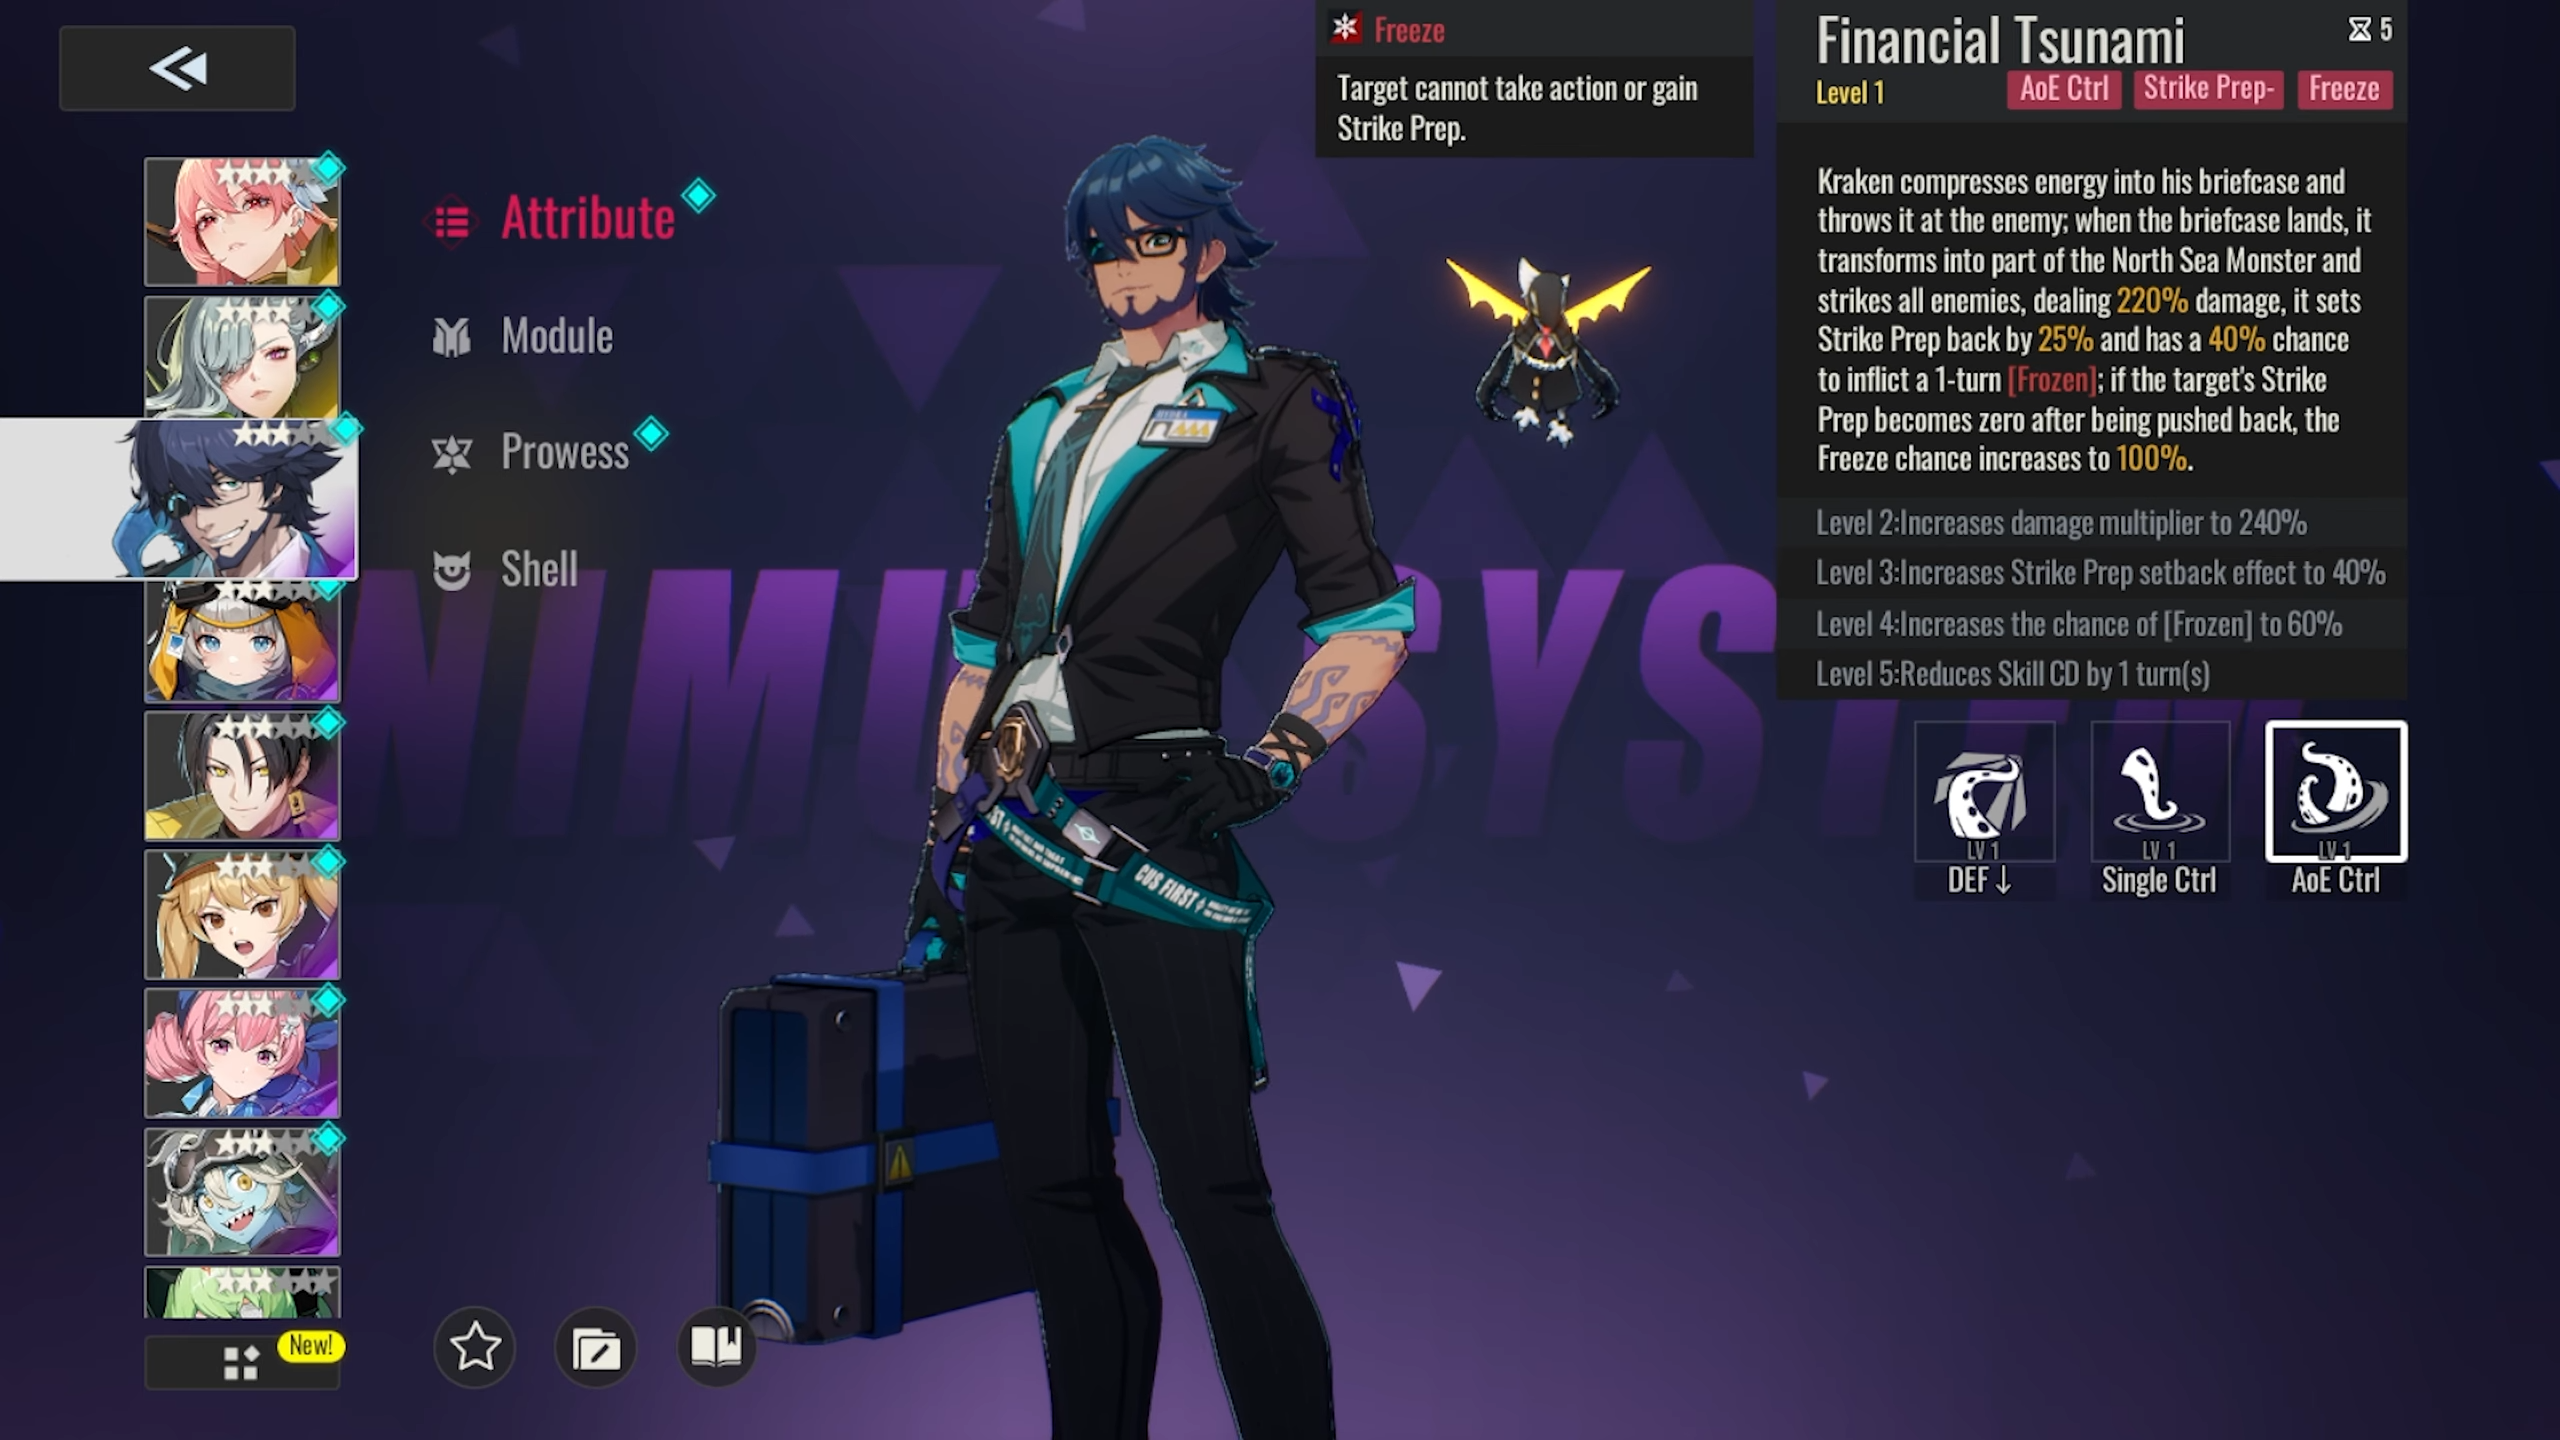
Let’s talk about Kraken because this dude doesn’t get enough love.
Kraken is essentially the anti-play button for your enemies. His kit revolves around AOE freeze, Turn Meter pushback, and defense break, locking down threats before they even get a turn. He is invaluable for PvE stages where action control gives your team a massive advantage. Just stack him with speed gear and watch enemies sit frozen while your team steamrolls.
He’s one of those units that transforms your experience the moment you get him. Everything just gets easier.
Shells, Gear, and Purple Progression
By this point, you should be digging into your Shells and starting to prioritize purple gear. Here are a few notable Shells highlighted:
- White Gale – Triggers preemptive strikes and extends non-control debuffs (like defense down).
- Budo Panda – Adds extra damage after the owner’s attack.
- Attack Shells – Several options that boost damage and attack stats on action.
Begin swapping out your early shells for these purples and build around your main carry’s strengths. For example, if Tiamat is your carry, look for HP-scaling or debuff-enhancing Shells to amplify her Dragon State damage.
The Art of Spending Stamina Efficiently
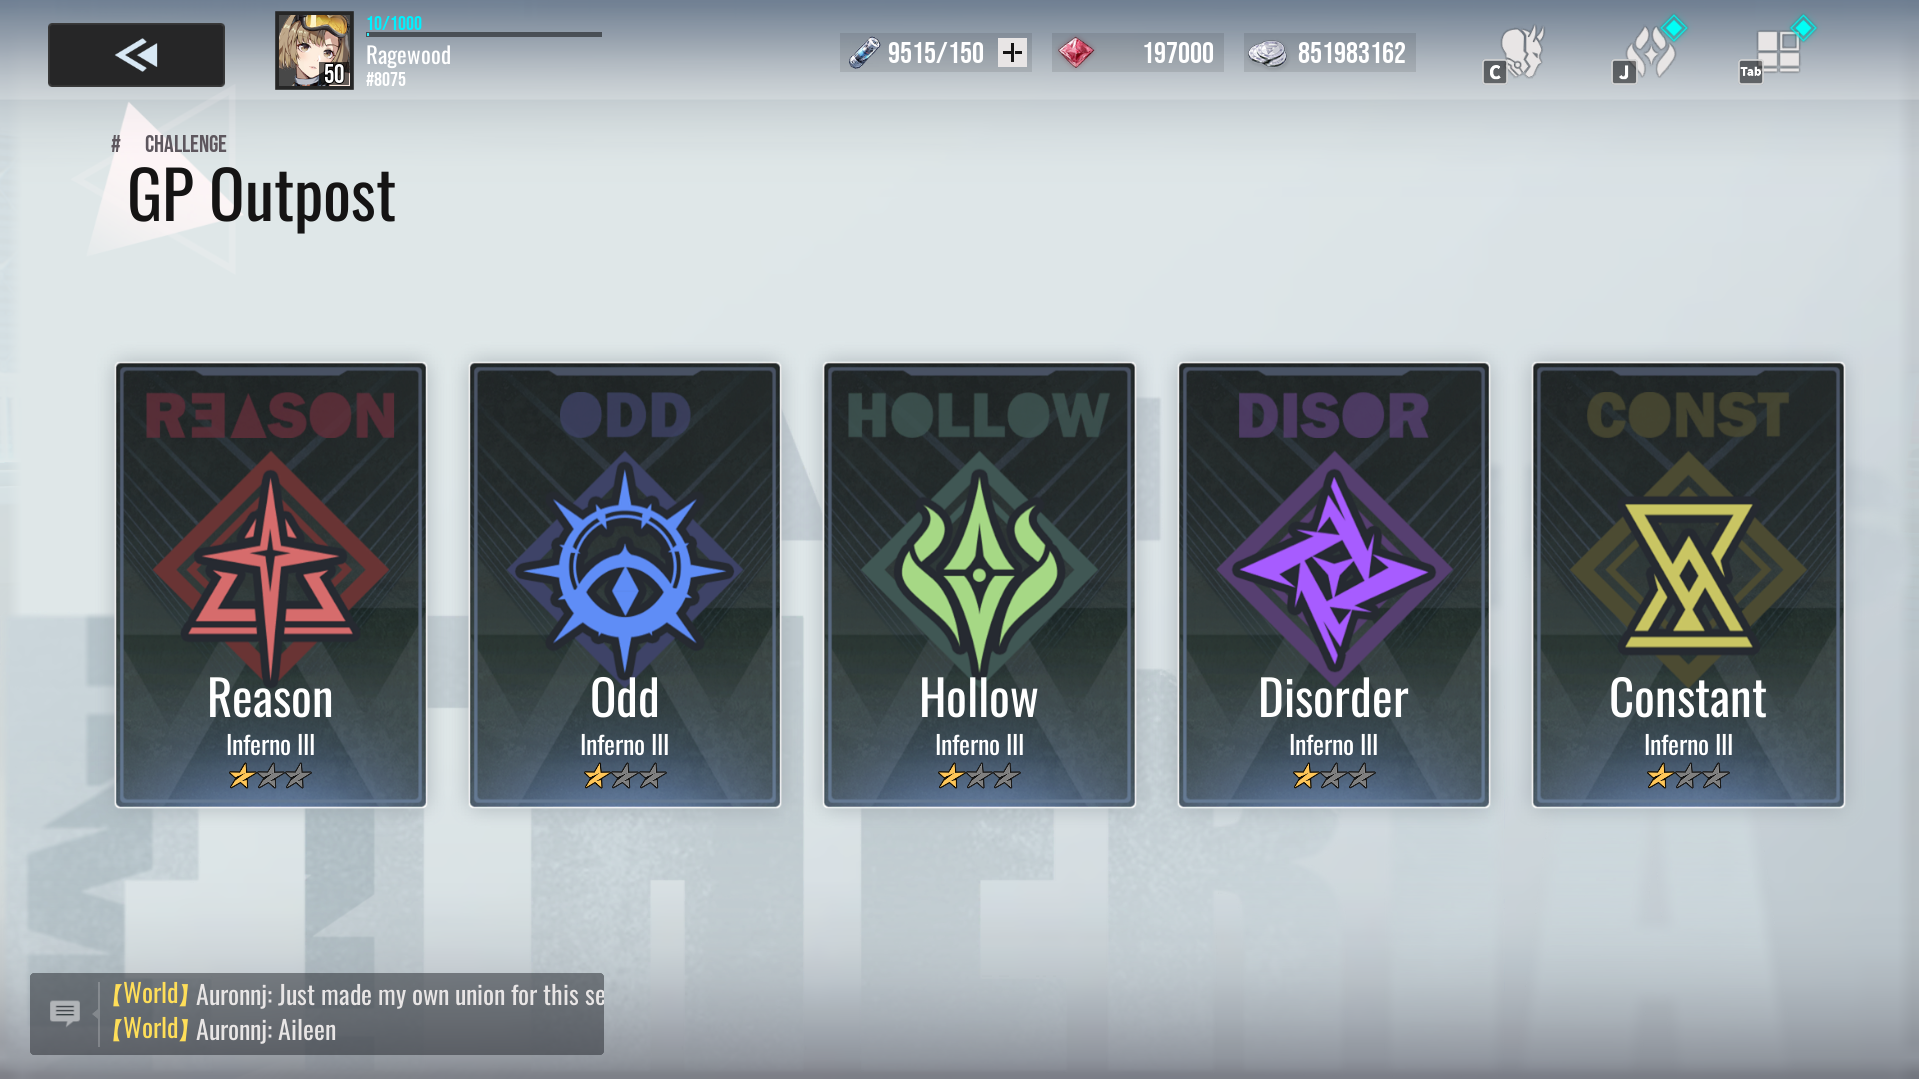
Here’s the real pro tip: don’t blow all your currency on summoning early.
The goal is to max out your stamina use every day—redeem all 10 stamina packs daily. That’s 1,000 stamina per day, equal to over 100 summons worth of farming potential. Prioritize GP Outpost stages, which are among the fastest stamina sinks in the game. They’re great for farming upgrade materials and progressing your main DPS.
If you’re short on time, spam farming these stages is your best bet for efficient progression. You’ll also unlock achievements that grant extra prowess, summons, and resources just by grinding.
Leveling Up Modules and Progressing Prowess
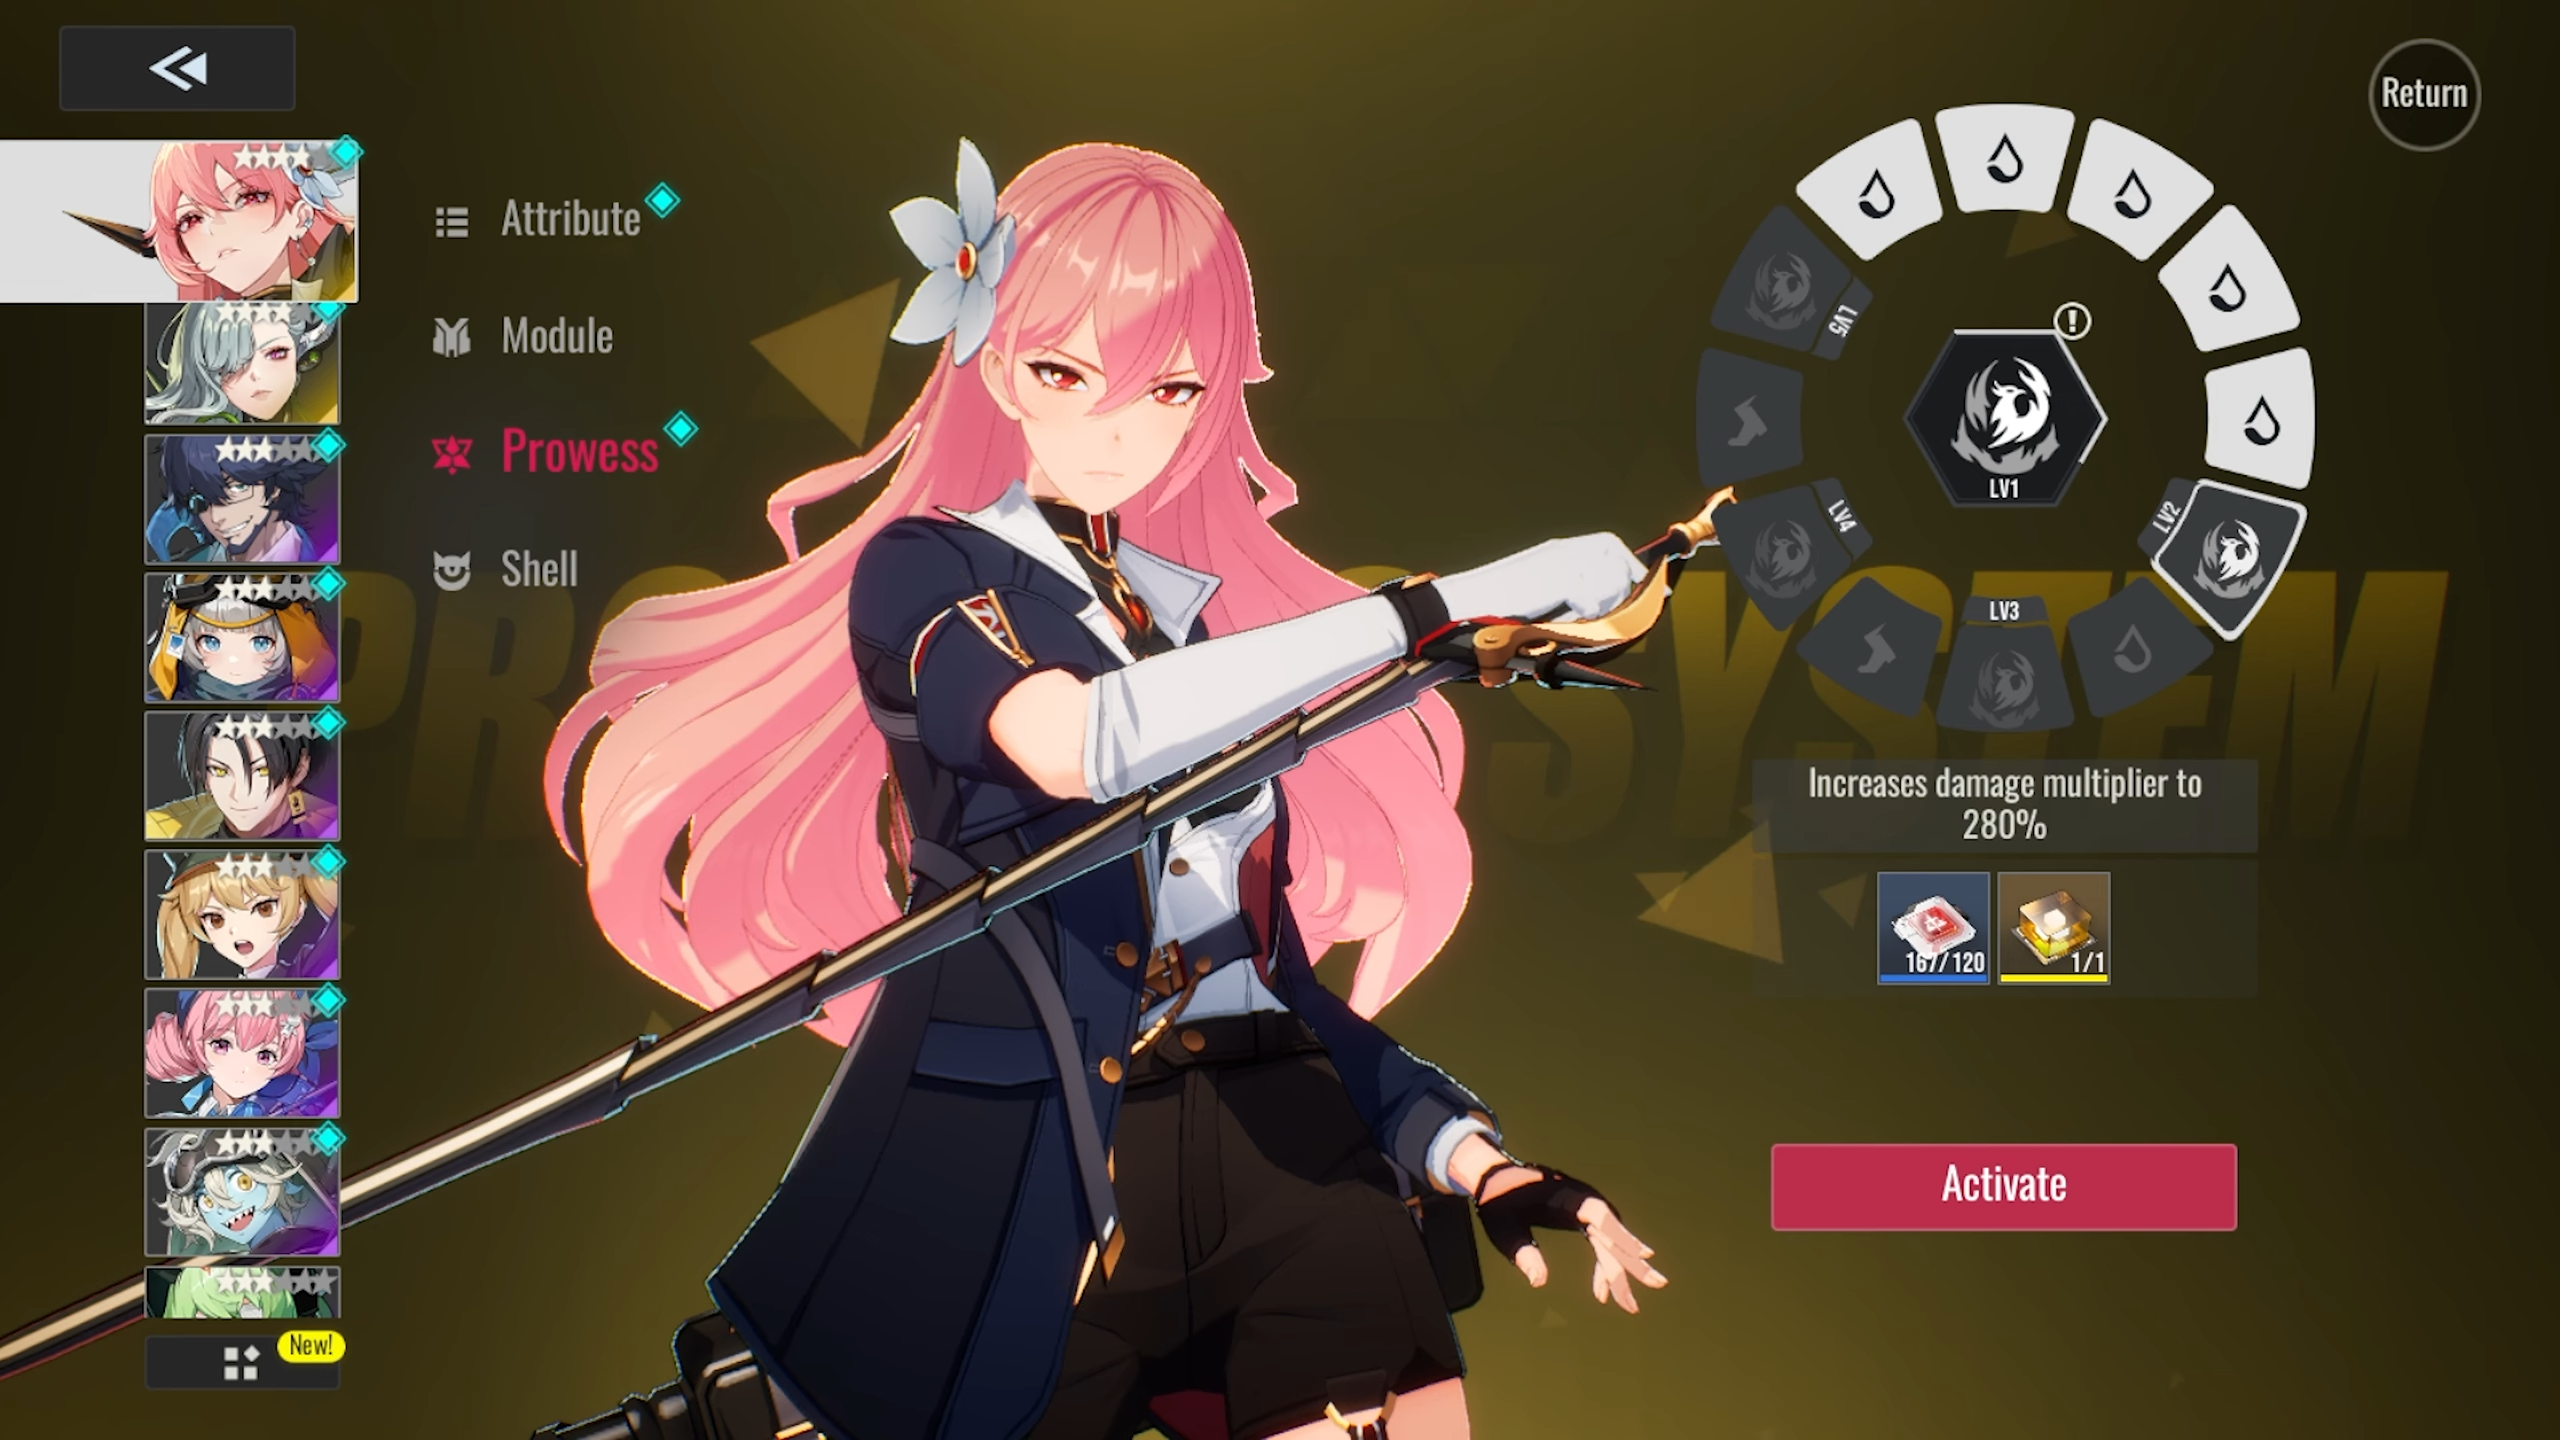
Once your team is taking shape, shift your focus to Prowess and Module upgrades. For instance, Lian—an early DPS—can be pushed with Perfect Lattices to unlock her next tier of power.
You’ll need purple (and eventually orange) resources, which are best farmed from high-level GP Outpost and Nightmare Echo challenges. Make sure to prioritize stat boosts that align with your DPS—HP for Tiamat, ATK for Lian, and so on.
Guilds, Unions, and Weekly Rewards
Yes, it’s Day One—but it’s not too early to join a Union. Even if it’s just for the weekly rewards, get in there.
You’ll earn:
- Silver, EXP, and Shell training items
- Weekly stamina (essential for F2P)
- Summon tickets and Orange Shadow Prints (very rare and valuable)
- Access to Guild Boss fights like the Worm, which drops critical gear
Be sure your Union is active. If your guildmates are just vibing and not contributing, that’s a missed opportunity.
Daily Wrap-Up: Limit Breaks, Summon Shop & Final Push
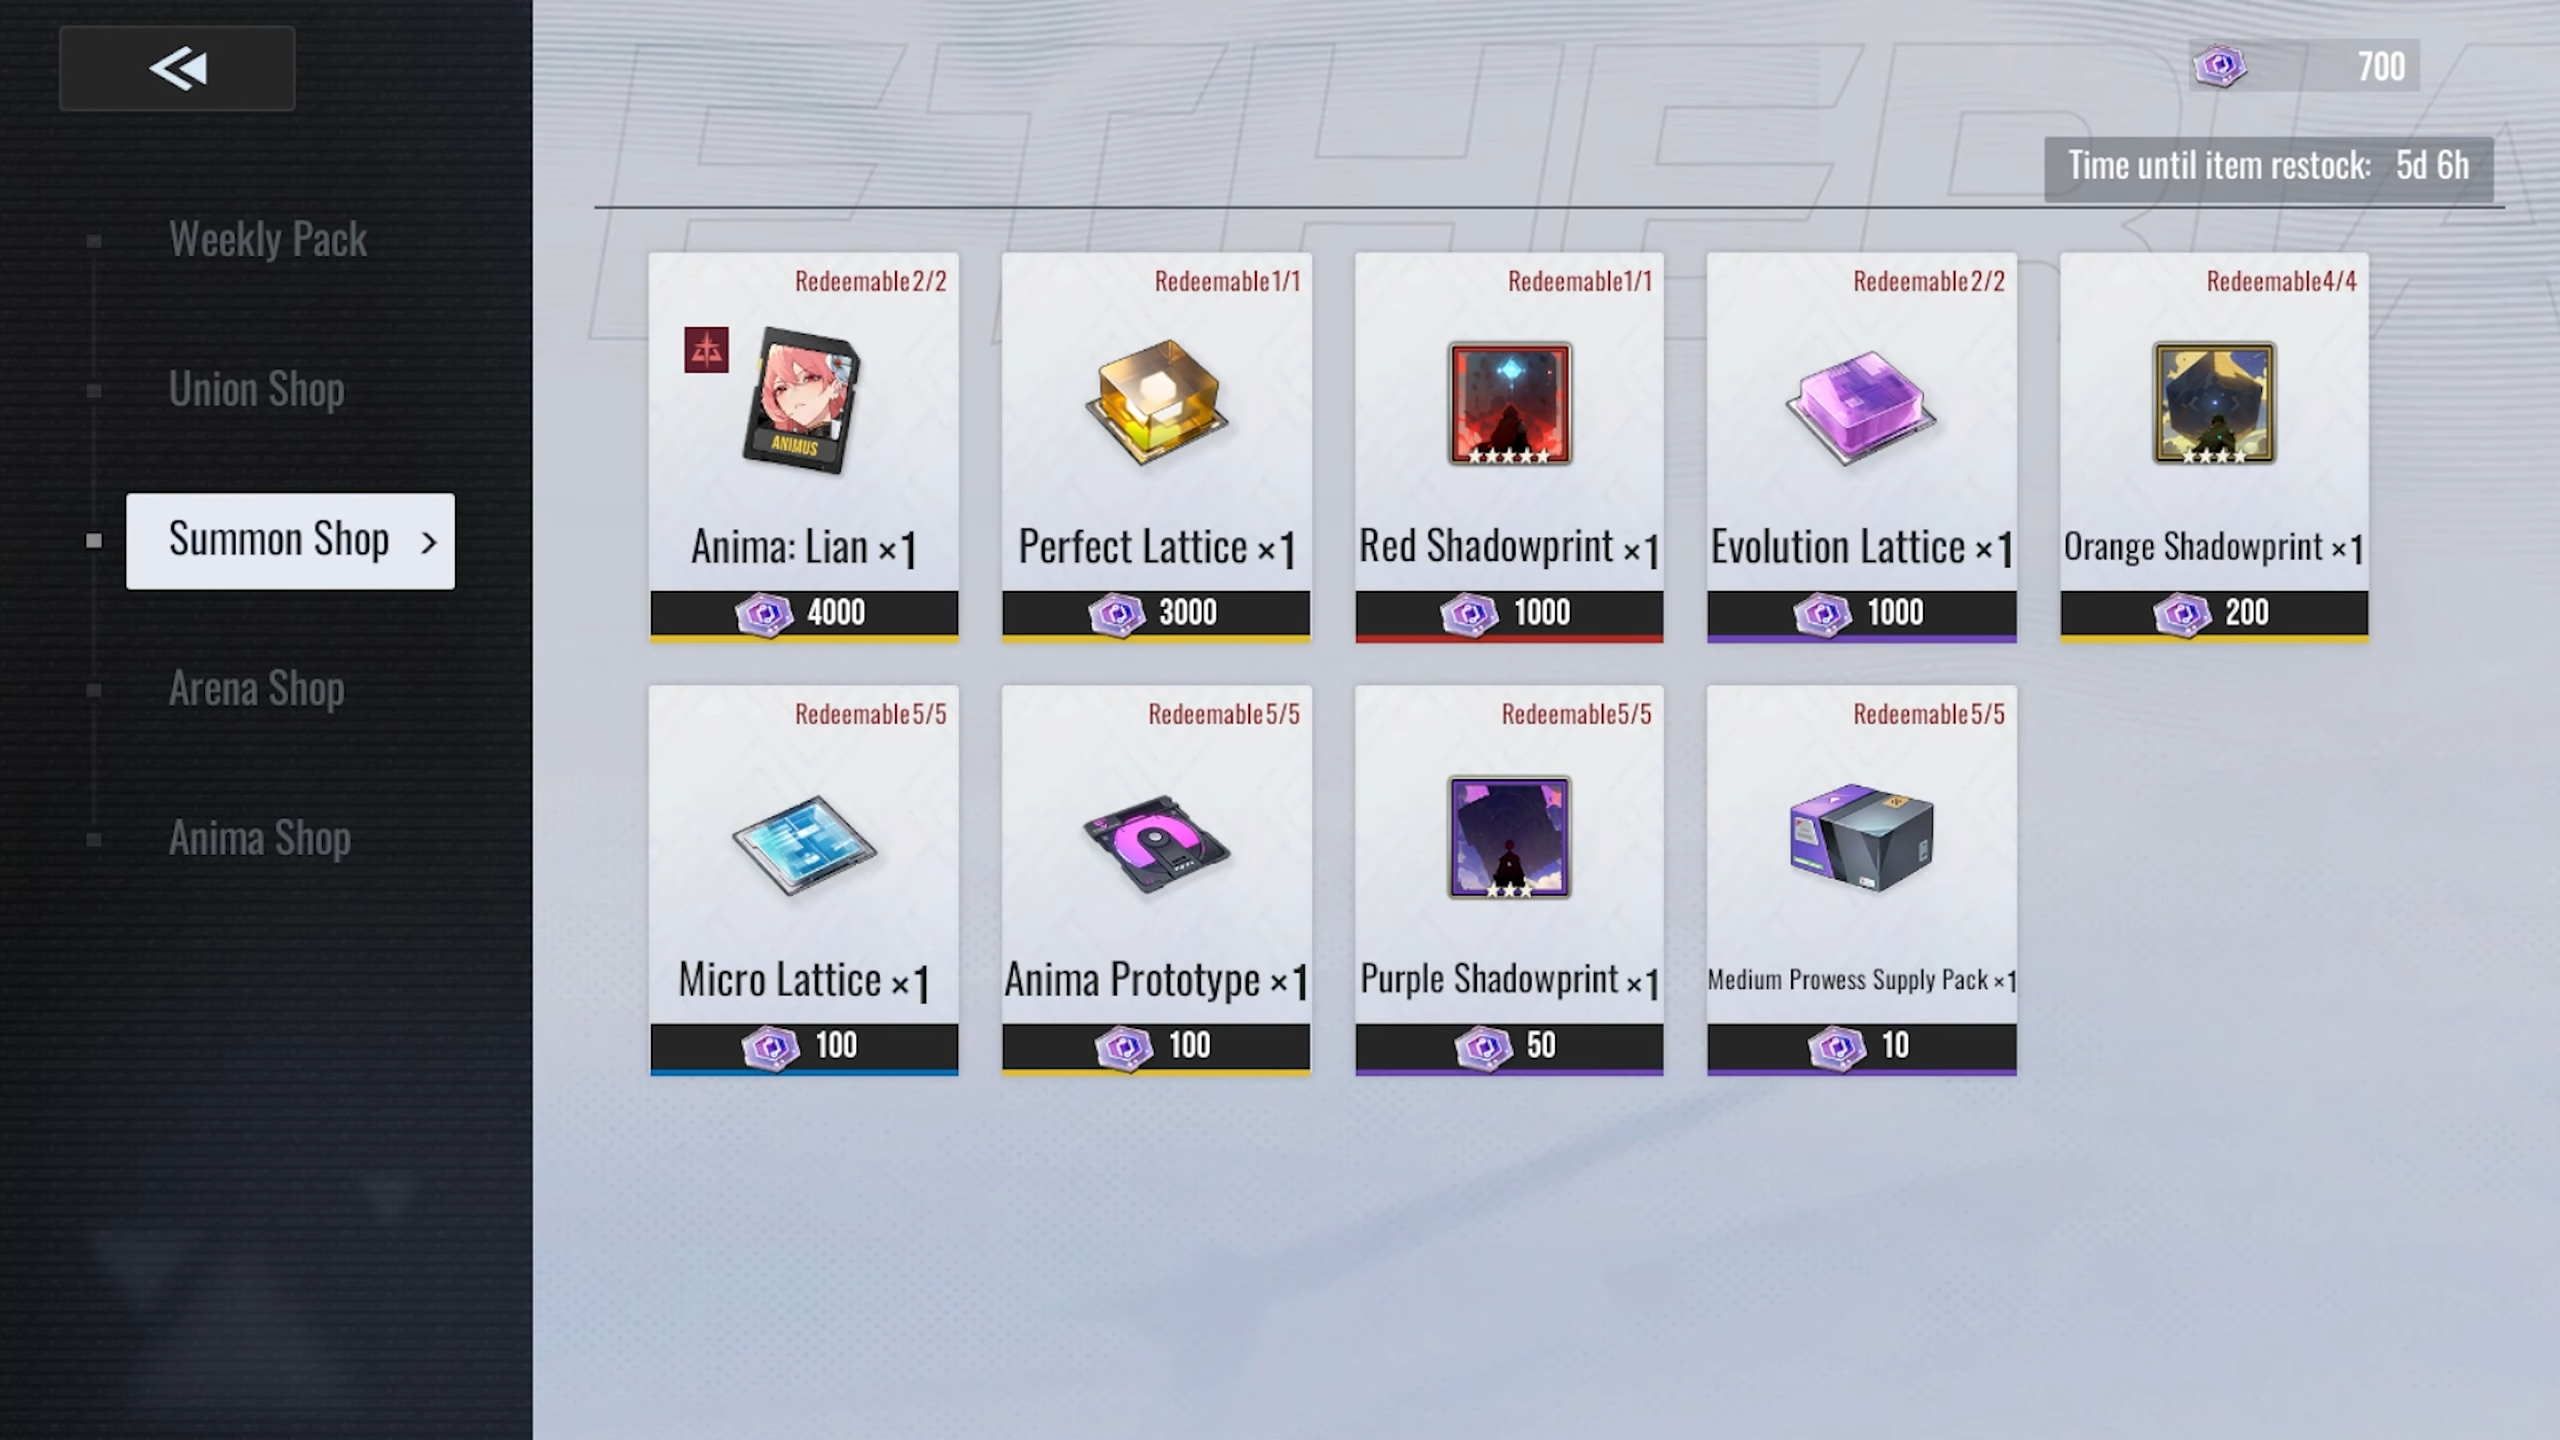
Before you finish your first day, consider how to level up your characters efficiently. Use the Summon Shop to grab Orange Shadowprints, and hold off on the Perfect Lattice/Red Shadowprint until closer to the weekly reset.
Why? Because as a F2P player, your resources are limited, and you’ll need time to gather enough currency to buy both. The strategy here is simple: don’t rush unless you’re at the start of a new week with plenty of days ahead.
Once your characters are leveled up, go back into the Anima EXP Challenge and push as far as you can for EXP and summon currency. Even if you don’t three-star every stage, just reaching them is progress.
Final Thoughts: Tia Carry and Chill
To wrap it up, if you’re running Tiamat as your carry, you’re already making your life way easier. She nukes, sustains, shields, and transforms—what more could you want?
TL;DR – Key Takeaways for Day One:
- Build your team slowly and methodically—focus on your carry.
- Kraken is a CC monster.
- Farm purple Shells and gear early.
- Use all 10 stamina refills every day—efficiency > RNG.
- Spend wisely in the summon shop—plan around weekly resets.
- Get into a Union for rewards, even if it’s a placeholder.
- Push your EXP, GP Outpost, and Echo stages every day.
- Summon only if you have excess currency—gear and levels win fights.


