
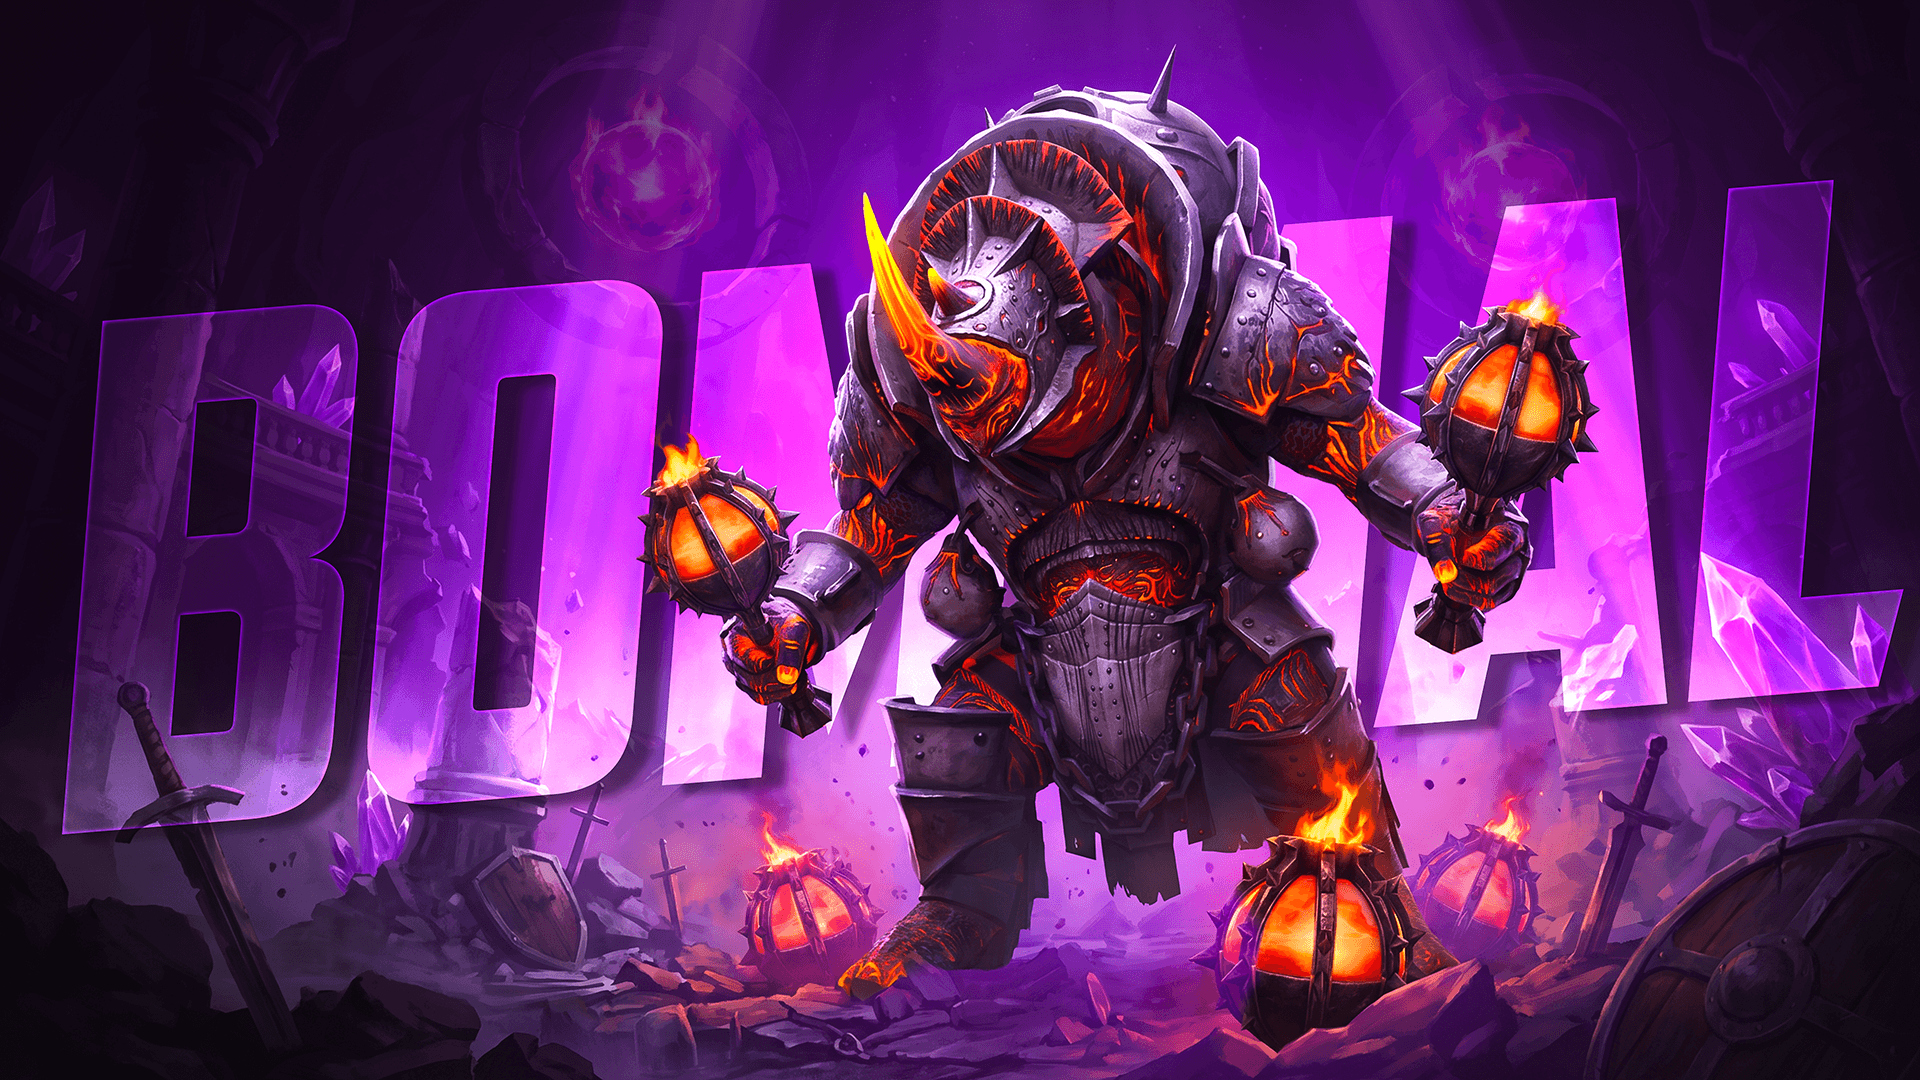

Understanding Bommal’s Mechanics in Raid: Shadow Legends
In this guide, we explore how Bommal the Dreadhorn works in Raid: Shadow Legends. Learn the key mechanics behind this Doom Tower boss encounter, the best Champion types and strategies for dealing with Dreadbombs, how to manage his dangerous Bombs and Turn Meter punishments, and how to build teams capable of consistently defeating him across the Doom Tower & Cursed City.

What Is Bommal?
Bommal the Dreadhorn is one of the most dangerous Doom Tower bosses in Raid: Shadow Legends, with an encounter built around protected Bombs, Dreadbombs, and punishing many of the usual ways you would protect or control your team. He hits incredibly hard and can remove your buffs before replacing them with Bomb debuffs.
Placing debuffs on Bommal comes with additional risk, as he places a Bomb back onto the Champion who applied them. Bomb detonations can also potentially Stun the rest of your team, making it difficult to maintain control and keep everyone alive.
The biggest threat comes from the Dreadbombs he regularly summons, which eventually explode to deal massive damage based on 40% of each Champion’s MAX HP. Reducing Bommal’s Turn Meter can cause even more Dreadbombs to spawn, making the encounter heavily focused around surviving his damage, managing Bombs and Dreadbombs, and bringing enough sustain to keep your team alive.
Understanding Bommal’s Skills
Ruinous Crush
Bommal attacks your entire team, reduces the countdown of all Bomb debuffs by 1 turn, and instantly activates any HP Burns before reducing their duration. This makes stacked Bombs and HP Burns especially dangerous, as he can force their damage to trigger sooner than expected.
Magma Flood
Magma Flood attacks all enemies and places HP Burn for 3 turns. The passive part of this skill makes each HP Burn deal 100% more damage for every Bomb debuff already on that Champion, so allowing Bombs and Burns to overlap can quickly become deadly.
Rain of Bombs
Rain of Bombs removes all buffs from your team before attacking, then places a Bomb on every Champion. Bommal also places an additional Bomb for every buff removed, meaning buff heavy teams can actually make this skill more punishing. These Bombs cannot be blocked or removed once placed, but can be resisted.
Dread Minions
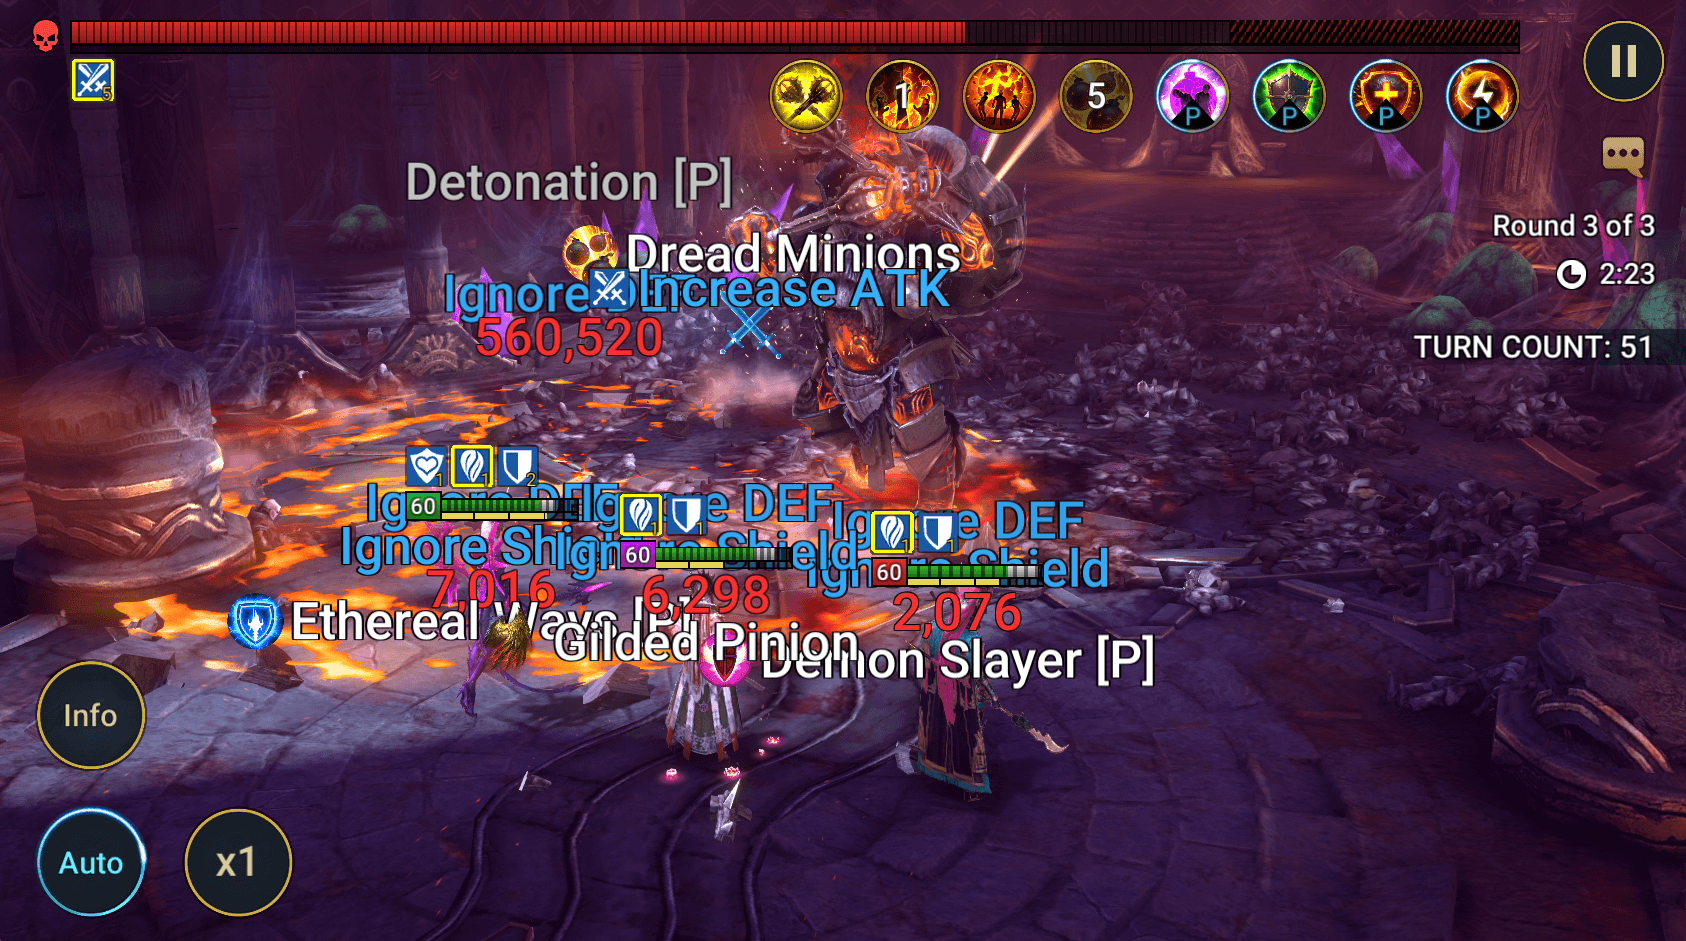
Bommal places an unremovable Increase ATK buff on himself, summons two Dreadbombs, and gains an Extra Turn. The passive part of this skill also summons an additional Dreadbomb whenever his Turn Meter is reduced, making Turn Meter control a dangerous strategy unless your team is specifically built to handle the extra explosions – or forcing them for niche teams like Geomancer & Vogoth’s.
Pressure Wave (P)
Whenever you place a debuff on Bommal, he places an unremovable Bomb back onto that Champion. When any Bomb explodes on your team, it also has a 25% chance to Stun every other ally, potentially disrupting your turn order at the worst possible time.
Bommal also takes 300% more damage from Bomb debuffs, making Bomb Champions one of the few ways to directly take advantage of his own mechanic.
Additional Passives
Bommal is immune to forms of crowd control, HP manipulation, and cooldown increases, so many common boss control strategies simply won’t work. Enemy MAX HP attacks are still usable but are capped at 10% of his MAX HP per hit.
Turn Meter reduction is also cut by 50%, and because reducing his Turn Meter summons extra Dreadbombs, it’s usually something you want to approach carefully rather than build your whole strategy around.
Dreadbombs
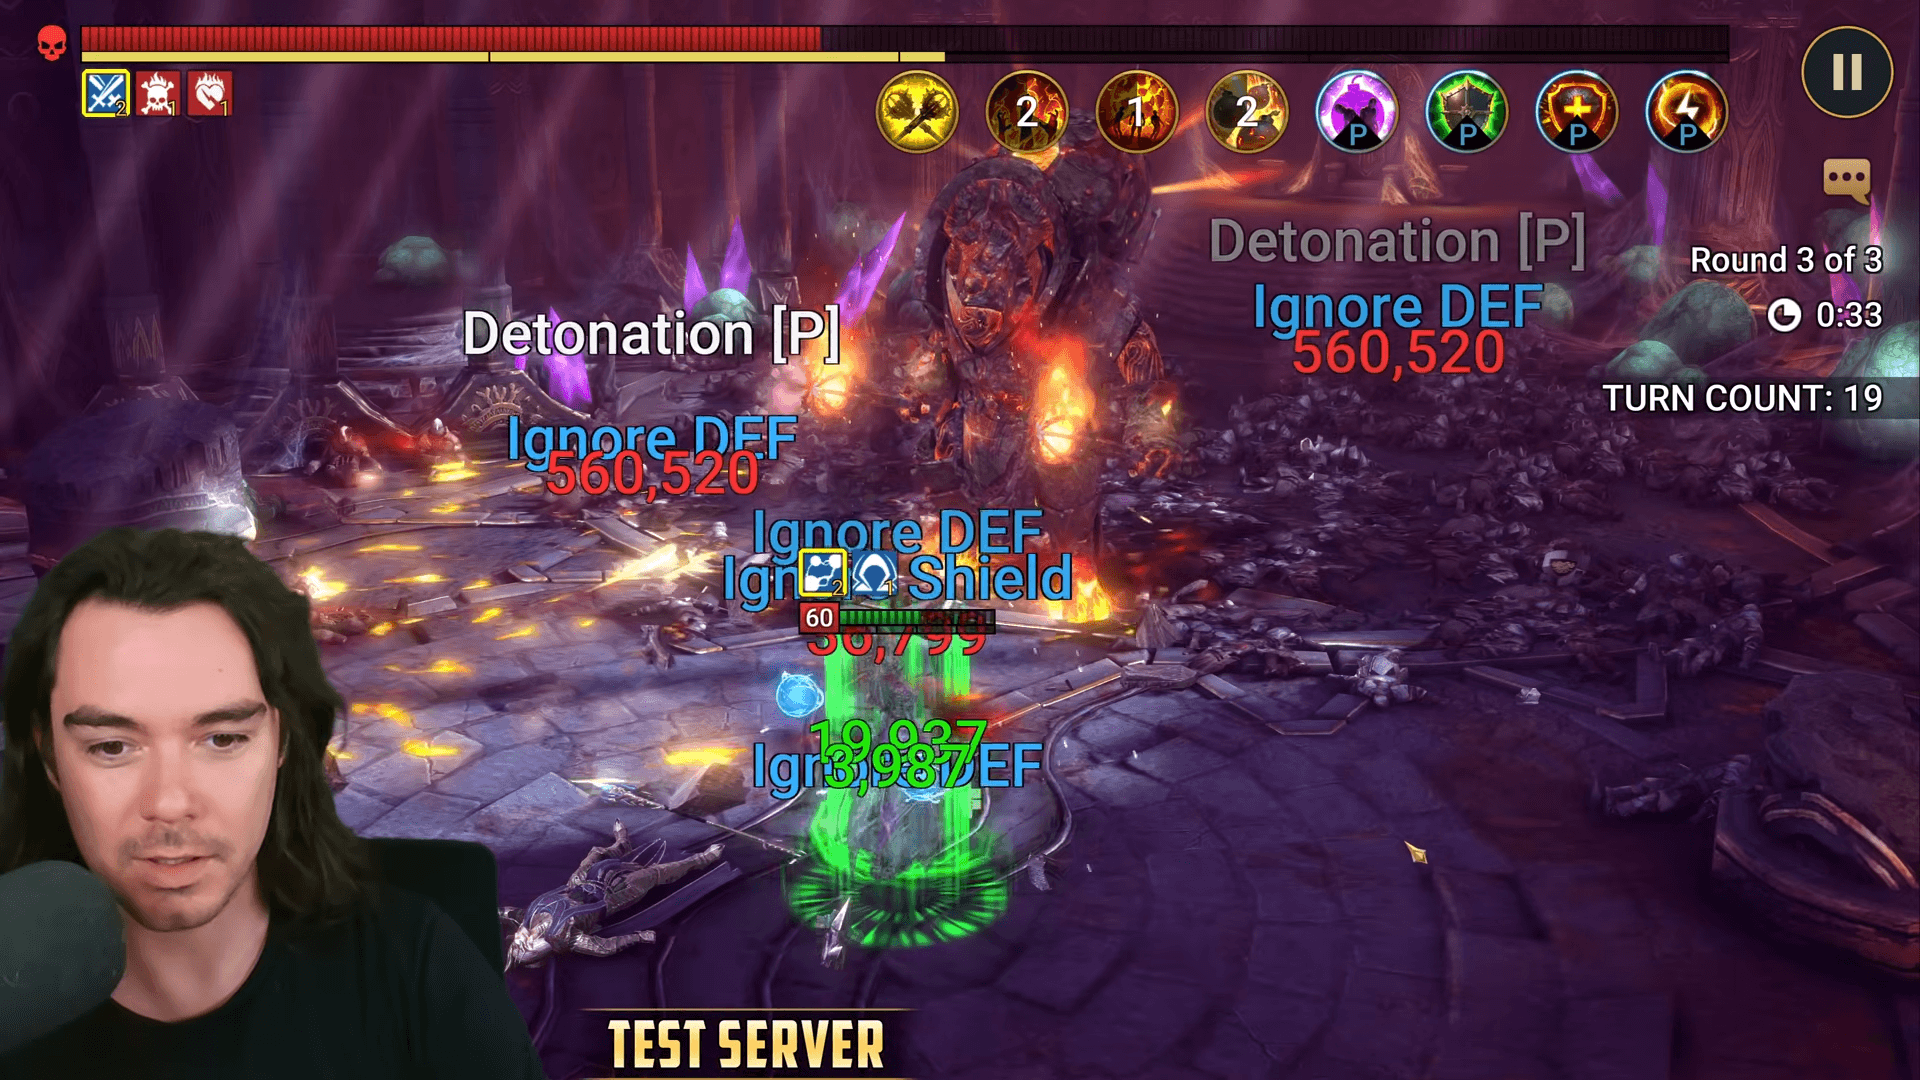
The Dreadbombs summoned by Bommal always have 75 Speed, regardless of the stage or difficulty you’re facing. This makes it possible to Speed tune certain strategies around their turns, including solo teams using effects such as Block Damage. Freeze can also reduce the damage received from Dreadbomb explosions from 40% MAX HP to 20% MAX HP, making the damage much easier to survive and recover from.
There are also some unique interactions with damage reduction passives. Champions such as Harima appear to reduce the damage received from Dreadbombs, potentially due to their pure damage interacting with her protection against Ignore DEF effects. Same theme seems to carry into Champions such as Duchess, showing there are additional ways to limit Dreadbomb damage beyond the Freeze mechanic specifically mentioned for the encounter.
Building Out Your Team
There are several established ways to approach Bommal, ranging from full teams built to survive his mechanics to solo strategies that can handle the encounter with minimal support. We highly recommend using the Optimizer to find proven teams using Champions available on your account, alongside the Stages Tool to check the Speed, Accuracy, Resistance, and other requirements for the specific stage you’re facing.
Resistance Teams
One approach is to build enough Resistance to avoid many of Bommal’s effects, supported by Increase RES and Decrease ACC where needed. These teams generally focus on withstanding his attacks while steadily dealing damage, with defensive passives from Champions such as Duchess or Harima also helping reduce the impact of Dreadbomb explosions.
Vogoth & Geomancer Teams
Vogoth can provide huge amounts of passive healing whenever he takes damage, making him a strong option for surviving repeated Dreadbomb explosions. A unique pairing is to combine this with Geomancer and deliberately trigger more Dreadbombs through Turn Meter reduction, creating more incoming attacks to trigger Geomancer’s passive reflections and wear Bommal down faster while Vogoth helps keep the team alive alongside a reviver for bad moments.
Solo Teams
Bommal can also be defeated by Champions capable of sustaining themselves through the encounter without needing a full team. Champions such as Lady Annabelle and Haggibah are strong examples, using their self sustain, built in regeneration, and wider mechanics to survive Bommal and the Dreadbombs while gradually defeating the boss. Click here for more Bommal solo options.
High Damage Teams
Another option is simply to defeat Bommal before his mechanics become overwhelming. Geomancer can deal significant damage through his passive reflections, while Bomb Champions can take advantage of Bommal receiving 300% increased damage from Bomb debuffs. These faster strategies generally require more specific setups, but can significantly reduce the time spent dealing with the encounter.
One Shot Bomb Teams
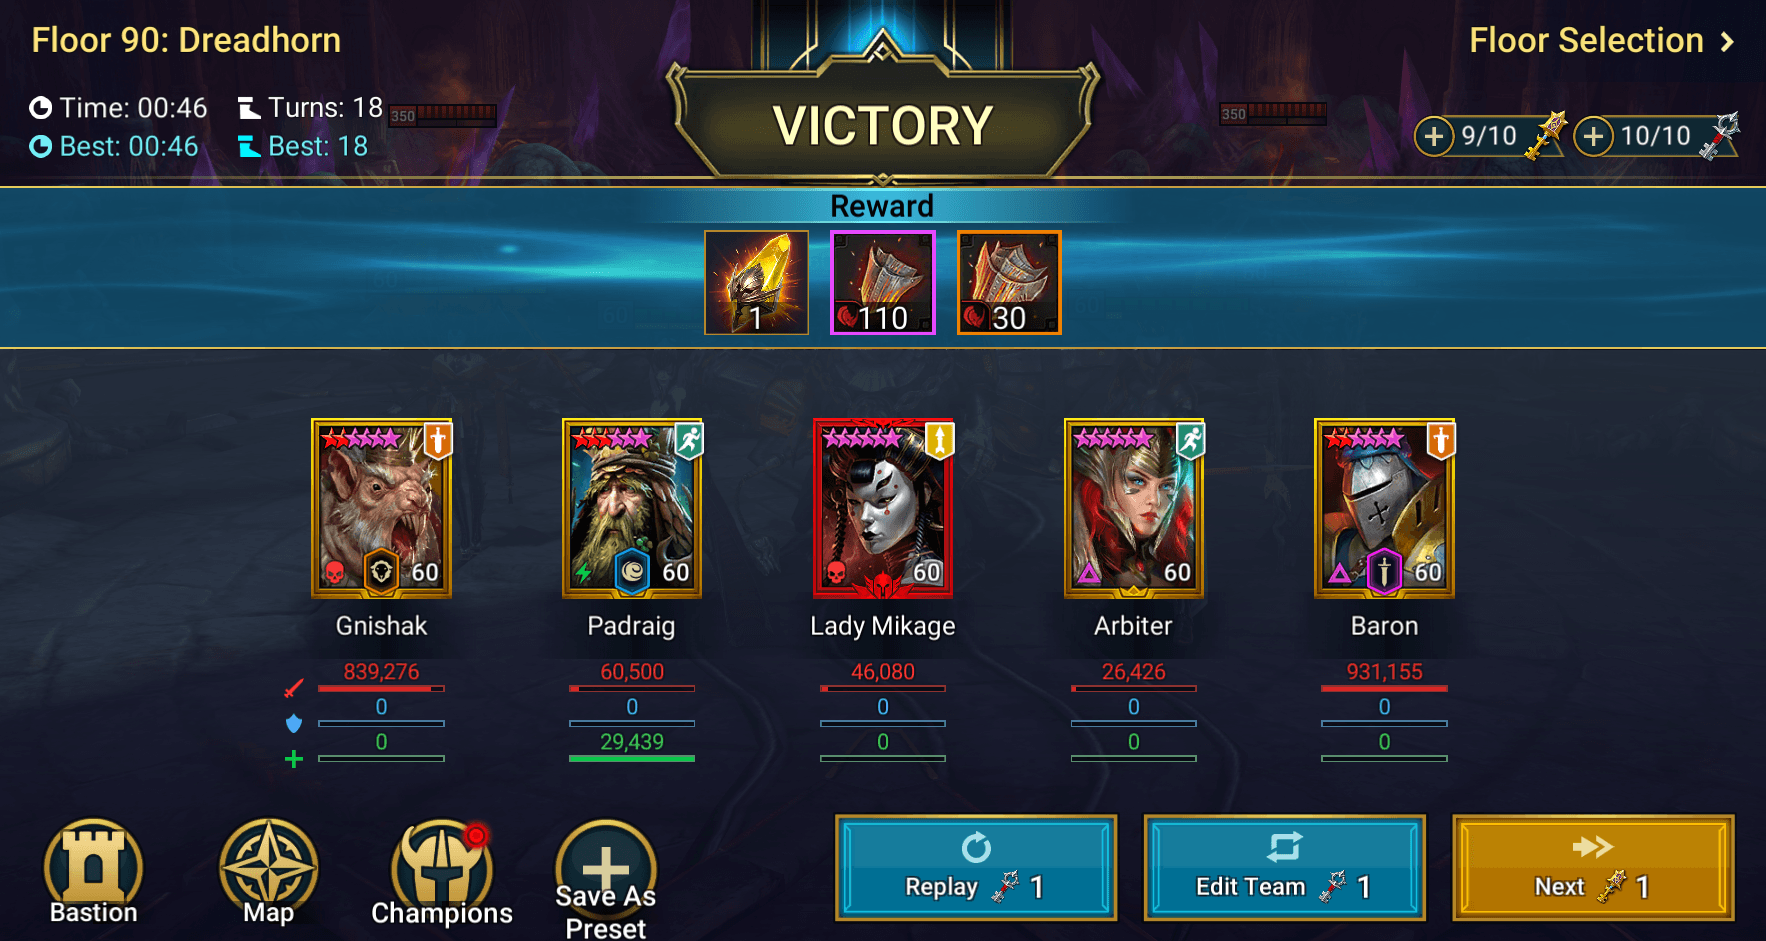
One of the fastest strategies is to defeat Bommal before he gets the chance to act, using Gnishak Verminlord alongside multiple Ally Attack Champions. Gnishak’s Bombs deal double damage against targets with over 200,000 HP, and when combined with Increase ATK, Weaken, and Ally Attacks to place more Bombs through his A1, you can quickly stack enough damage to take advantage of Bommal’s passive 300% increased damage from Bombs. With a wave clearer to reach the boss quickly and the correct setup, these teams can completely destroy Bommal before his mechanics become a threat.
Bommal MVP champion examples
Here are some Champions that stand out when building teams for Bommal, covering several of the most effective strategies used against the boss. Use these picks as examples when putting together your own team, adapting the approach around the Champions available on your account.
Harima

Harima is a powerful damage dealer who can also help clear the waves leading up to Bommal. Her passive reduces enemy Ignore DEF effects by 50%, and there appears to be a unique interaction with Dreadbombs that results in the team taking less damage from their explosions. Alongside this, she can manipulate DEF, place Decrease ATK, and deal strong damage against Bommal once scaled.
Gnishak

Gnishak remains the king of one shot Bommal teams, using Ally Attack Champions to quickly stack his powerful Bombs before the boss can act. With Increase ATK, Weaken, and enough Turn Meter to move first, his double Bomb damage combines with Bommal taking 300% increased Bomb damage to potentially wipe him out in a single setup.
Haggibah

In a fast Regeneration build with high HP and Accuracy, Haggibah can take down Bommal completely on her own. Her passive makes her immune to Bombs and HP Burn, removing two of the boss’s biggest threats, while strong sustain helps her recover from Dreadbomb hits as her repeated Bomb placements steadily melt through Bommal.
Geomancer
Geomancer works well in several Bommal teams, most notably alongside Vogoth to help withstand the Dreadbomb explosions. His Turn Meter steal triggers an additional Dreadbomb, allowing you to use the incoming explosions and Bommal’s attacks against him through Geomancer’s passive damage reflection on his HP Burned target, which quickly adds up throughout the fight.
Vogoth
Vogoth is a strong option for surviving Bommal’s Dreadbombs, as they’re classed as enemies rather than bosses, allowing his passive to heal allies by 50% of the damage he receives instead of 25%. This helps teams recover from their 40% MAX HP explosions and enables Champions such as Geomancer to take advantage of repeated damage reflections. Some teams even use multiple Vogoths for additional healing and survivability.
Marichka

Marichka can help protect your team through her passive, placing Block Damage on allies when they receive Bombs, Poisons, or HP Burns. This can protect them from incoming Bomb damage and even Dreadbomb explosions if Block Damage is still active. She also brings strong healing and buffs for recovery, a team revive when she dies, and can lead allies into additional attacks through her A1.
Lady Annabelle

Lady Annabelle has a similar interaction to Vogoth, healing herself by 50% MAX HP whenever an ally or enemy dies. Since Dreadbombs are classed as enemies and die when they explode, she receives huge heals that allow her to solo Bommal after the waves are cleared. As with most solo strategies, you’ll want high HP and DEF for survival, with Warmaster providing damage as she slowly wears the boss down.
Gnut

Gnut is a strong example of a multi hit Enemy MAX HP Champion who, alongside cooldown reset Champions, can quickly melt through Bommal. Be careful when using his A1 against the boss, as its Turn Meter reduction will trigger additional Dreadbombs, unless you’re intentionally spawning them to fuel Geomancer reflection strategies. Otherwise, you can target the Dreadbombs with his A1 to place Freeze and reduce their explosion damage, while avoiding his Counterattack skill to prevent unwanted Turn Meter reductions against Bommal.
Tips for taking on Bommal

- Prepare for the Dreadbombs – Dreadbombs deal 40% MAX HP damage when they explode, making strong healing, damage reduction, or carefully timed defensive effects important for surviving repeated hits.
- Consider Freezing Dreadbombs – Freeze reduces the damage from their explosions from 40% MAX HP to 20% MAX HP, making them easier to survive and recover from.
- Avoid Unnecessary Turn Meter Reduction – Reducing Bommal’s Turn Meter causes him to summon an additional Dreadbomb. Only use Turn Meter manipulation when it’s an intentional part of your strategy, such as enabling Geomancer’s passive reflections.
- Be Careful With Buffs – Bommal removes buffs before placing Bombs and adds another Bomb for each buff removed, meaning stacking unnecessary buffs before this attack can make the incoming damage much worse.
- Watch Your Debuff Placements – Every time a Champion places a debuff on Bommal, he places a Bomb back onto them. Make sure your team can survive the additional Bombs before loading him with debuffs.
- Take Advantage of Bomb Damage – Bommal receives 300% increased damage from Bombs, making Bomb Champions extremely effective. Gnishak can even enable one shot strategies with the right Ally Attack, Increase ATK, Weaken, and Turn Meter setup.
- Use Dreadbomb Deaths to Your Advantage – Dreadbombs are classed as enemies, creating useful interactions with Champions such as Lady Annabelle, who heals when enemies die, or Vogoth, whose passive provides stronger healing from their damage.
- Build Enough Sustain – Bommal teams often need to recover large amounts of HP between Dreadbomb explosions. Regeneration, strong healing, high HP and DEF, or Champions such as Vogoth can make slower strategies much safer.
- Consider Resistance Teams – High Resistance alongside Increase RES and Decrease ACC can help resist many of Bommal’s effects, providing another route for keeping your team under control.
- Check Your Speed Requirements – Dreadbombs remain at 75 Speed regardless of stage or difficulty, making it possible to build specific Speed tunes around their turns. Use the Stages Tool for Bommal’s changing stats and the Optimizer to find proven teams for the stage you’re facing.