


Best Block Buffs Champions in Raid Shadow Legends
Discover the importance of Block Buffs in Raid: Shadow Legends. Learn how this powerful debuff prevents enemies from placing buffs, why it is one of the most valuable effects for encounters such as Hydra, and how it can help shut down dangerous boss mechanics, waves, and PvP teams before they become a threat.
How Block Buffs works in raid

Block Buffs Explained
Block Buffs is a debuff that stops enemies from receiving new buffs while it remains active. Existing buffs are unaffected and will stay in place until they expire or are removed, but any attempts to gain additional buffs through skills, passives, or other effects will fail.
This makes Block Buffs one of the most effective debuffs for controlling encounters, preventing enemies from gaining protective, offensive, or utility based buffs that could otherwise swing the battle in their favour. By shutting down these effects before they can be applied, your team can maintain control more easily and deal with enemies before their mechanics become a problem.
Why Block Buffs champions are valuable

Block Buffs Champions are valuable because they can prevent enemies from gaining powerful buffs that often make encounters much harder to manage. Stopping effects such as Increase ATK, Increase DEF, Strengthen, Shields, Block Damage, Counterattack, or Reflect Damage can greatly reduce an enemy’s survivability, damage output, and overall value.
Rather than having to remove these buffs after they appear, Block Buffs prevents them from being placed in the first place. This allows your team to maintain control more easily, shut down dangerous effects, and make encounters far safer and more consistent to defeat.
Best Areas to use Block Buffs

Hydra Heads
It’s one of the most important debuffs in Hydra because many of the heads rely on buffs to become more dangerous, survive longer, or disrupt your team. By preventing new buffs from being applied, Block Buffs can stop effects such as Poison Cloud, Reflect Damage, Increase ATK, and other buffs that make the encounter much harder to manage. Maintaining consistent Block Buffs uptime allows your team to deal damage more effectively, avoid dangerous mechanics, and keep control of the fight, making it a core debuff for successful Hydra teams.
Countering Waves
Block Buffs is extremely effective in wave based content because many dangerous enemies rely on buffs to enable their mechanics. Preventing effects such as Increase ATK, Increase DEF, Shields, Counterattack, or Block Damage from being placed can make waves far easier to control and defeat.
By shutting down these buffs before they appear, your team can focus on controlling and defeating them without needing to spend turns removing protections afterward. This helps make wave progression faster and more consistent, especially in areas such as Doom Tower, Cursed City, and Faction Wars.
Arena Utility
It can be strong in PvP because it prevents enemies from gaining the buffs their strategy relies on, making them easier to control and defeat. This is especially effective against defensive and support heavy teams, as it limits their ability to protect allies, or set up stronger damage potential. By shutting down key buffs before they appear, Block Buffs can disrupt an opponent’s plan and create opportunities to secure wins.
Key Bosses
Block Buffs can be effective against a variety of bosses by preventing them from gaining buffs that make them more difficult. Outside of Hydra, it can also provide strong value in encounters such as Chimera, Dragon, and certain Grim Forest bosses by preventing effects like Increase ATK, Continuous Heals, or other buffs that increase pressure on your team. By stopping these mechanics before they occur, Block Buffs can make boss fights far easier.
Best Block Buffs champions in Raid
Here we’ve highlighted some of the top Block Buffs champions in Raid: Shadow Legends, showcasing the different strengths they bring. While this list isn’t exhaustive, it should give you an understanding of what makes these champions so effective. For more options, be sure to check out our Champion Tier List.
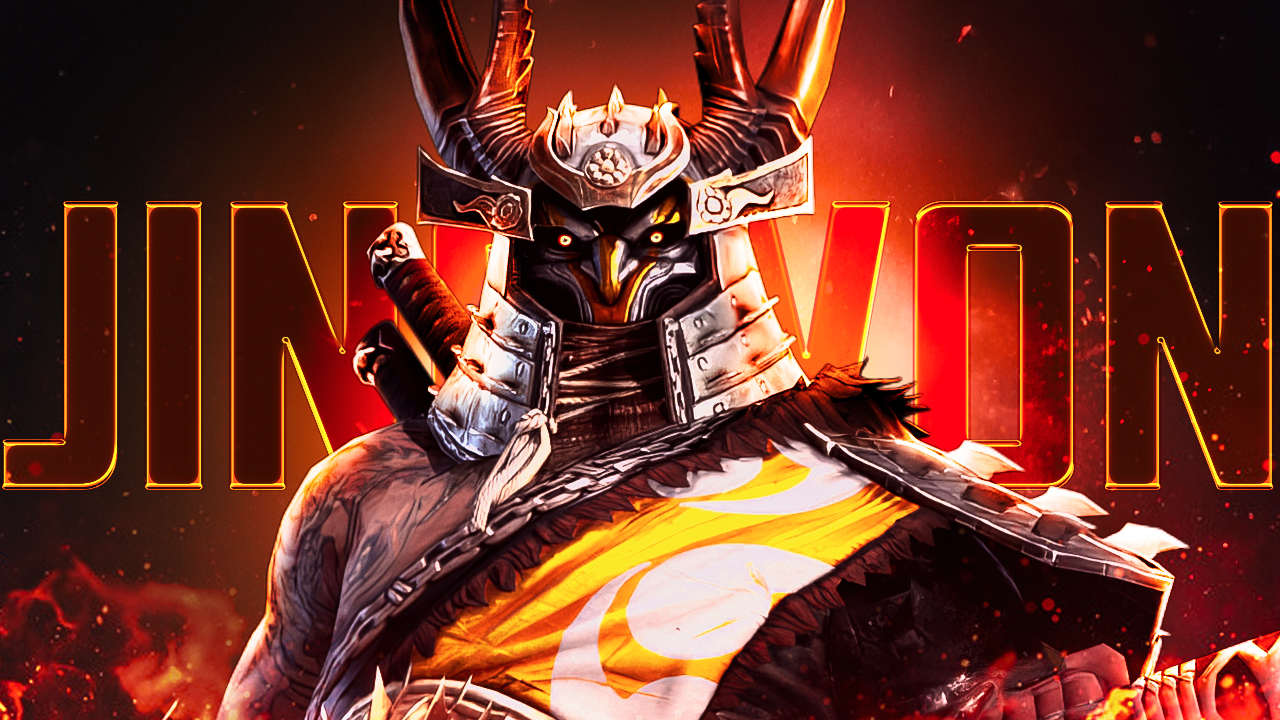
Jingwon

Following his buffs over the years, Jingwon has become a solid all round Champion. His A2 places both Block Active Skills and Block Buffs, allowing him to control enemy abilities while preventing new buffs from being placed. He can also increase the duration of all debuffs on enemies, helping your team maintain important effects for longer.
His A3 further enhances his utility by removing buffs from enemies while placing Decrease ACC and C.DMG, alongside Strengthen for allies. This combination of control, buff manipulation, and support makes him a versatile option across both PvE and PvP content.
Firrol

Firrol brings one of the strongest Block Buffs kits in the game, pairing it with Decrease ACC, Increase RES, and Perfect Veil to protect allies while shutting down enemy buffs. This makes him especially effective against buff heavy encounters such as Hydra. His passive further boosts ally ACC and RES when they are heavily buffed, while also increasing the damage they deal. Combined with his mix of protection, utility, and damage amplification, Firrol is an exceptional support Champion.
Harvest Jack

Harvest Jack excels at controlling enemies through True Fear, placing it for 2 turns alongside Decrease SPD, while enemies who resist are instead placed under an irresistible Sleep. This makes him highly effective at disrupting waves. He also brings strong buff manipulation through buff removal, buff stealing, Decrease ATK, and Block Buffs, while gaining an Extra Turn to maintain pressure. Combined with his passive buff duration reduction, he remains an excellent counter to buff heavy enemies.
Uugo
Uugo combines Decrease DEF and Block Buffs in a single skill, helping increase your damage while shutting down enemy buffs. She also provides strong sustain through healing, random debuff cleansing, and Leech, making her a valuable Epic support Champion. In clutch situations, Uugo can even revive allies if she is the last Champion standing, giving her added safety and recovery potential across different content.
Thisbe

Thisbe fills a similar role to Uugo, trading Decrease DEF for Hex alongside her Block Buffs. This makes her excellent for enabling Hex based damage while preventing enemies from gaining key buffs, like Hydra. She also provides healing, debuff duration reduction, and Turn Meter boosts for allies, while her passive increases the damage enemies take from your team when affected by her debuffs.
Esme

Esme is a fantastic support Champion, bringing Increase ACC and Increase SPD alongside buff removal and an AoE Block Buffs and Weaken combination. This allows her to fill multiple key roles at once, helping allies land their effects while preventing enemies from gaining new buffs. She also provides additional offensive support through Increase ATK on her A1, while her passive fills the Turn Meter of your highest ATK Champion whenever she is hit, helping key damage dealers cycle turns more quickly.
Lamasu
Lamasu is capable of placing both Decrease SPD and Block Buffs through her A2, helping shut down enemy buffs while slowing their turn cycle. This makes her effective against a wide range of bosses and encounters where controlling enemy speeds & buffs is important. She also brings strong utility through her A3, cleansing a target ally, placing Intercept to prevent crowd control, and resetting their cooldowns. To round out her kit, her AoE A1 places Decrease ATK, helping reduce incoming damage for the entire team.
Masahiro

Masahiro combines Block Buffs and Stun on a single skill, or Block Buffs and Decrease SPD against bosses, while also reviving all allies before the attack. This unique combination of control, debuffs, and recovery makes him a powerful support Champion for many encounters. He further enhances team survivability through healing, Strengthen, and a passive that reduces damage taken by allies. Alongside this, he can transfer debuffs from allies onto enemies, while his AoE A1 places Decrease C.RATE.
Packmaster
Kro’khad is one of the strongest Legendary damage dealers, and it’s here that his synergy with Packmaster truly shines. For Block Buffs, he can place the debuff without needing to hit enemies, allowing him to bypass affinity issues and reliably shut down enemy buffs. This combination is also effective against waves and in PvP. Beyond this, he boosts ally Turn Meters, buffs himself for added survivability and Mischief tank potential, and places Hex on enemies that attack him, and leading Hounds to enable bonus attacks.
Lazarius
Hierophant combines Block Buffs with other support utility, placing Block Debuffs on allies while reducing enemy buff durations and preventing new buffs from being applied. He also brings Turn Meter control, team support, and revives, making him highly effective against buff heavy encounters.
In his Alternate Form, he transitions into a powerful damage dealer, capable of increasing enemy skill cooldowns on kills while bringing strong AoE damage and attacks that ignore various defensive buffs. This combination of control, support, and damage makes him a versatile option across both PvE and PvP content.
Gracchos

GracchosGracchos combines Block Buffs and Decrease DEF in a single skill, making him effective at both increasing your team’s damage and preventing enemies from gaining new buffs. He also provides strong protection through Increase DEF and a team wide Block Damage buff. While his personal damage is modest, he further supports allies through damage reduction and damage amplification, making him a versatile option for bosses, waves, and endgame content such as Hydra, Chimera, and Cursed City.
Pheidi
Pheidi can place Increase RES and Perfect Veil on allies while reducing their skill cooldowns by 3 turns, helping your team access key abilities more often while staying protected from enemy mechanics. They also provides strong utility through buff removal, Block Buffs, Decrease SPD, and Turn Meter fills for allies. This combination of protection, cooldown manipulation, and debuff control makes him an excellent support Champion across a variety of content.
Venalicia
Venalicia is a powerful Champion, combining buff removal, Block Buffs, and Decrease DEF to help shut down enemies while increasing your team’s damage output. She also brings Pain Link and Weaken, adding further utility. Her revive returns all allies, while also reducing their skill cooldowns, allowing key Champions to get back into the fight faster. This blend of revival, turn cycling, and debuff utility makes her an excellent support option.
Othorion
Othorion is a strong hybrid Champion who sets himself up with Increase ATK, Increase ACC, and Increase SPD before granting himself an Extra Turn into his core skill. His A2 is a double hit AoE attack that places both Block Buffs and Decrease ATK, while also filling his Turn Meter and dealing damage based on Enemy MAX HP. He also enhances his survivability by increasing his MAX HP whenever he kills an enemy, or decapitates a Hydra Head, while his AoE A1 allows him to consistently attack all enemies.
Krixia

Krixia brings exceptional control in her Base Form, combining buff removal, skill cooldown increases, Decrease RES, and Block Buffs to shut down enemies and make it easier for allies to land their debuffs. In her Alternate Form, she shifts into another support role, cleansing allies, reducing their skill cooldowns, and providing Block Debuffs, Increase RES, and Turn Meter boosts. This unique combination of enemy disruption and ally support makes Krixia one of the most versatile Champions in the game.
How to build Block Buffs champions

Accuracy Requirements
Accuracy is the most important stat for Champions applying Block Buffs, unless the skill specifically states the debuff cannot be resisted. As a general guideline, aim for around 25 more ACC than your target’s RES to consistently land the debuff, using tools such as the Raid Stages Tool to identify the requirements for specific encounters.
Increase ACC buffs and Decrease RES debuffs can make reaching these thresholds much easier, particularly in higher end content like Hydra. Beyond Accuracy, your stat priorities will depend on the Champion’s role. Some Champions focus purely on maintaining Block Buffs, while others, such as Othorion, contribute damage or additional utility. In these cases, balancing ACC with Speed and the relevant offensive or defensive stats is key to getting the most value from their kit.
Recommended Artifact Sets
Gear sets that provide Accuracy, such as Perception, Pinpoint, or Feral, are excellent choices for Block Buffs Champions, helping them consistently land debuffs while also providing useful secondary stats like Speed. Depending on the Champion’s kit and cooldowns, sets like Relentless or Reflex can also be strong options, allowing them to cycle back to key skills faster and maintain higher uptime on Block Buffs throughout the fight.
Hybrid damage dealers such as Belz can benefit from pairing Savage, Merciless, or Lethal with Accuracy focused gear to balance damage output and debuff consistency. Champions who also provide valuable buffs or support may find sets like Mecurial & Protection particularly effective. Just be careful not to sacrifice too much Accuracy when moving into these more specialised builds, as consistently landing Block Buffs should remain the priority.
Tips for using Block Buffs champions
Block Buffs Champions are at their best when they can consistently prevent enemies from gaining key buffs, making Accuracy and Speed two of the most important stats to prioritise. Applying Block Buffs before enemies take their turns can shut down powerful defensive, offensive, and support effects before they ever become a problem.
Many Block Buffs Champions bring far more than just the debuff itself, often combining it with effects such as Decrease DEF, Weaken, buff removal, crowd control, or team support. Building teams that can keep these Champions alive and cycling turns efficiently will help maximise both their debuff uptime and overall impact, especially in buff heavy encounters where controlling enemy buffs is key.